Raspberry Pi 5 - Six months on.
Last November I received my shiny new Raspberry Pi 5 and I was quite keen to get it up and running and to hopefully replace my Pi 400. This never happened for a few reasons..

After pre-ordering the Pi5 I prepared for the delivery by downloading the new OS to copy to a nice new 128Gb SD card. When the Pi arrived I fitted the heatsink and fan, mounted it in it's new case and plugged in the SD card. With it all setup I switched it on..a second or two into the Boot it froze!.
So once again I and prepared the SD card with a fresh OS and this time all was well. I could now install the Barrier software I use to control the mouse and keyboards of adjcent PC's. After installation a message popped up saying some of the features of Barrier would not work with the new Wayland interface. Needless to say it was correct, it was unusable.
This was giving me more trouble than I had time to sort out and it was clear that currently it would not be a replacement for the Pi400 so I switched it off.
Now six months later I'm hoping that Barrier has been updated but no it hasn't so I may have to look for an alternative. However I did have a play with the Pi and downloaded a Libre Office and KiCad (a program I wanted to see how it compares to EasyEda) and both run very smoothly - promising.
A lot has happened in the last six months not least the onslaught of ssd Hats released and in the last couple of days Raspberry Pi have released their own NVMe HAT, the M2.HAT+. Just to keep my Pi5 up to date I bought the M2 HAT and a small ssd drive so what follows is the installation of the HAT and few minor issues I had.
The M.2 HAT+ and the 256Gb NVMe Memory ready to assemble. To start I cliped in the ssd.
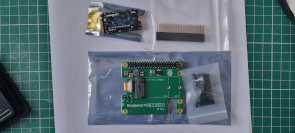
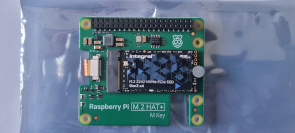
Then I mounted the four pillars using the nylon bolts supplied. It was a task as the threads of the pillars and bolts didn't initially catch but I managed in the end. Mounting the HAT on top using the supplied bolts was just a non starter so I used my own which just worked.
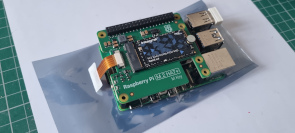
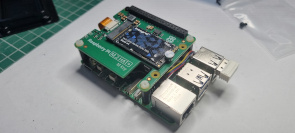
Puting it back in it's case and of course it didn't fit because of the pillar bolts need to screw in from under the case. The bolts are not the correct length so again I had to supply my own.
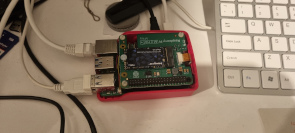
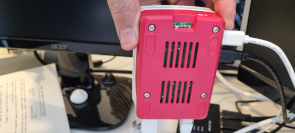
Installing the OS was easy, I just followed the online installation instructions and it booted and updated without issue.

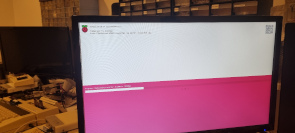
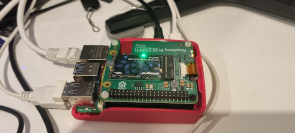
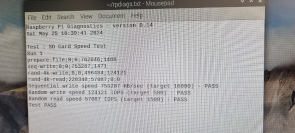
I thought I'd try the SD card speed test as supplied in the OS. Quite impressive compared the RPi4 with Sandisk 128Gb Extreme SD card.
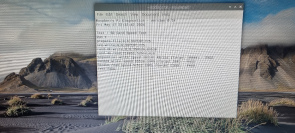
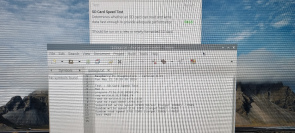
Changing the PCIe lane speed from GEN2 to GEN3 gets another speed boost.
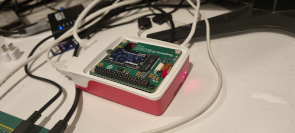
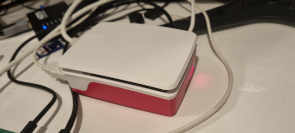
Bring the rest of the case together..and the top no longer clips in. It does sit a bit high but that is probably a good thing to help the air intake as the fan is now under the M2. HAT.
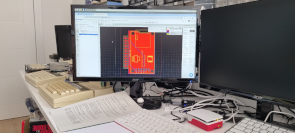
And finally, trying out EasyEda by editing the MMFS SD card adapter PCB. This will be my go-to machine for this kind of editing.
