PiTubeDirect Interface Electron Cartridge.
October 2025 Over the years I have built up a selection of Electron Second Processors, at the time, each one suited it's application and the Electron it was plugged in to.
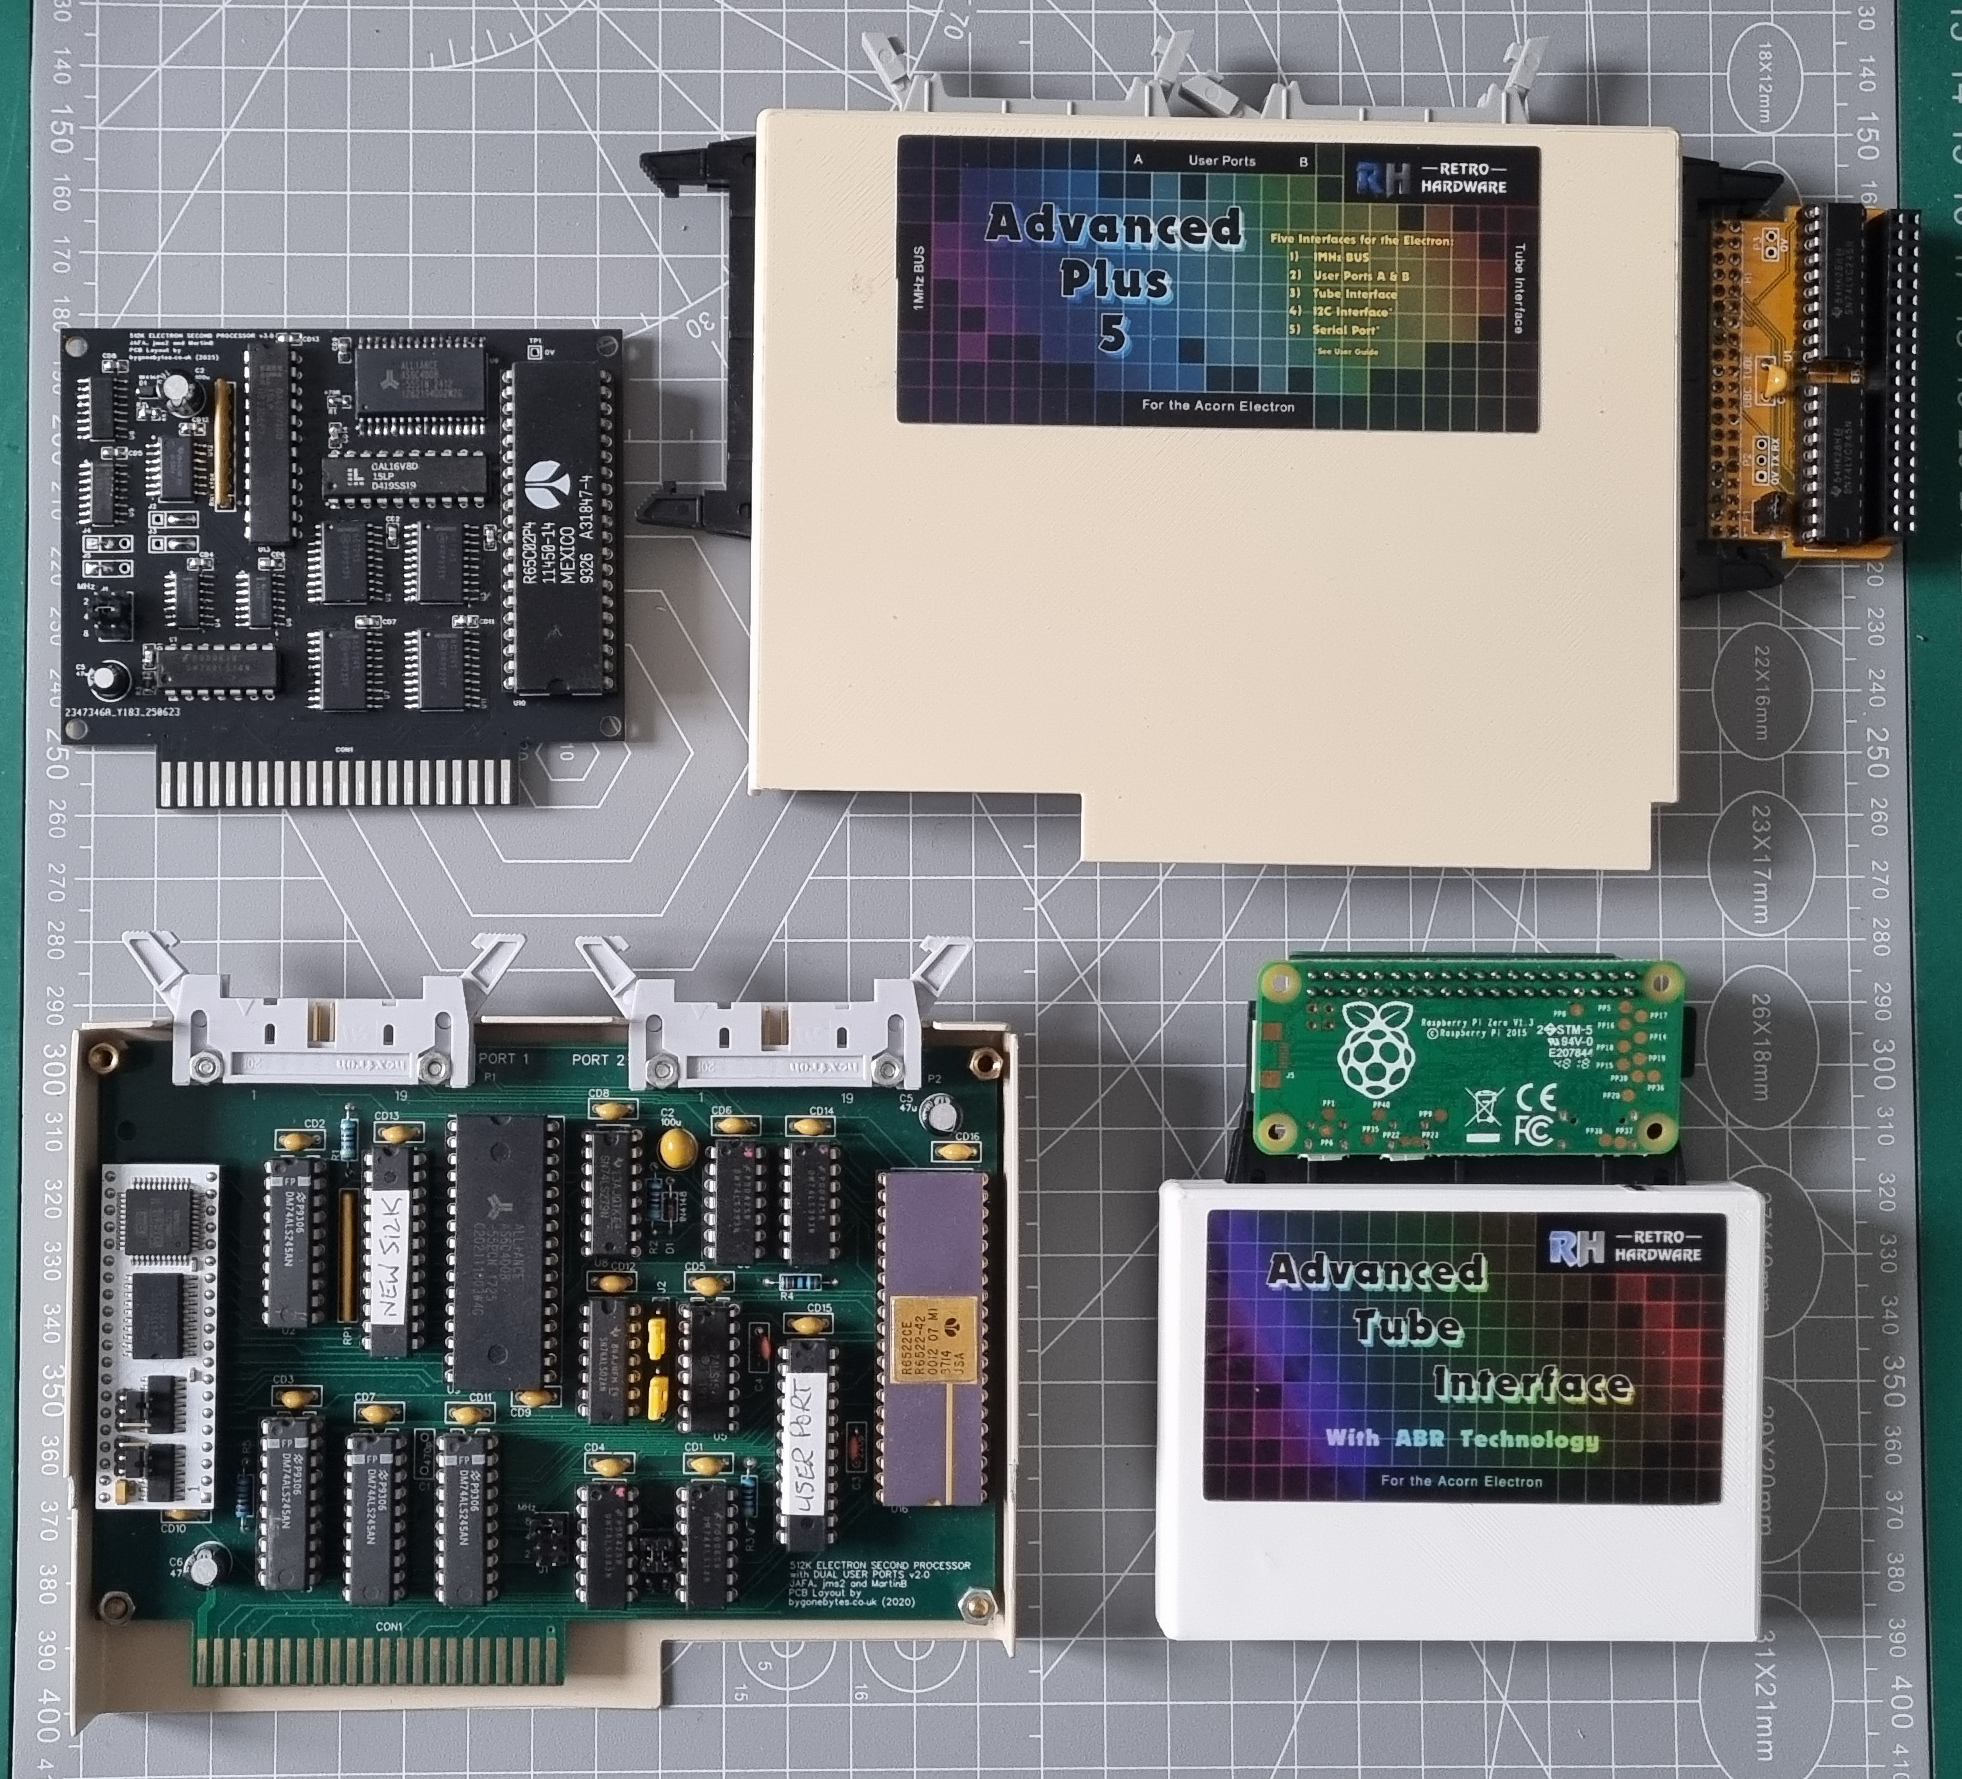
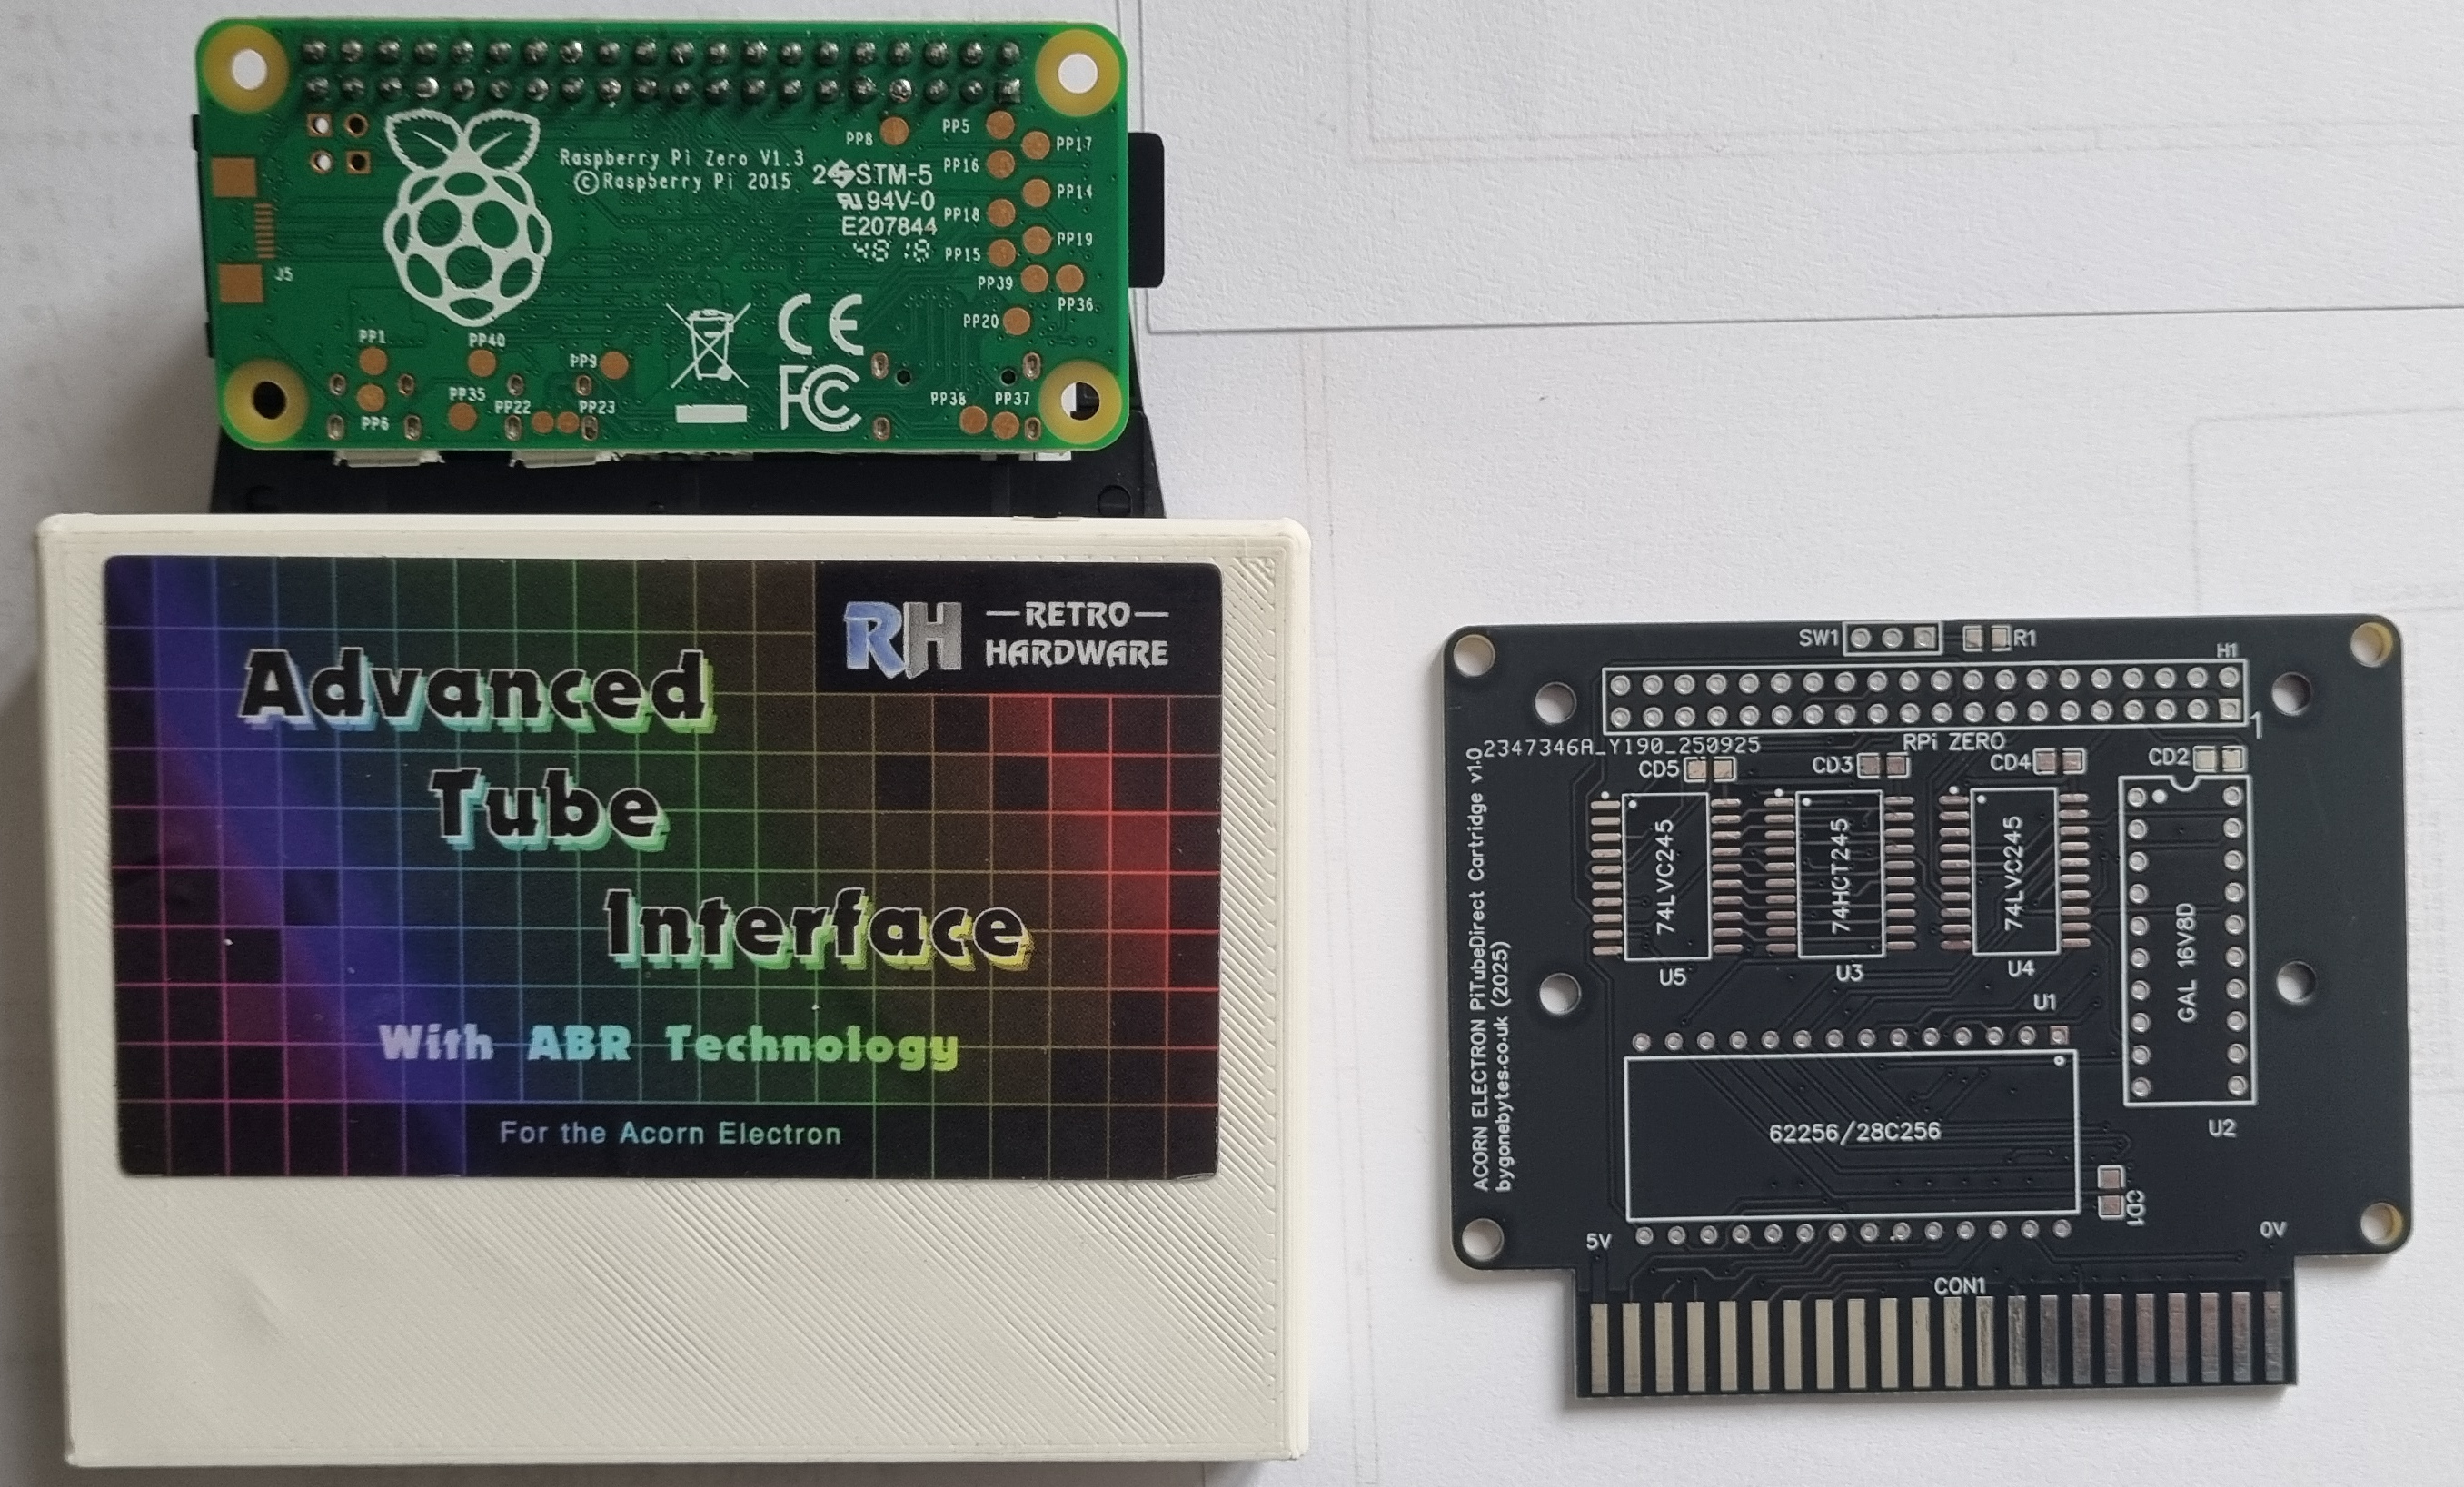
First I bought the Retro Hardware Advanced Tube Interface (ATI) and fitted a level shifter/Pi Zero (PiTubeDirect) to use in a standard Electron/Plus 1 then I needed a couple of User Ports with the second processor so I then built a Jafa 2nd Processor and added the dual ports. I also bought the Retro Hardware AP5 and after I had built my Electron Clone I needed a much reduced Jafa 2nd processor without any add-ons.
Now I have completed the Electron Clone v3 with Econet I have found that unfortunately the Jafa second processor and the Econet OS conflict with each other so I had to return to using the ATI. Reluctantly I have to give up the very useful multiple Tube Banks.
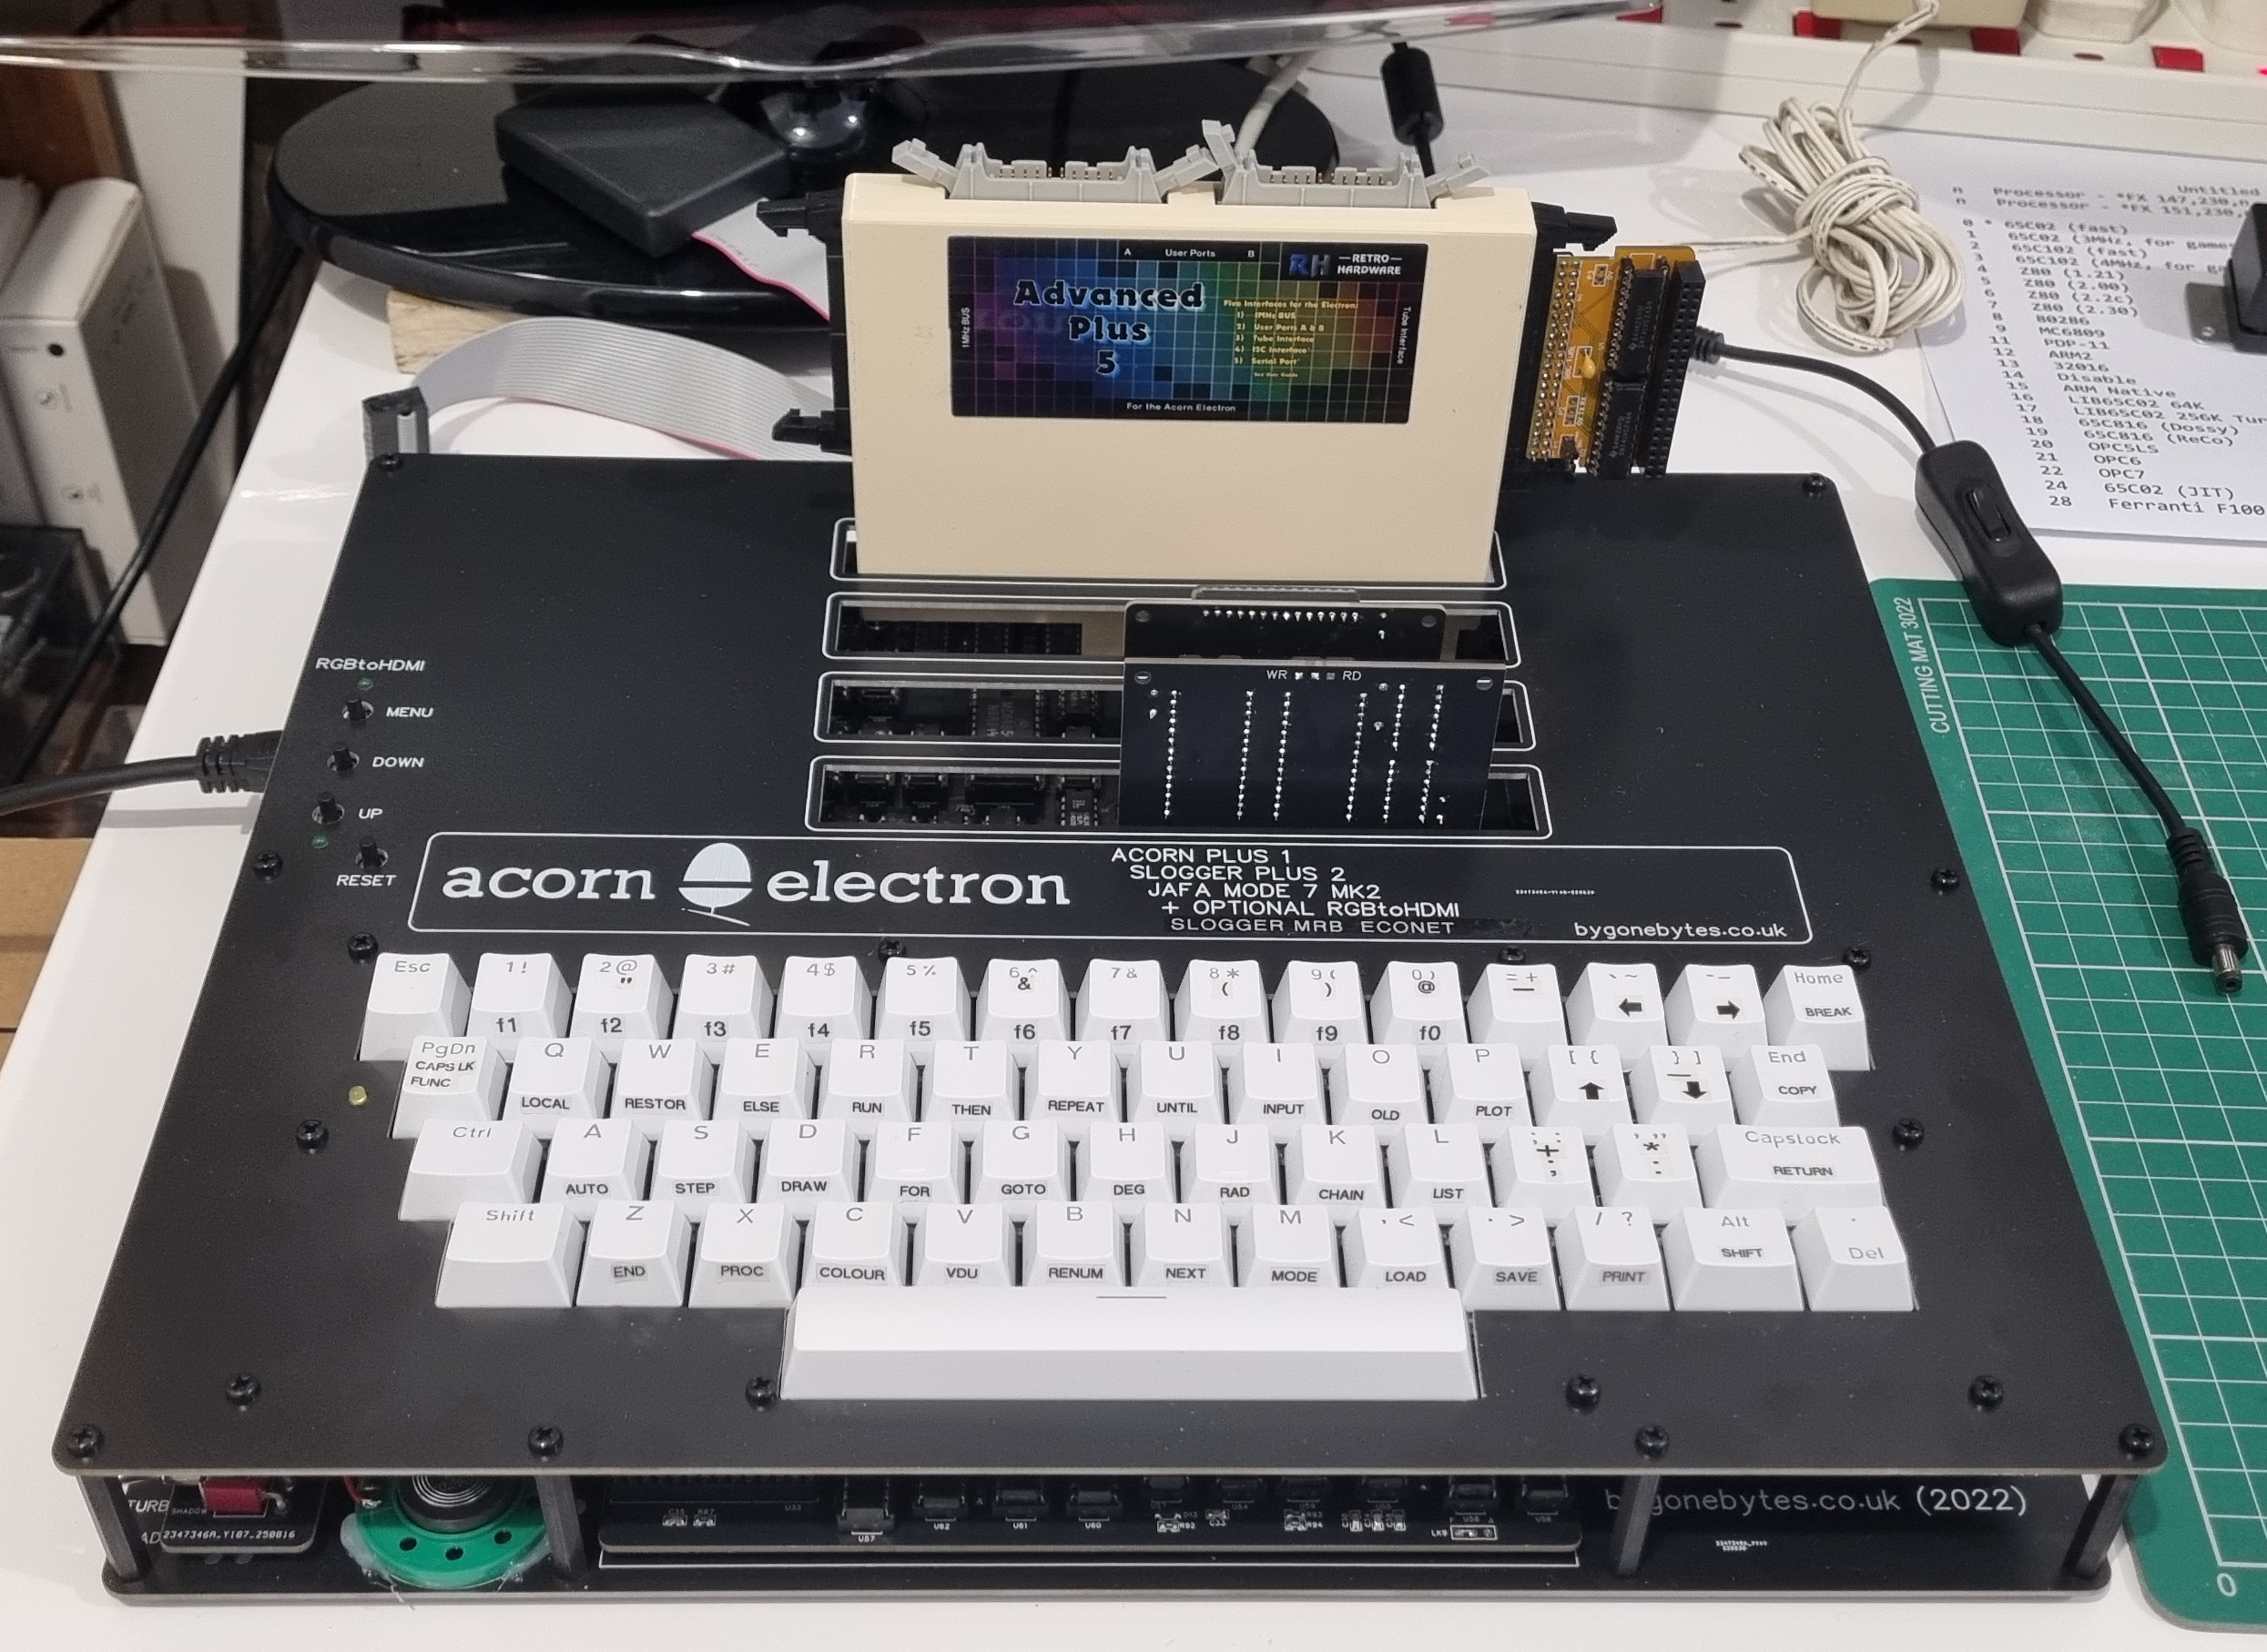

Whilst the ATI with the level shifter (PiTubeDirect) interface precariously sitting on top works perfectly well it doesn't really fit the look of the clone so I looked to see if I could build a combined cartridge which would also reduce its size and support the RPi.
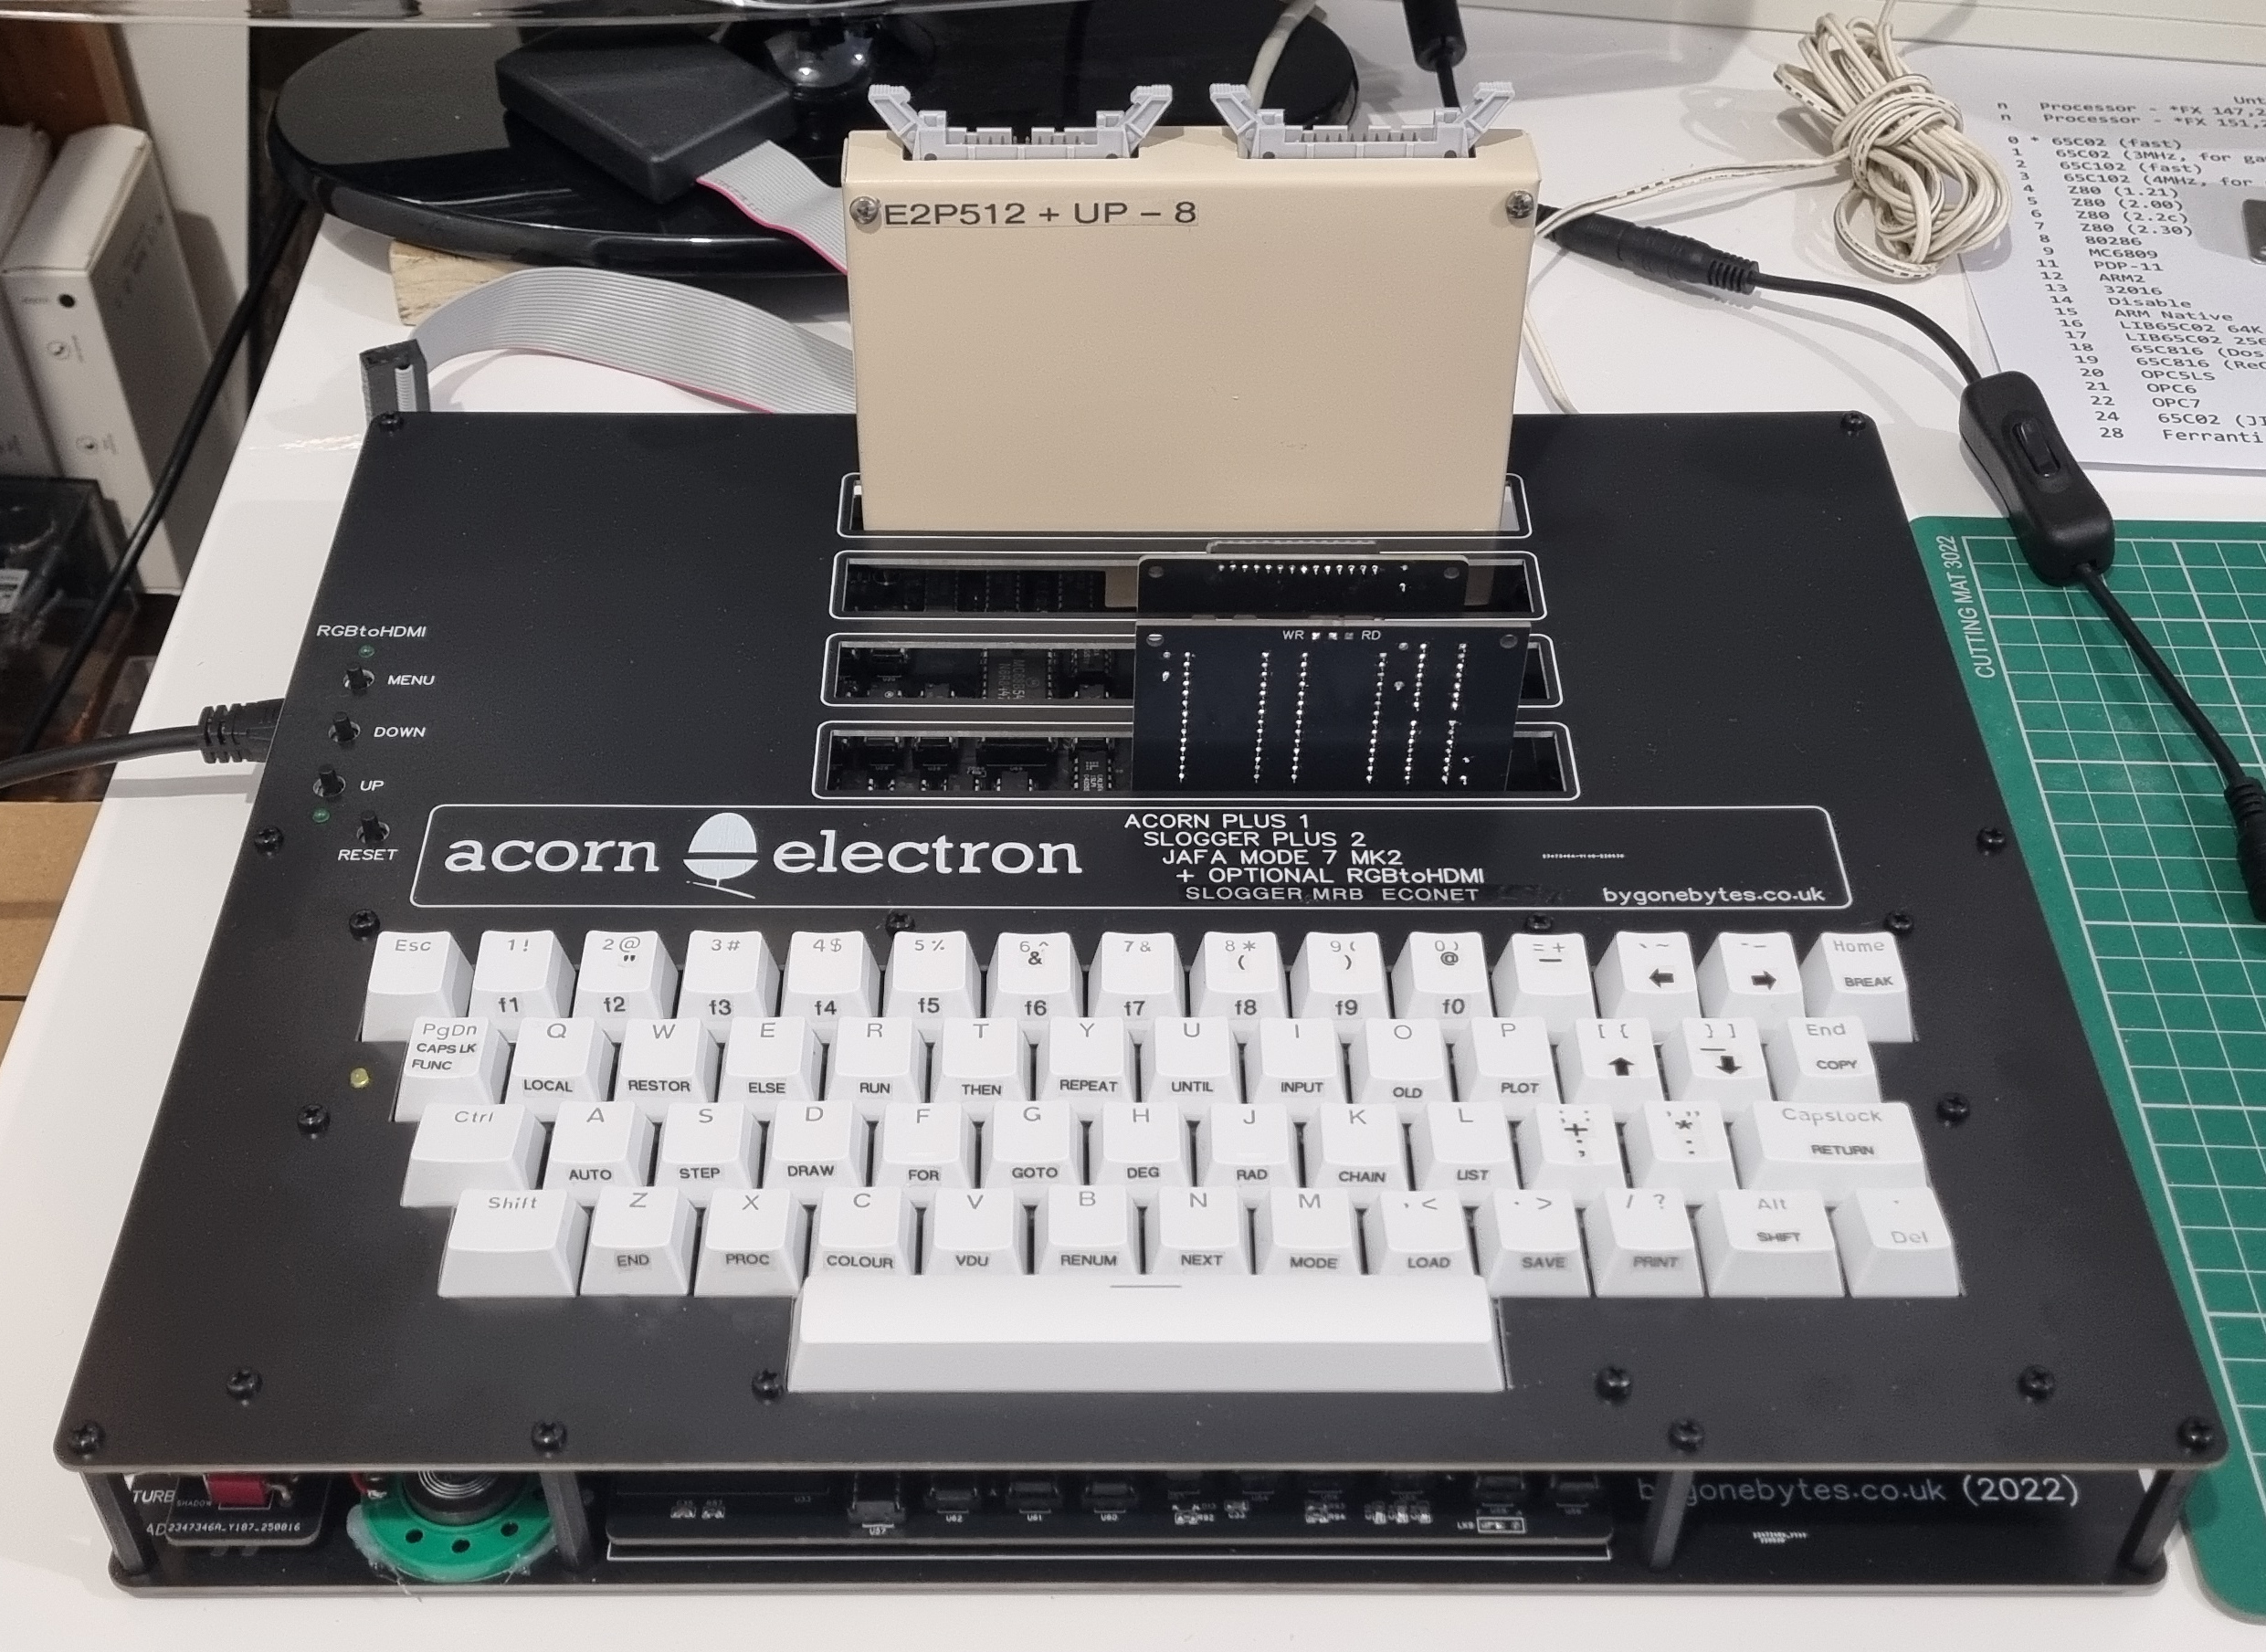
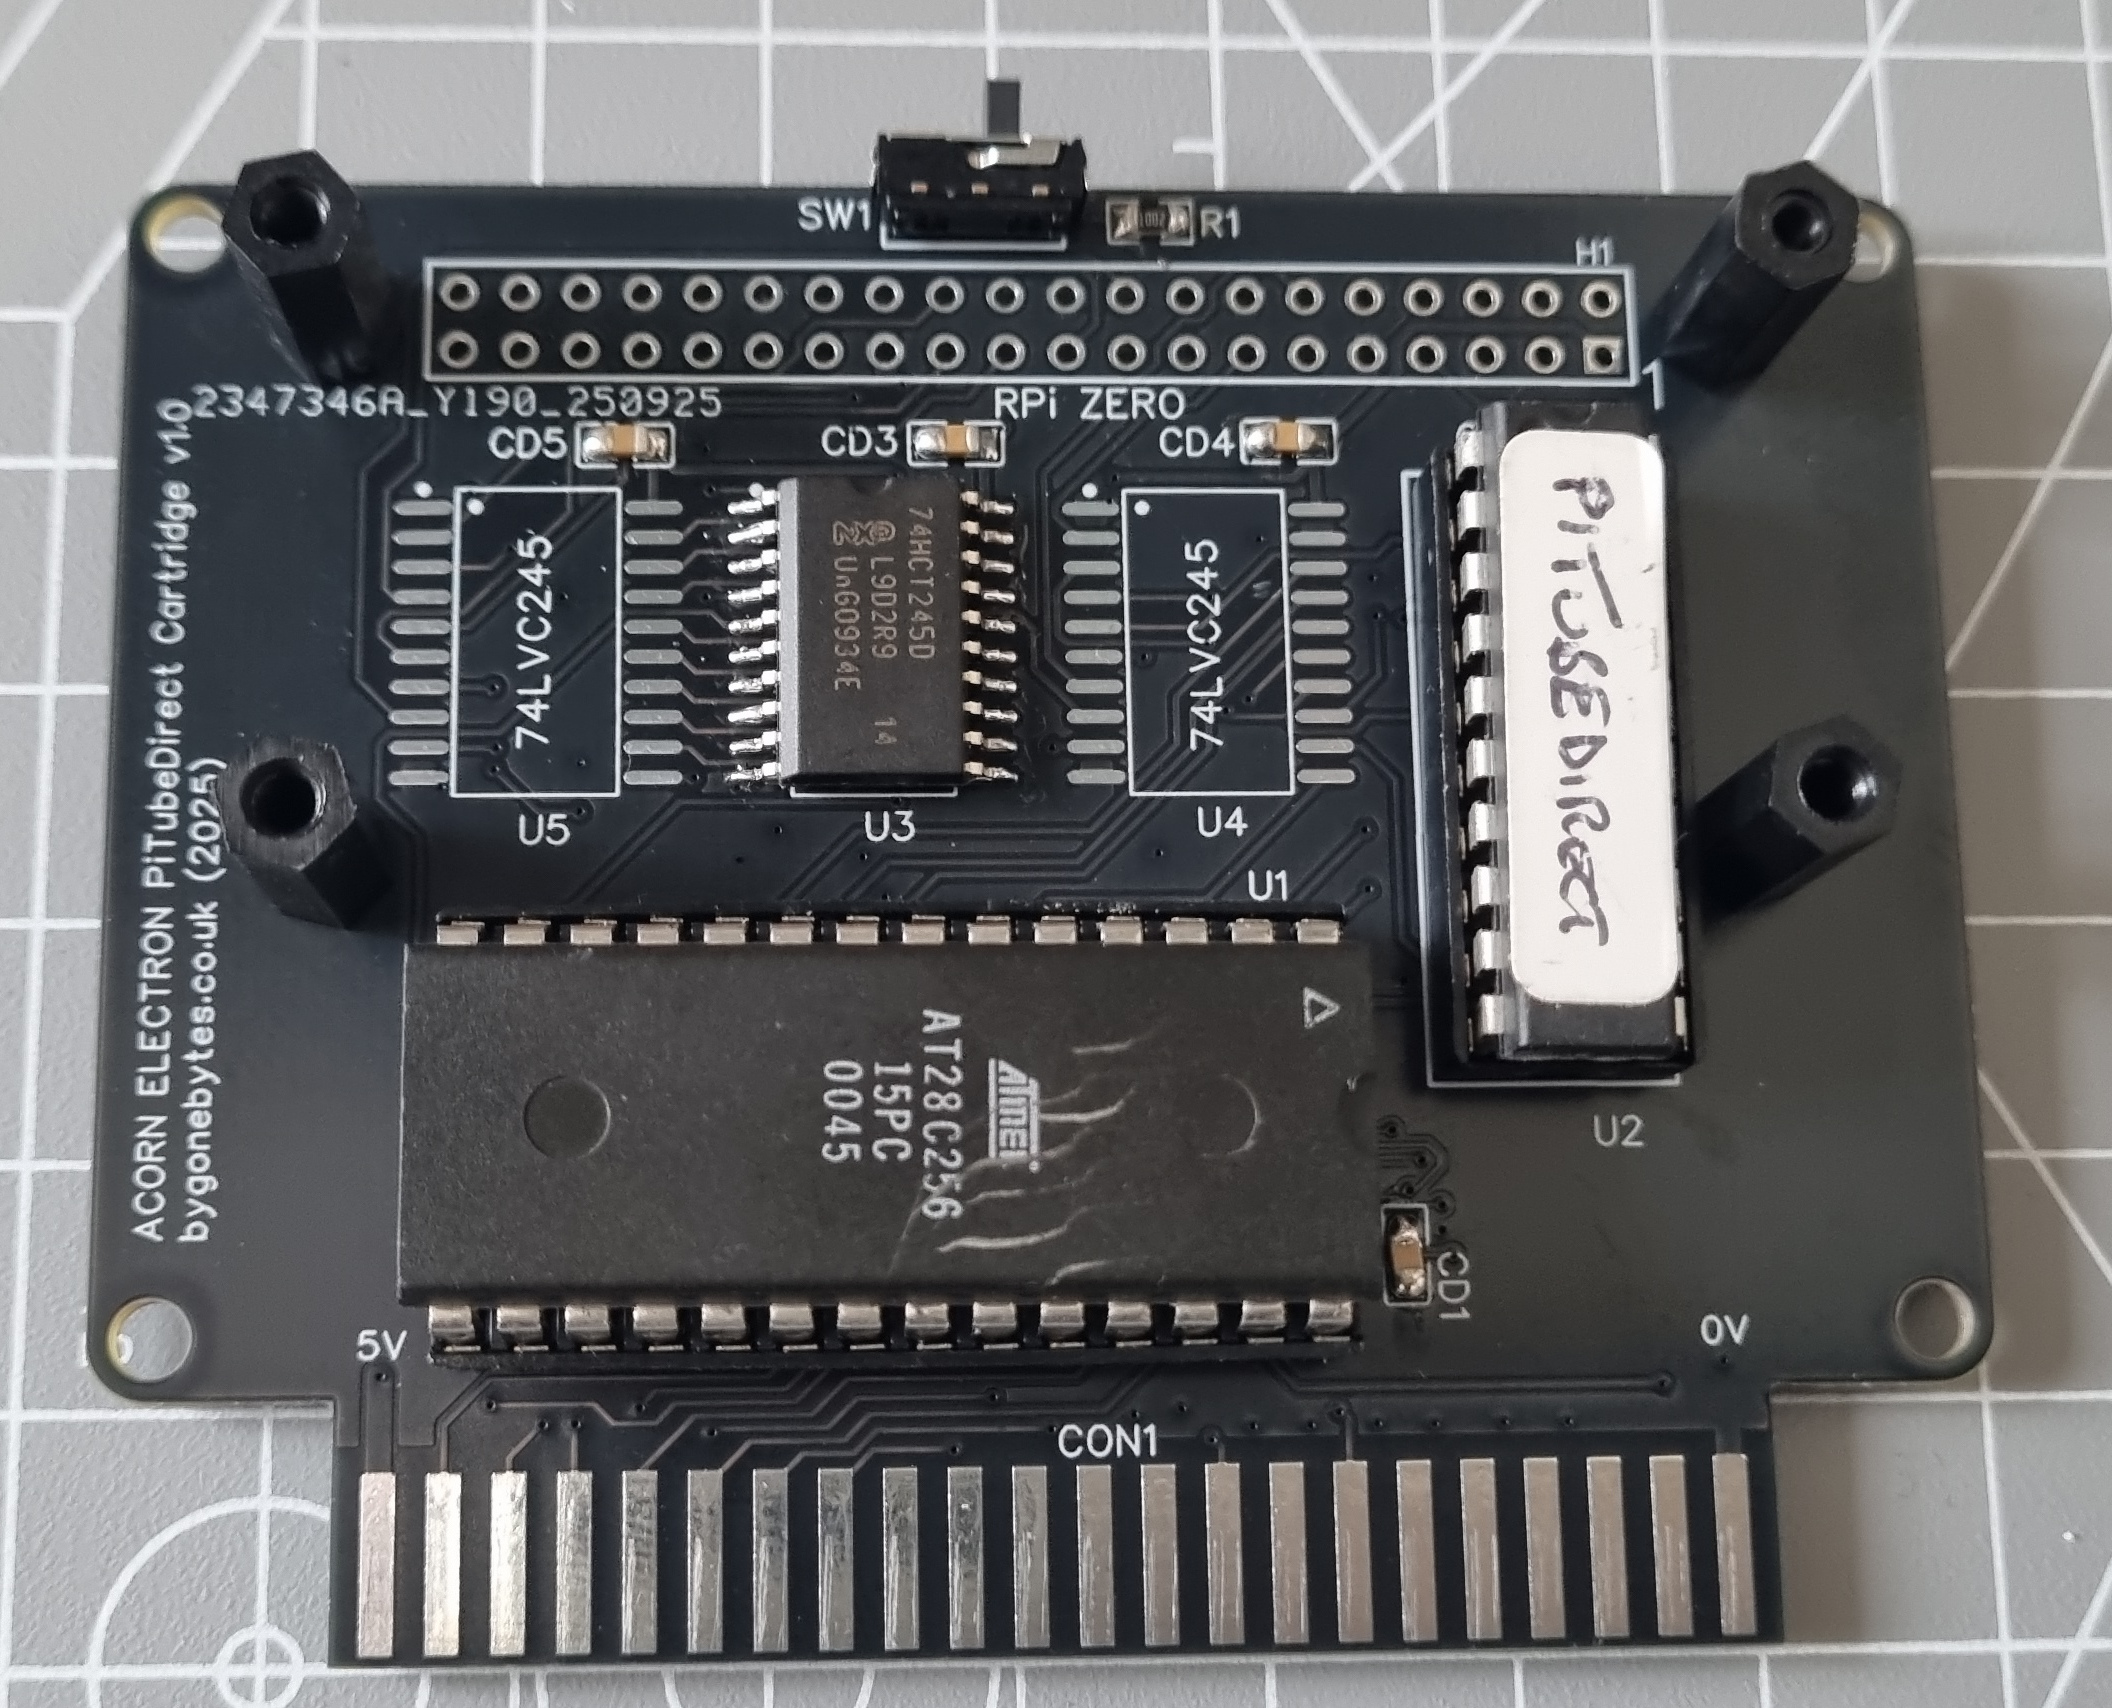
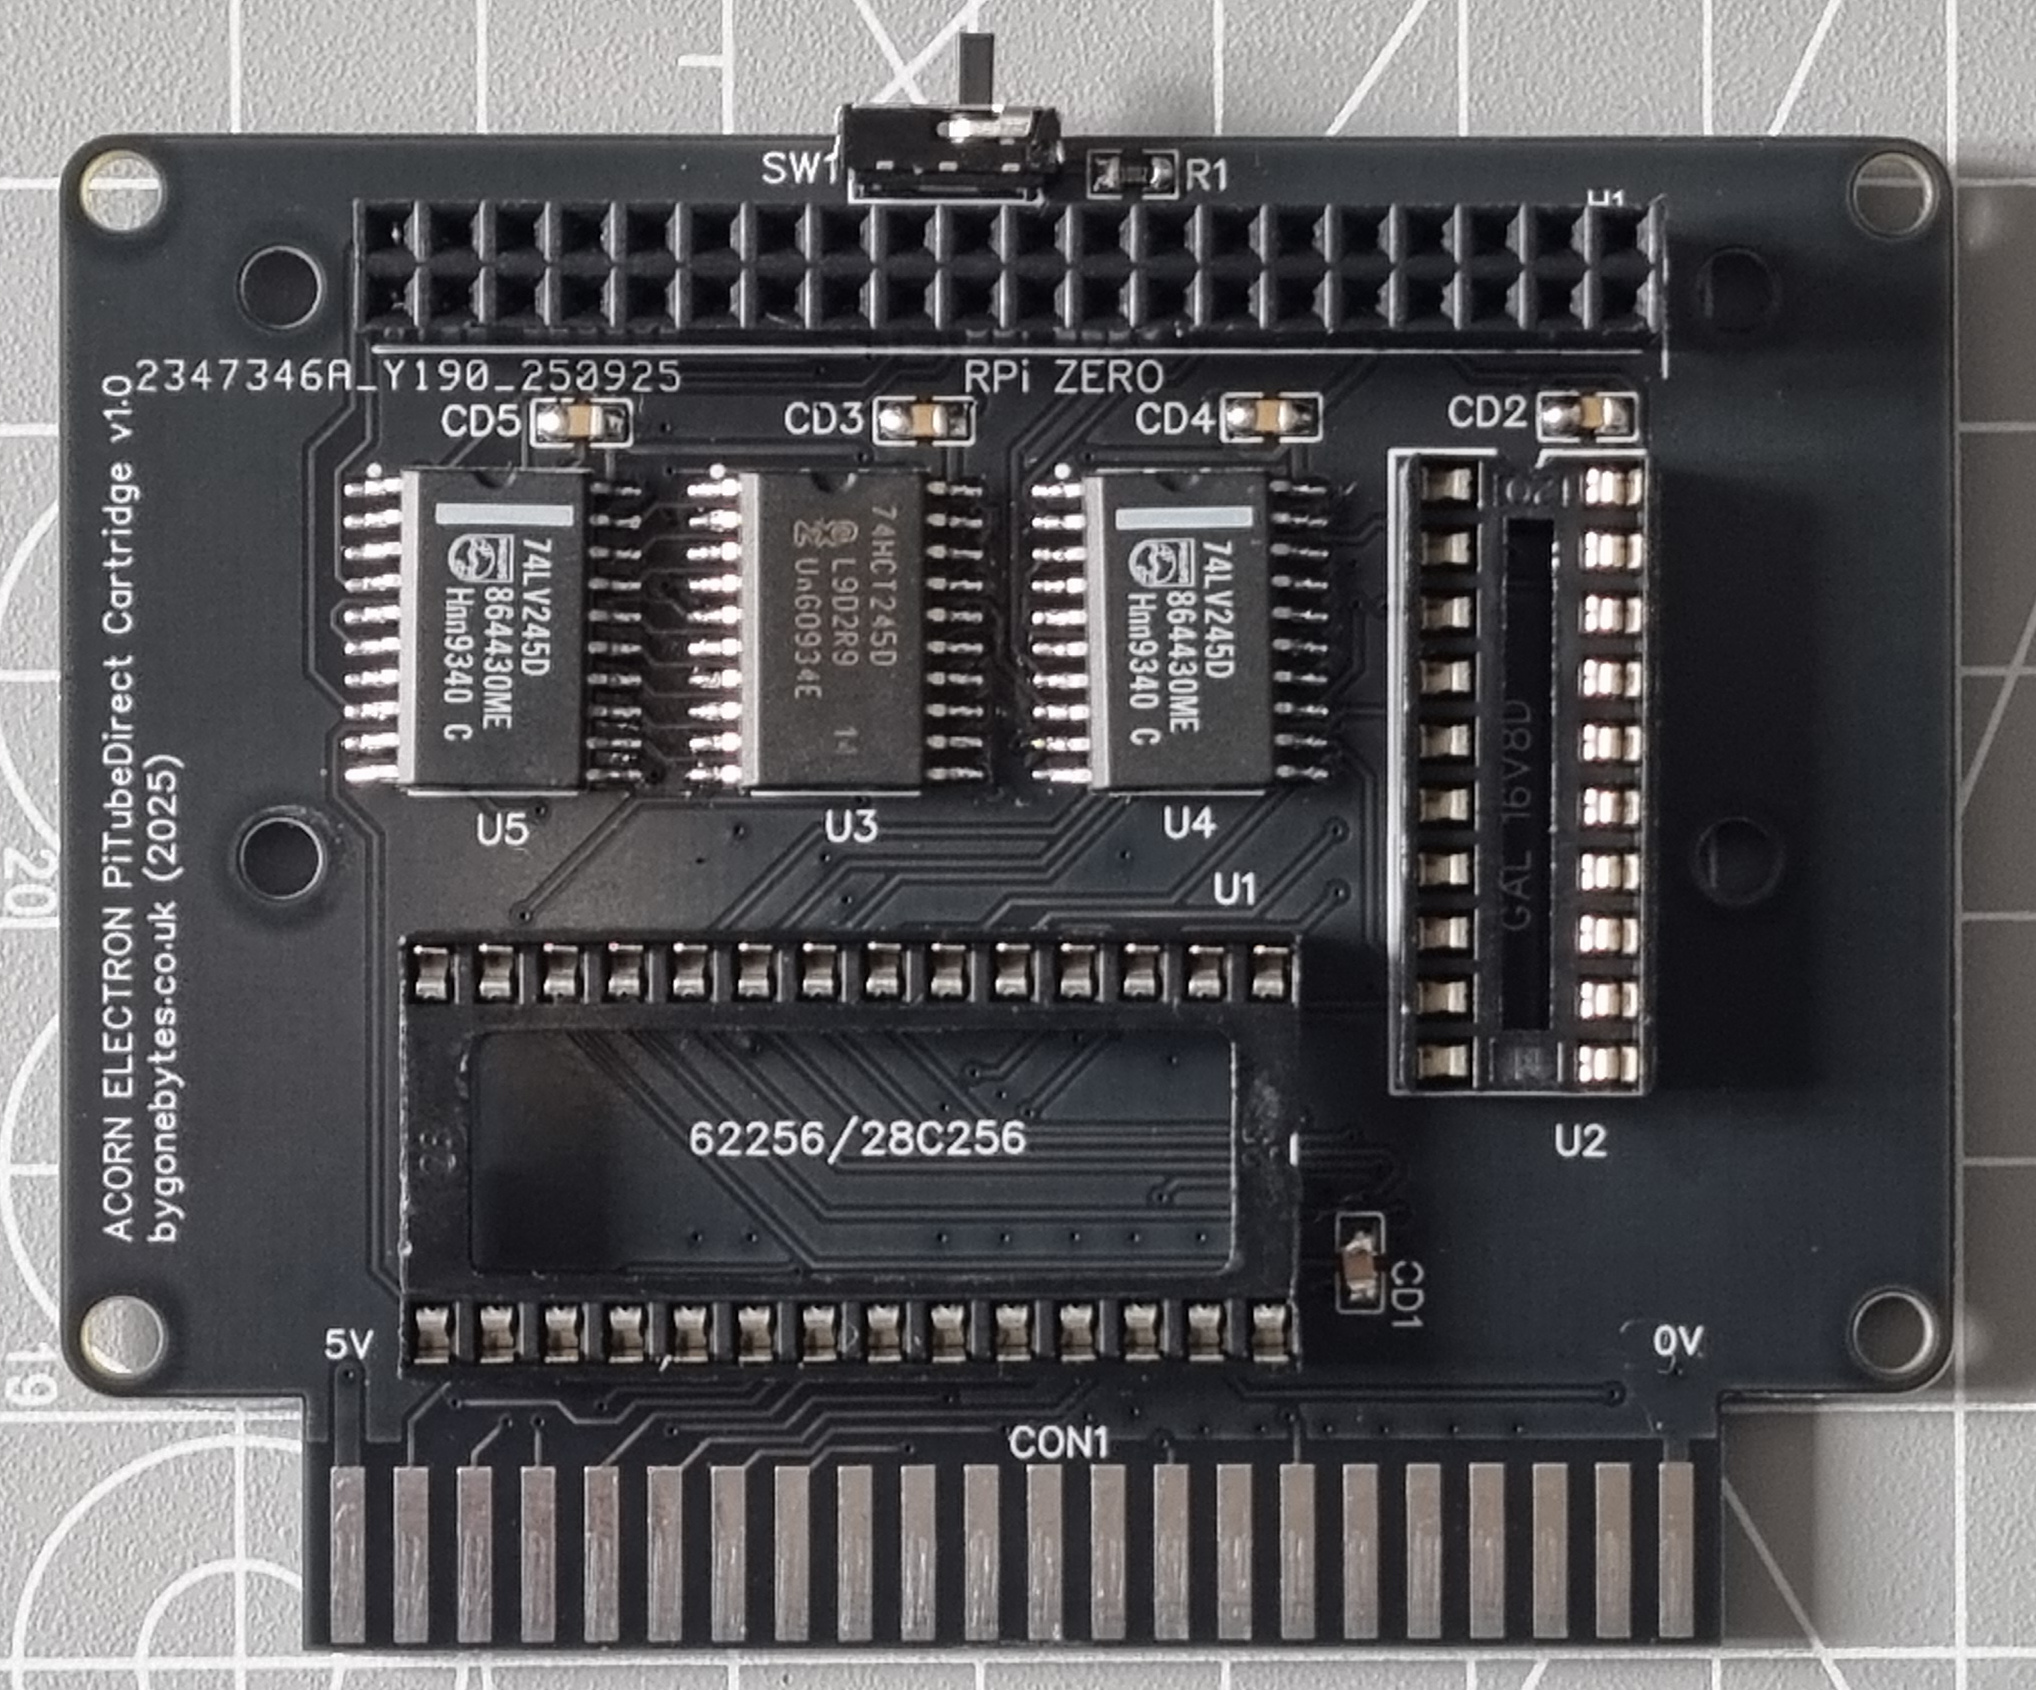
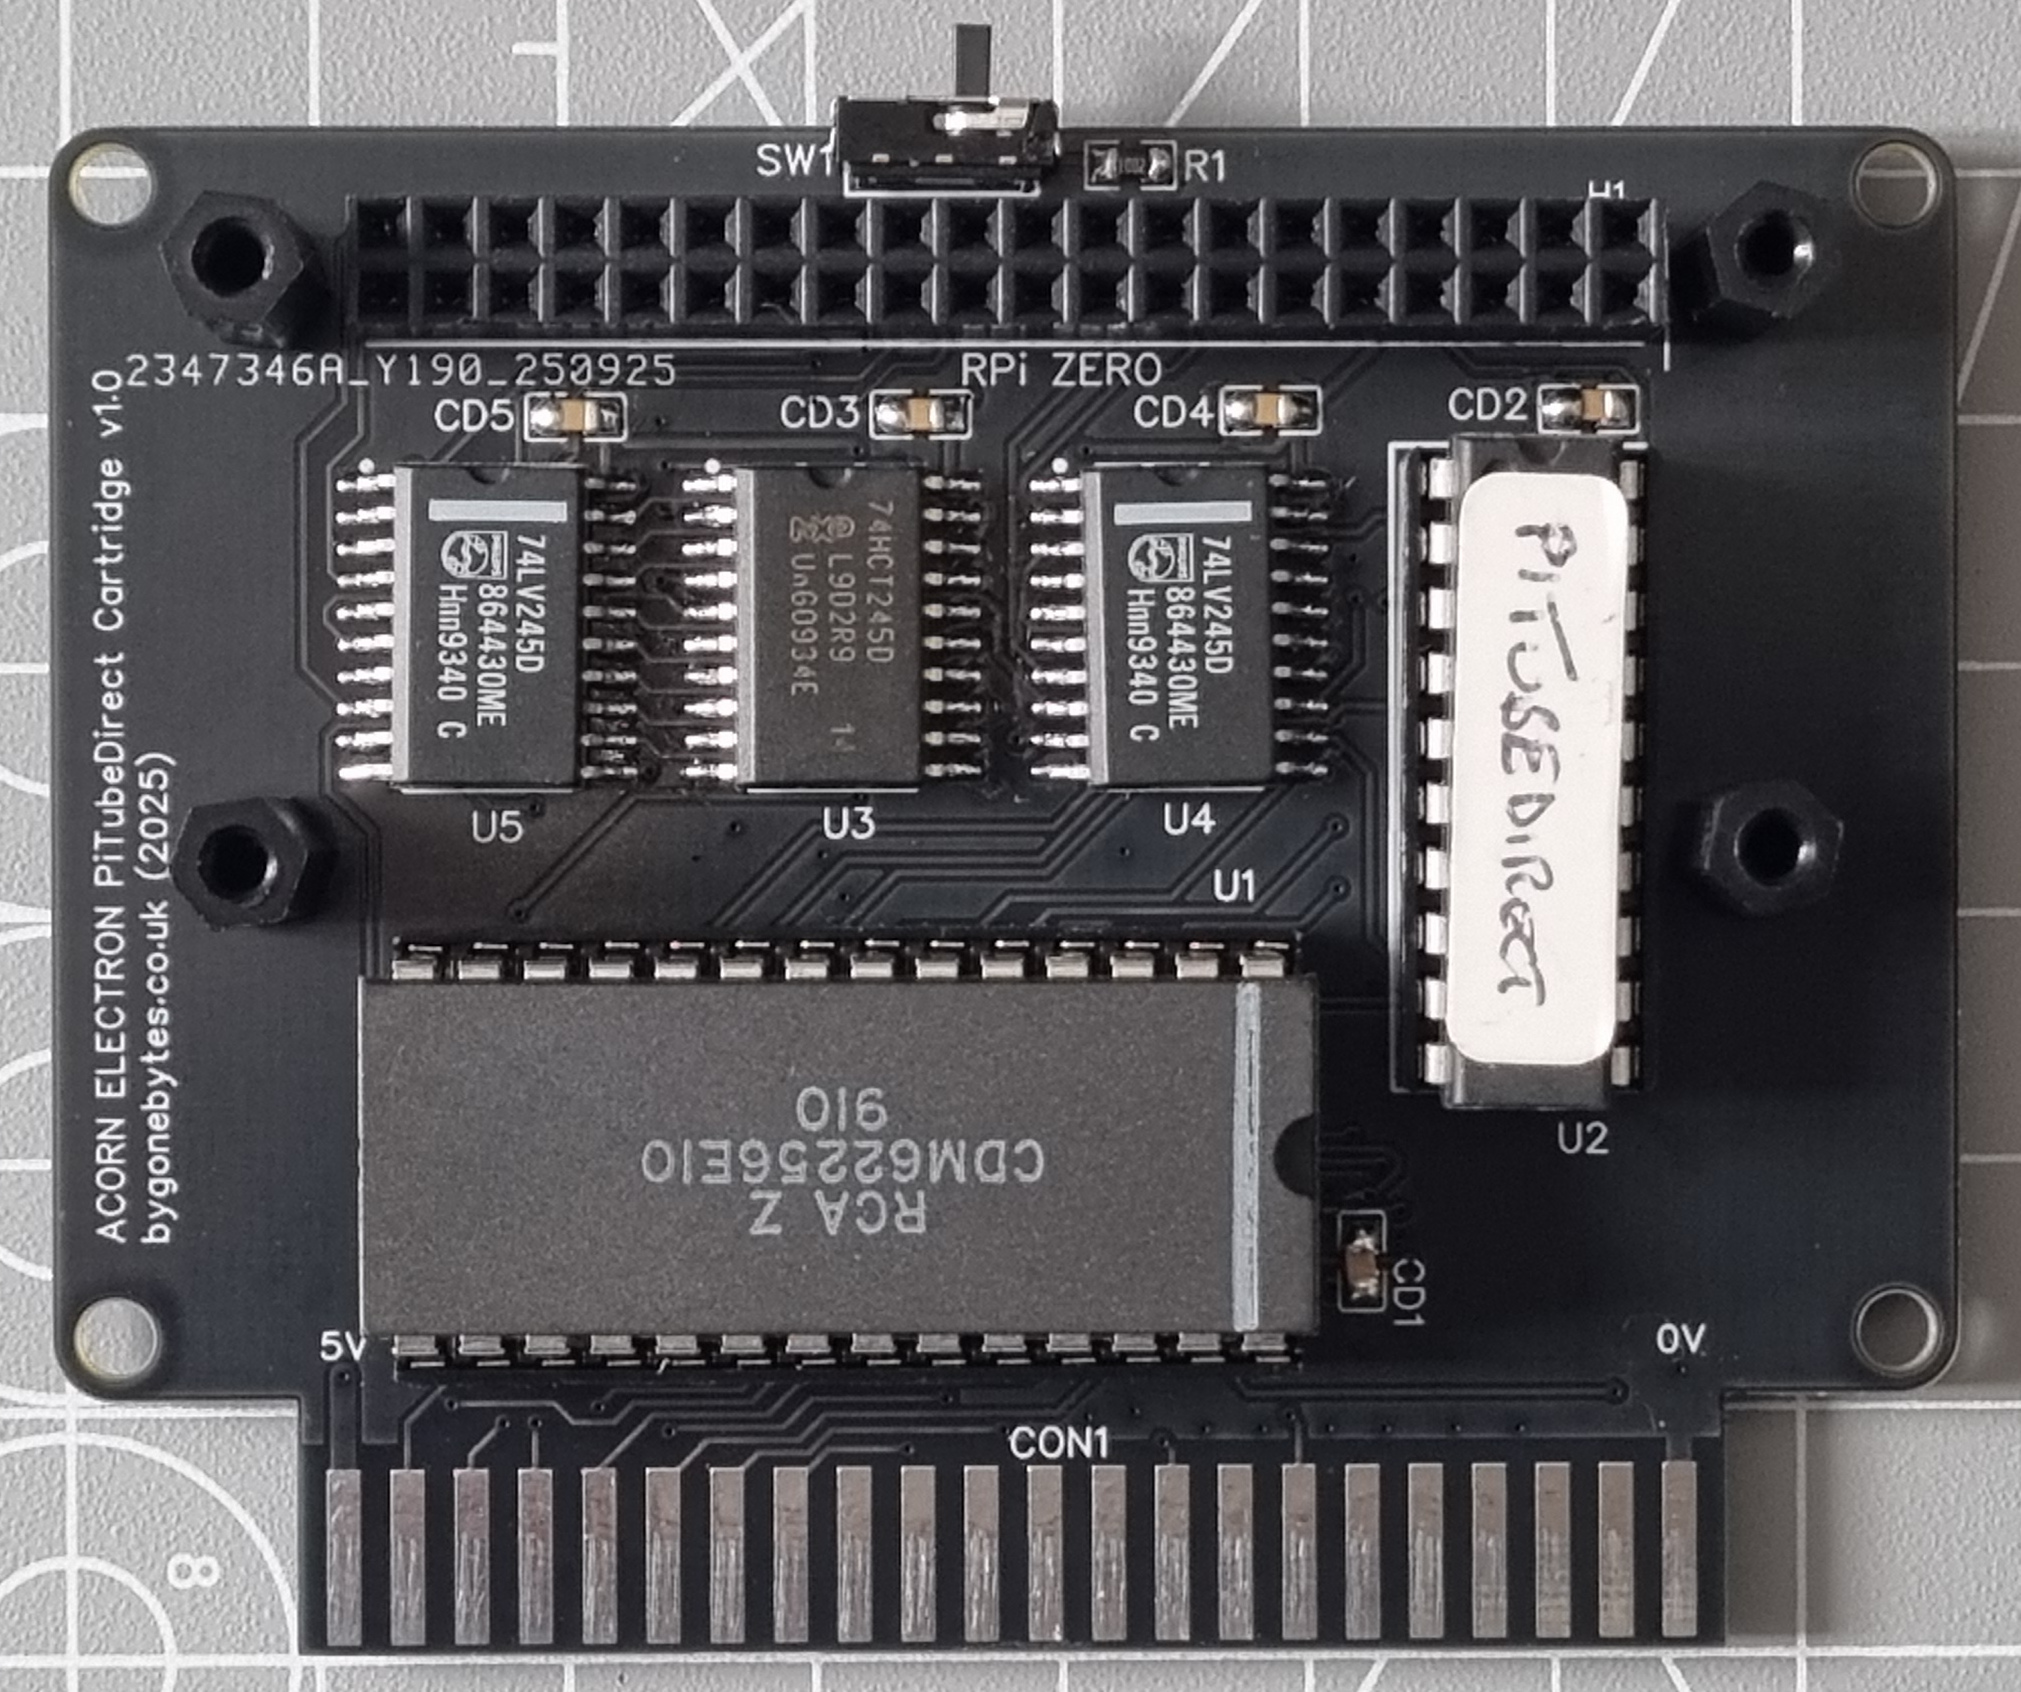
So this is what I have come up with:
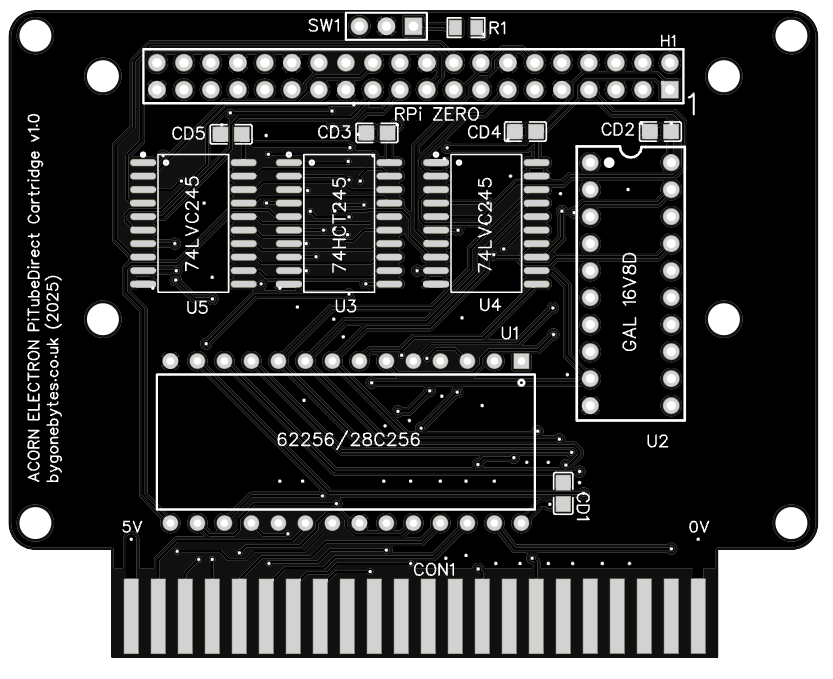
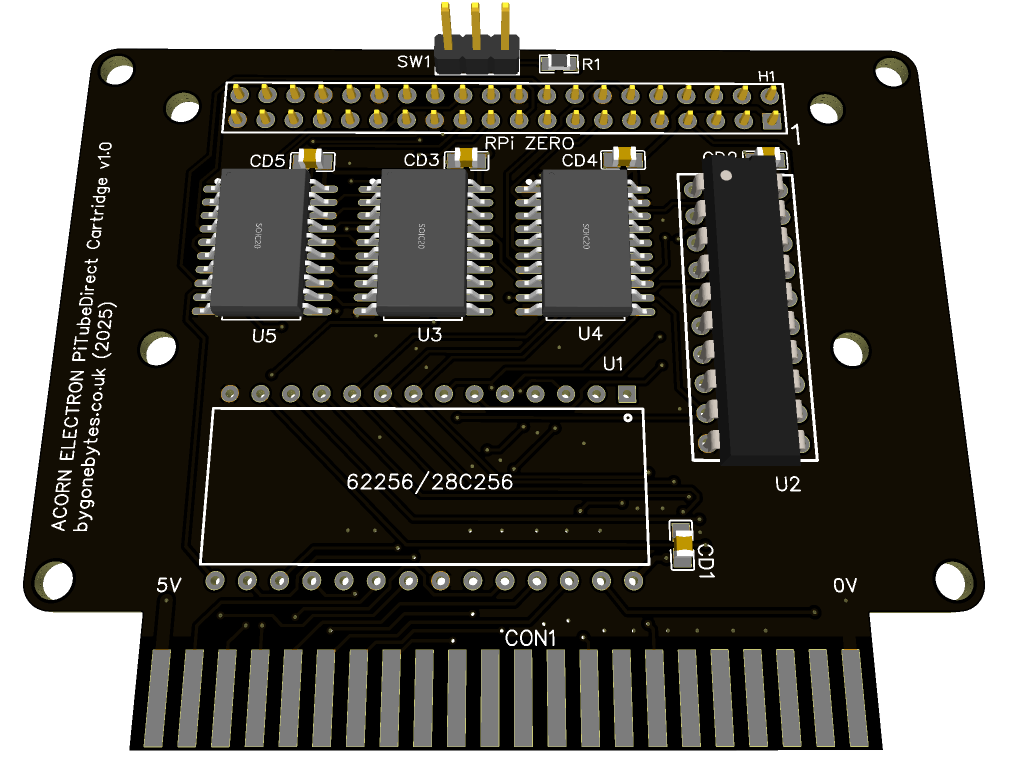
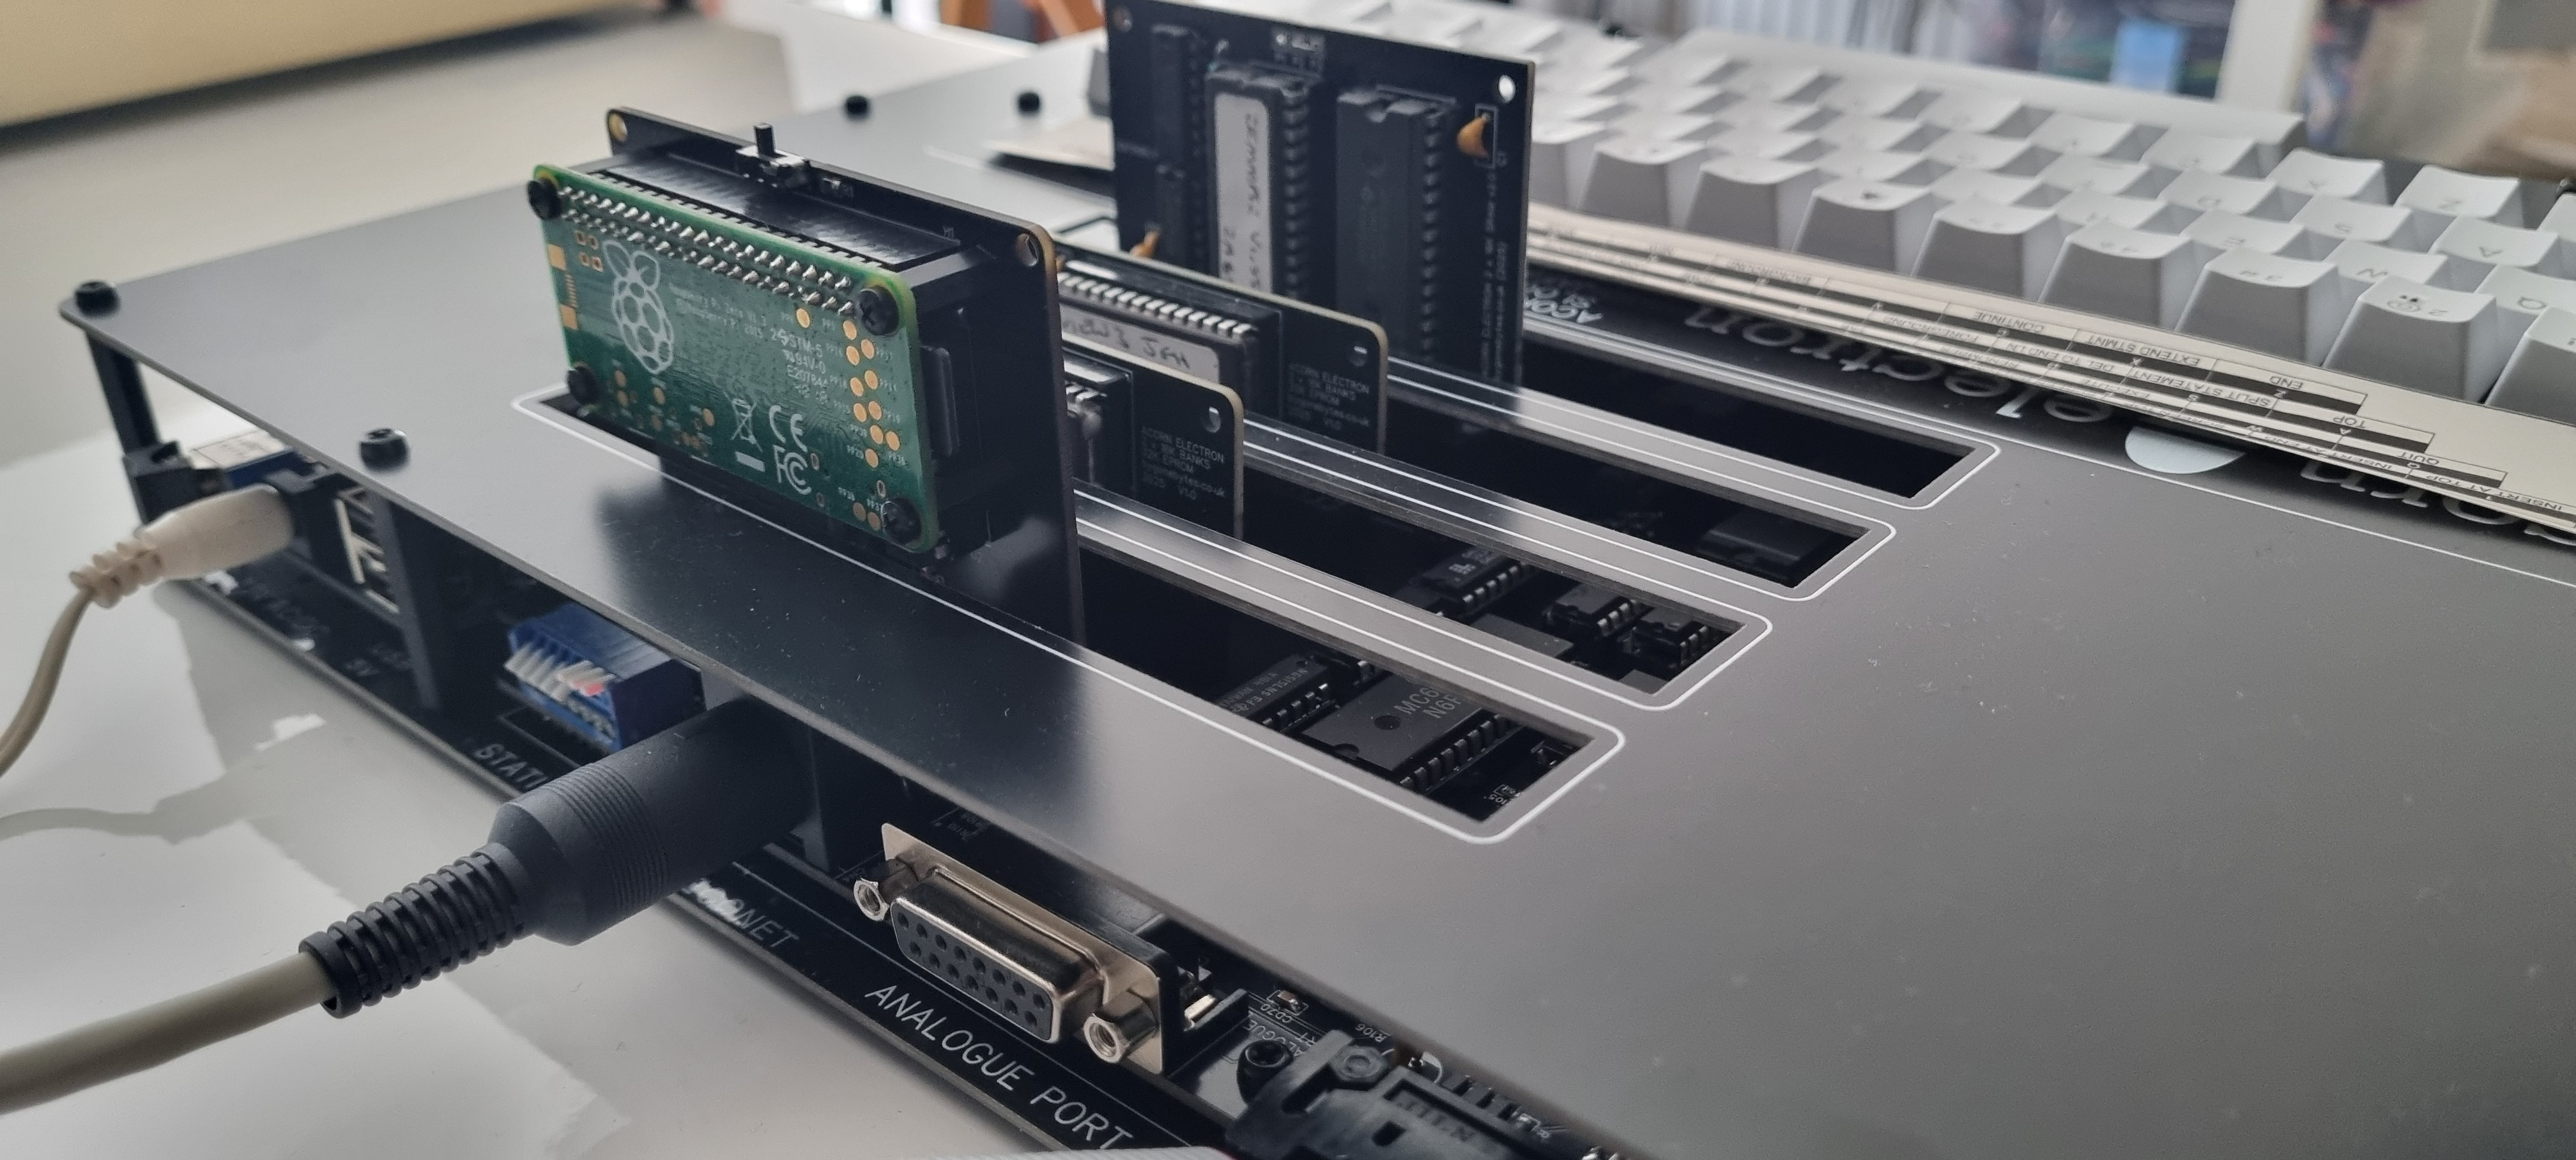
As the Tube interface is only required for the RPi and its interface I combined the Tube and level shifter interfaces onto a cartridge the same size as the ATI with the RPi sitting and secured within the same footprint. Like the ATI (but not the same) I had enough space to include two banks of sideways RAM so the cartridge can be fully utilised.
08/09/25 - The PCB's arrived and comparing it to the ATI/Level Shifter Interface it looks as neat as I had hoped.
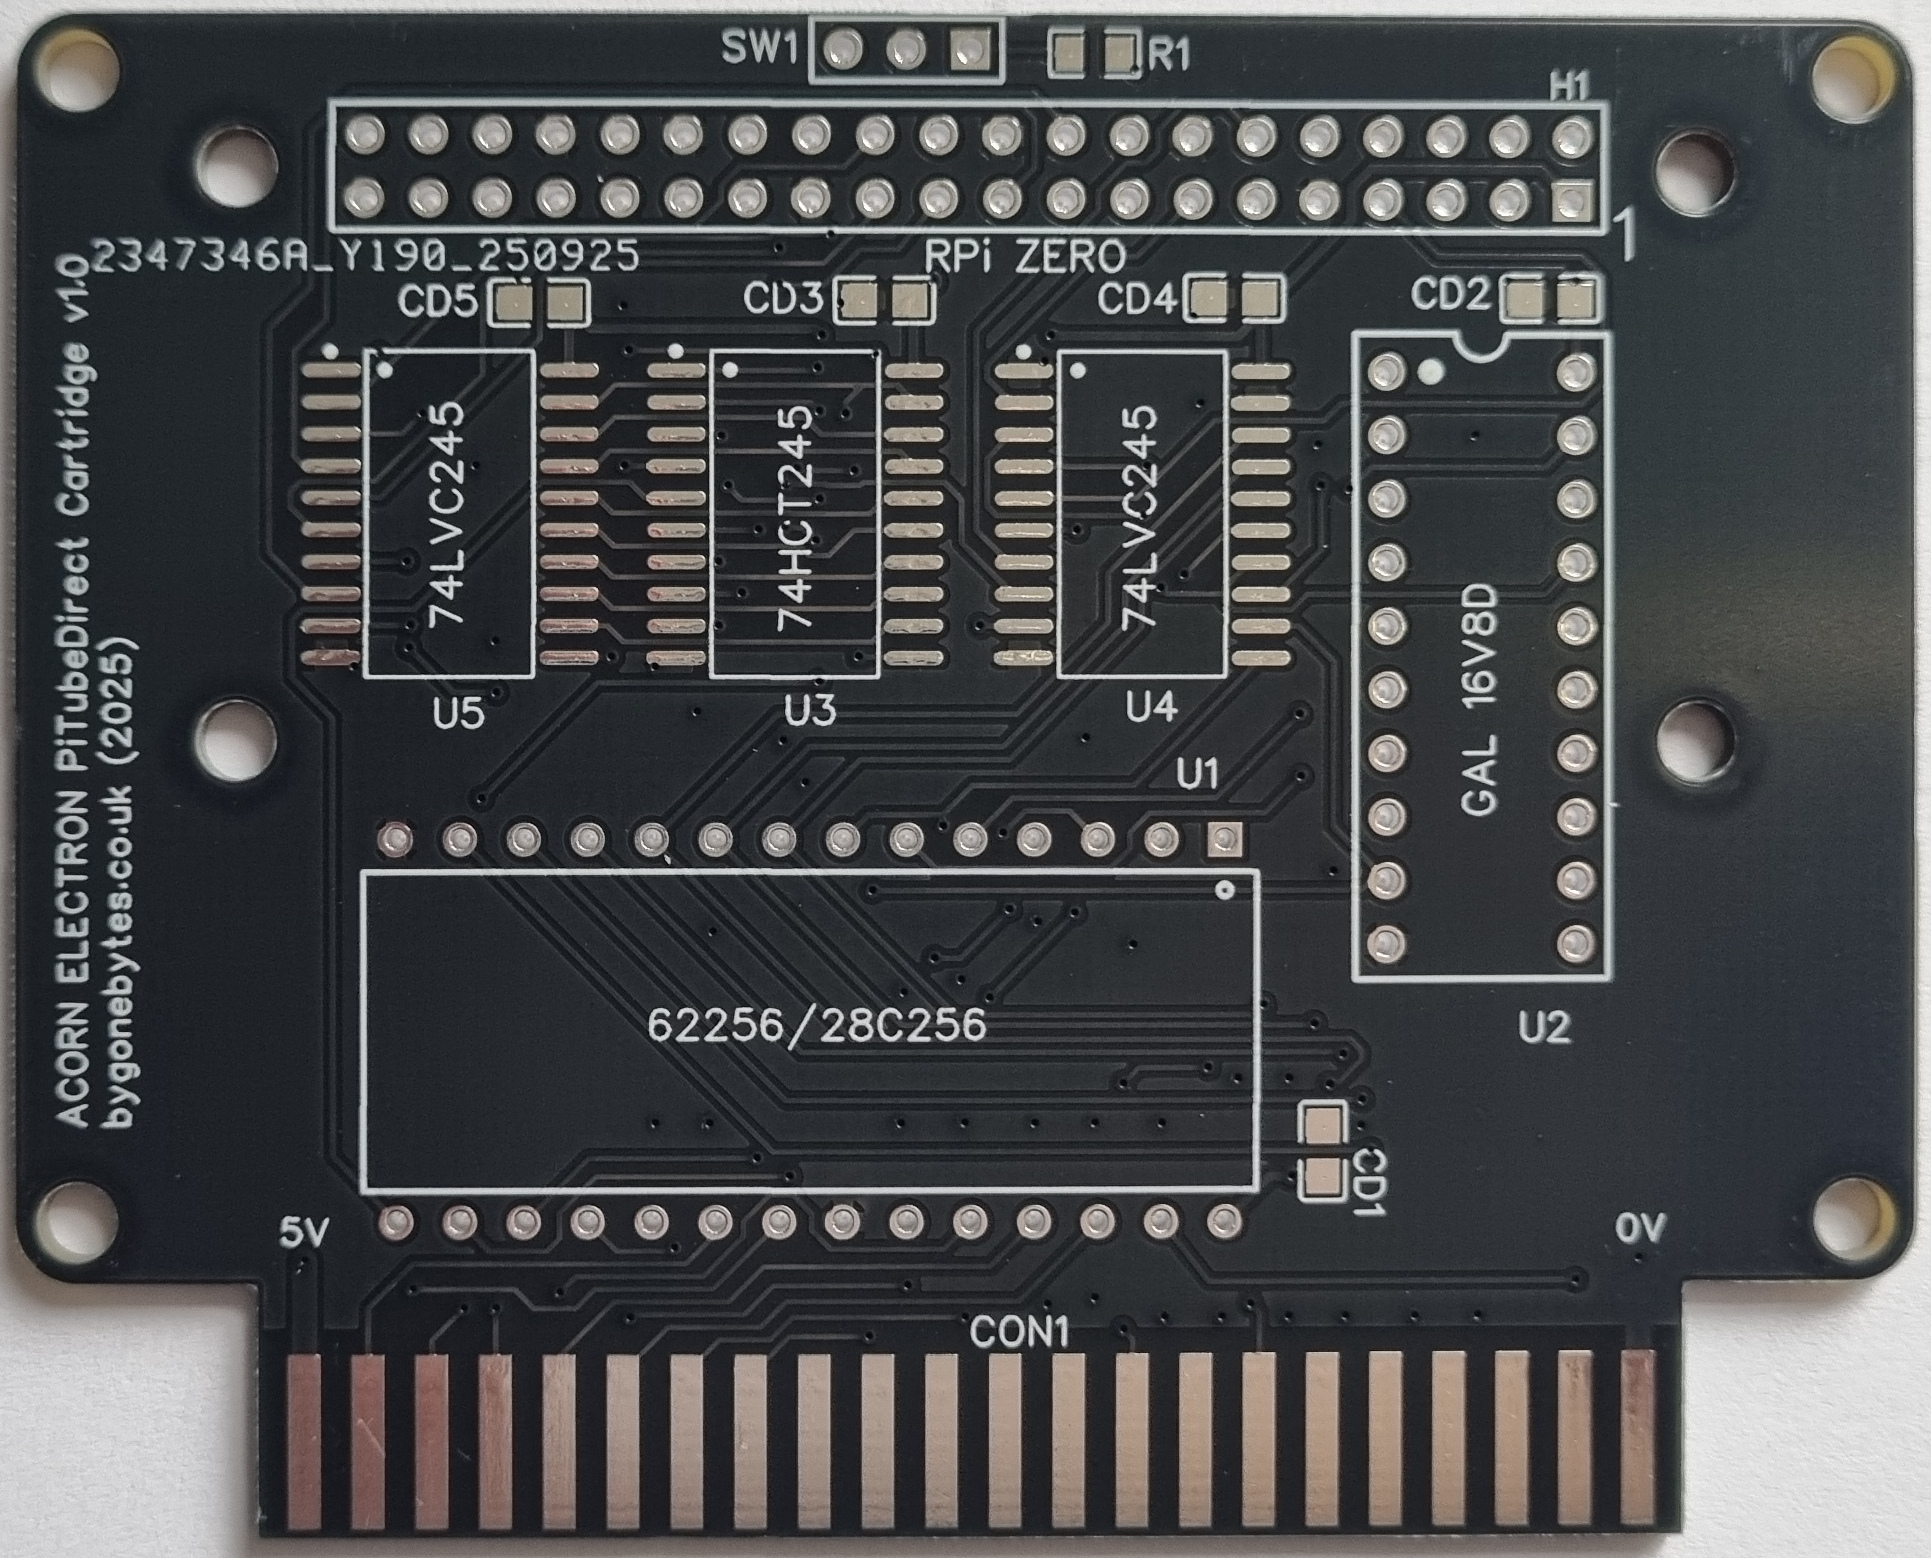
I started to assemble the board only to find I made an ordering error.. more on that later.
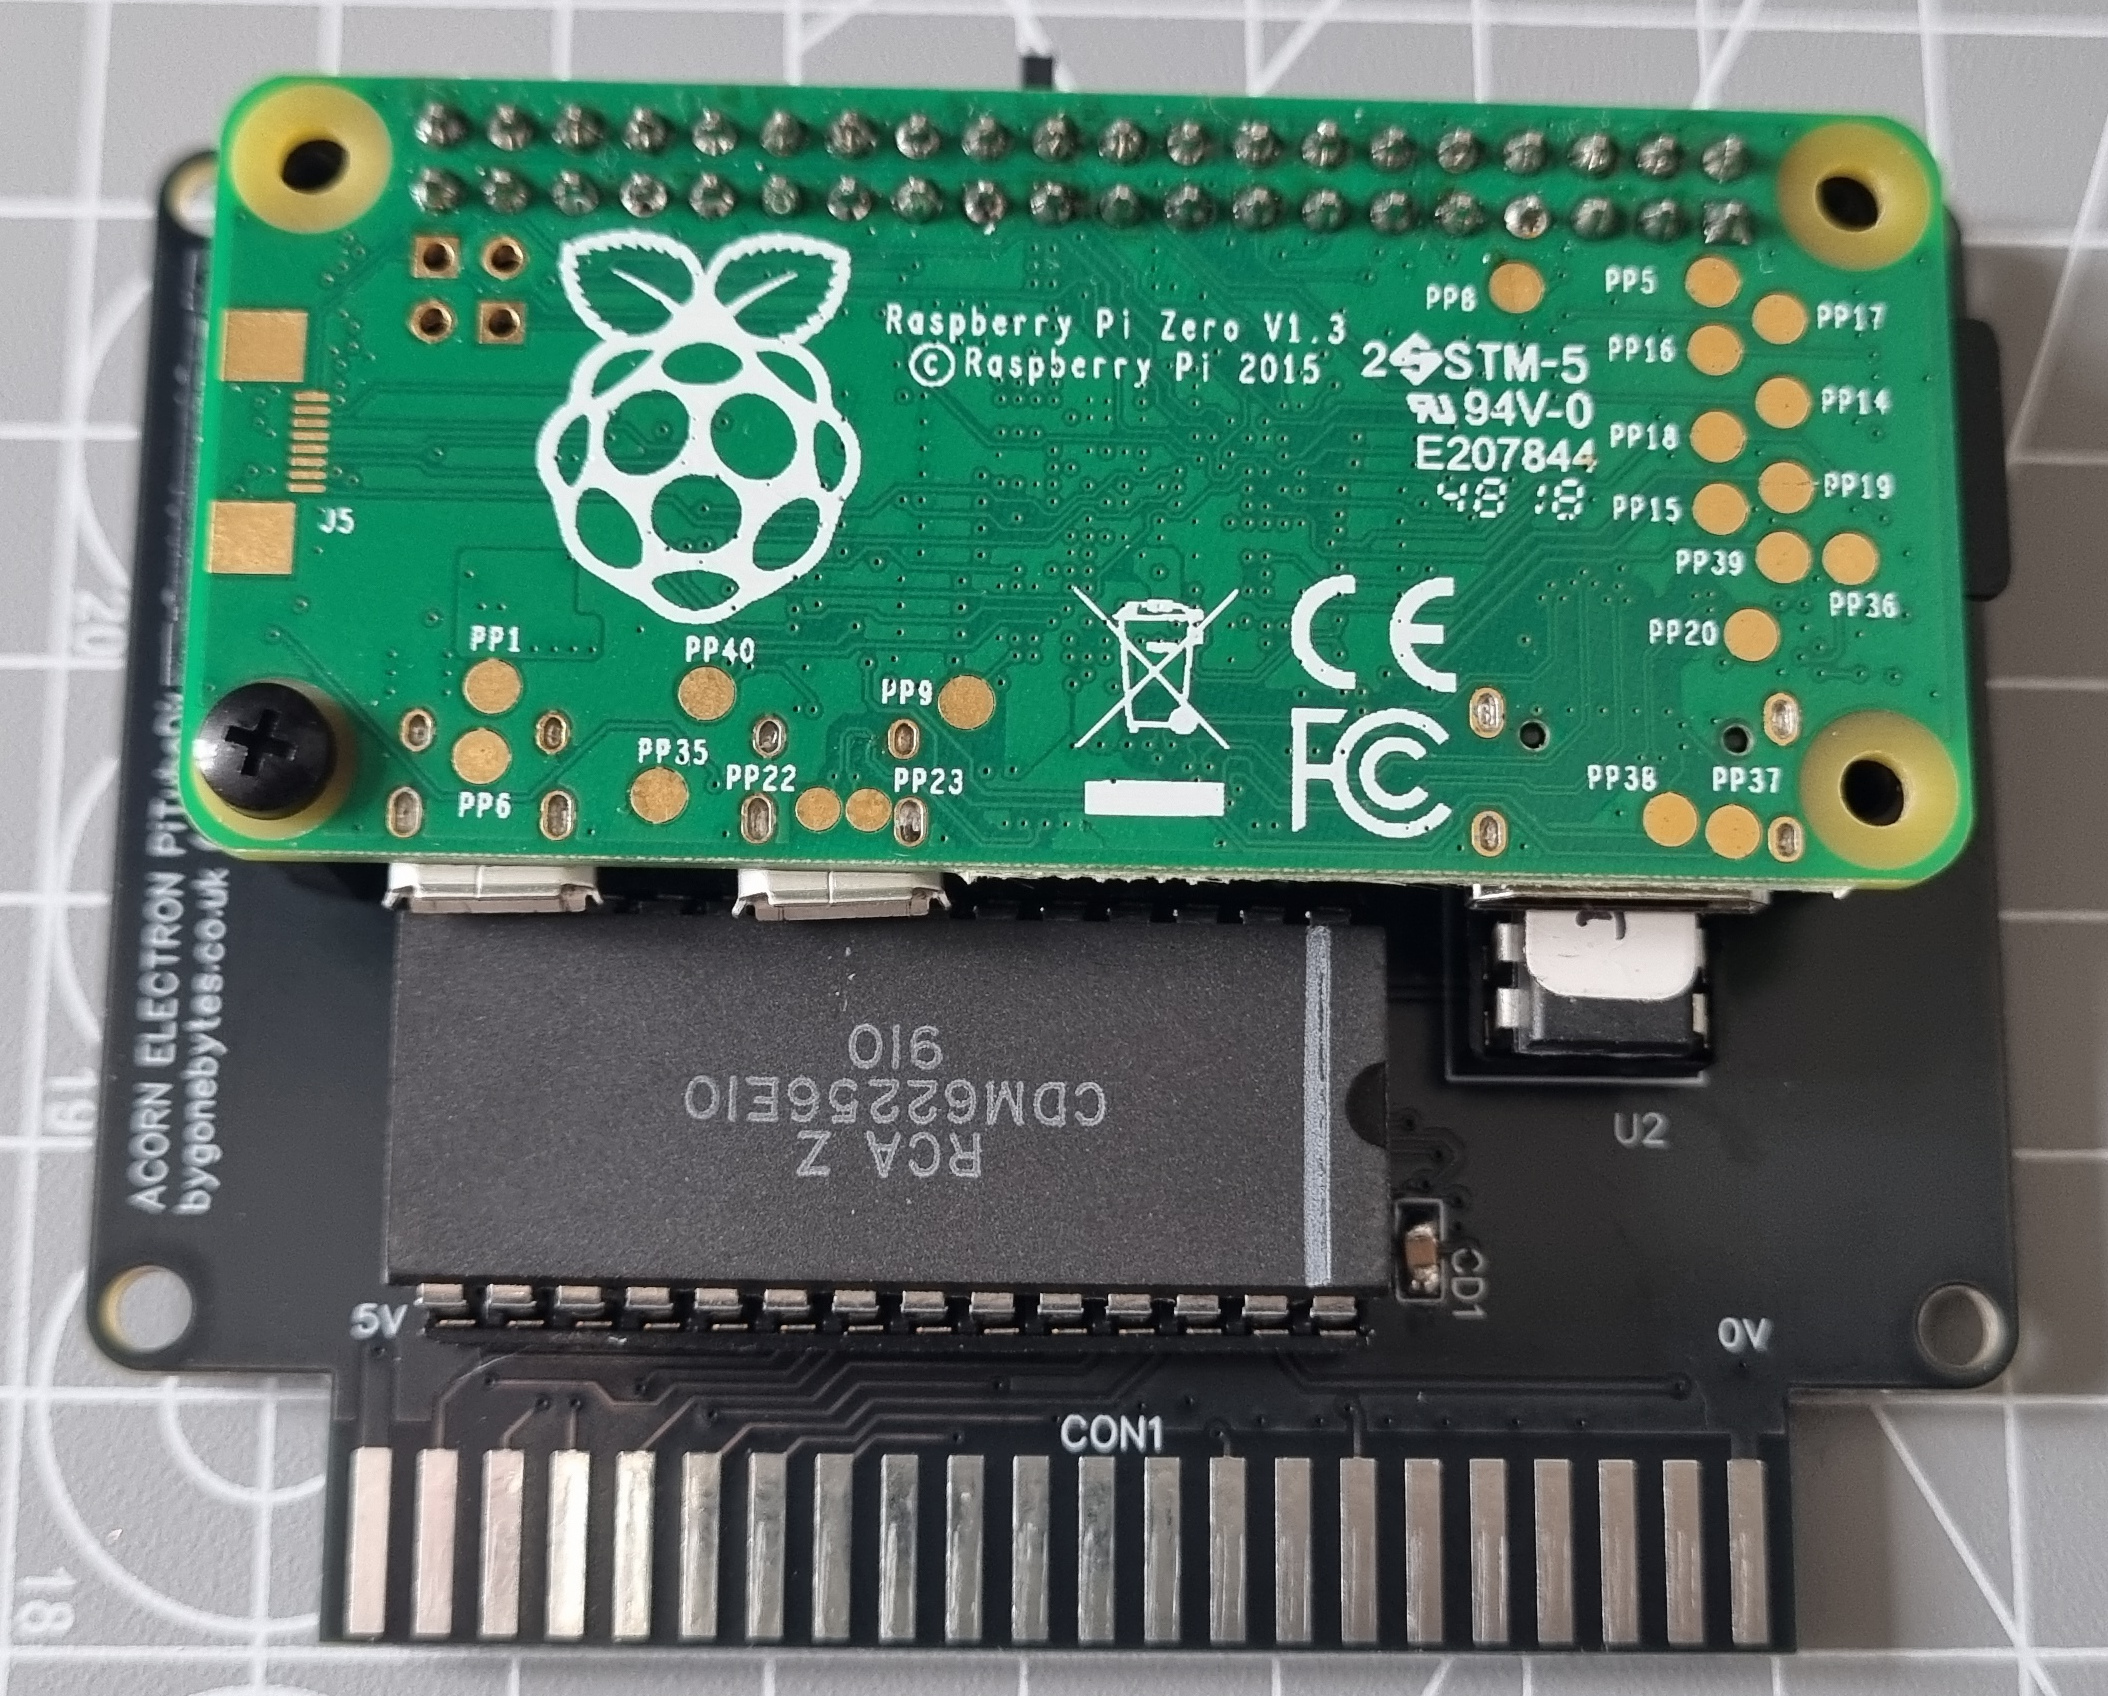
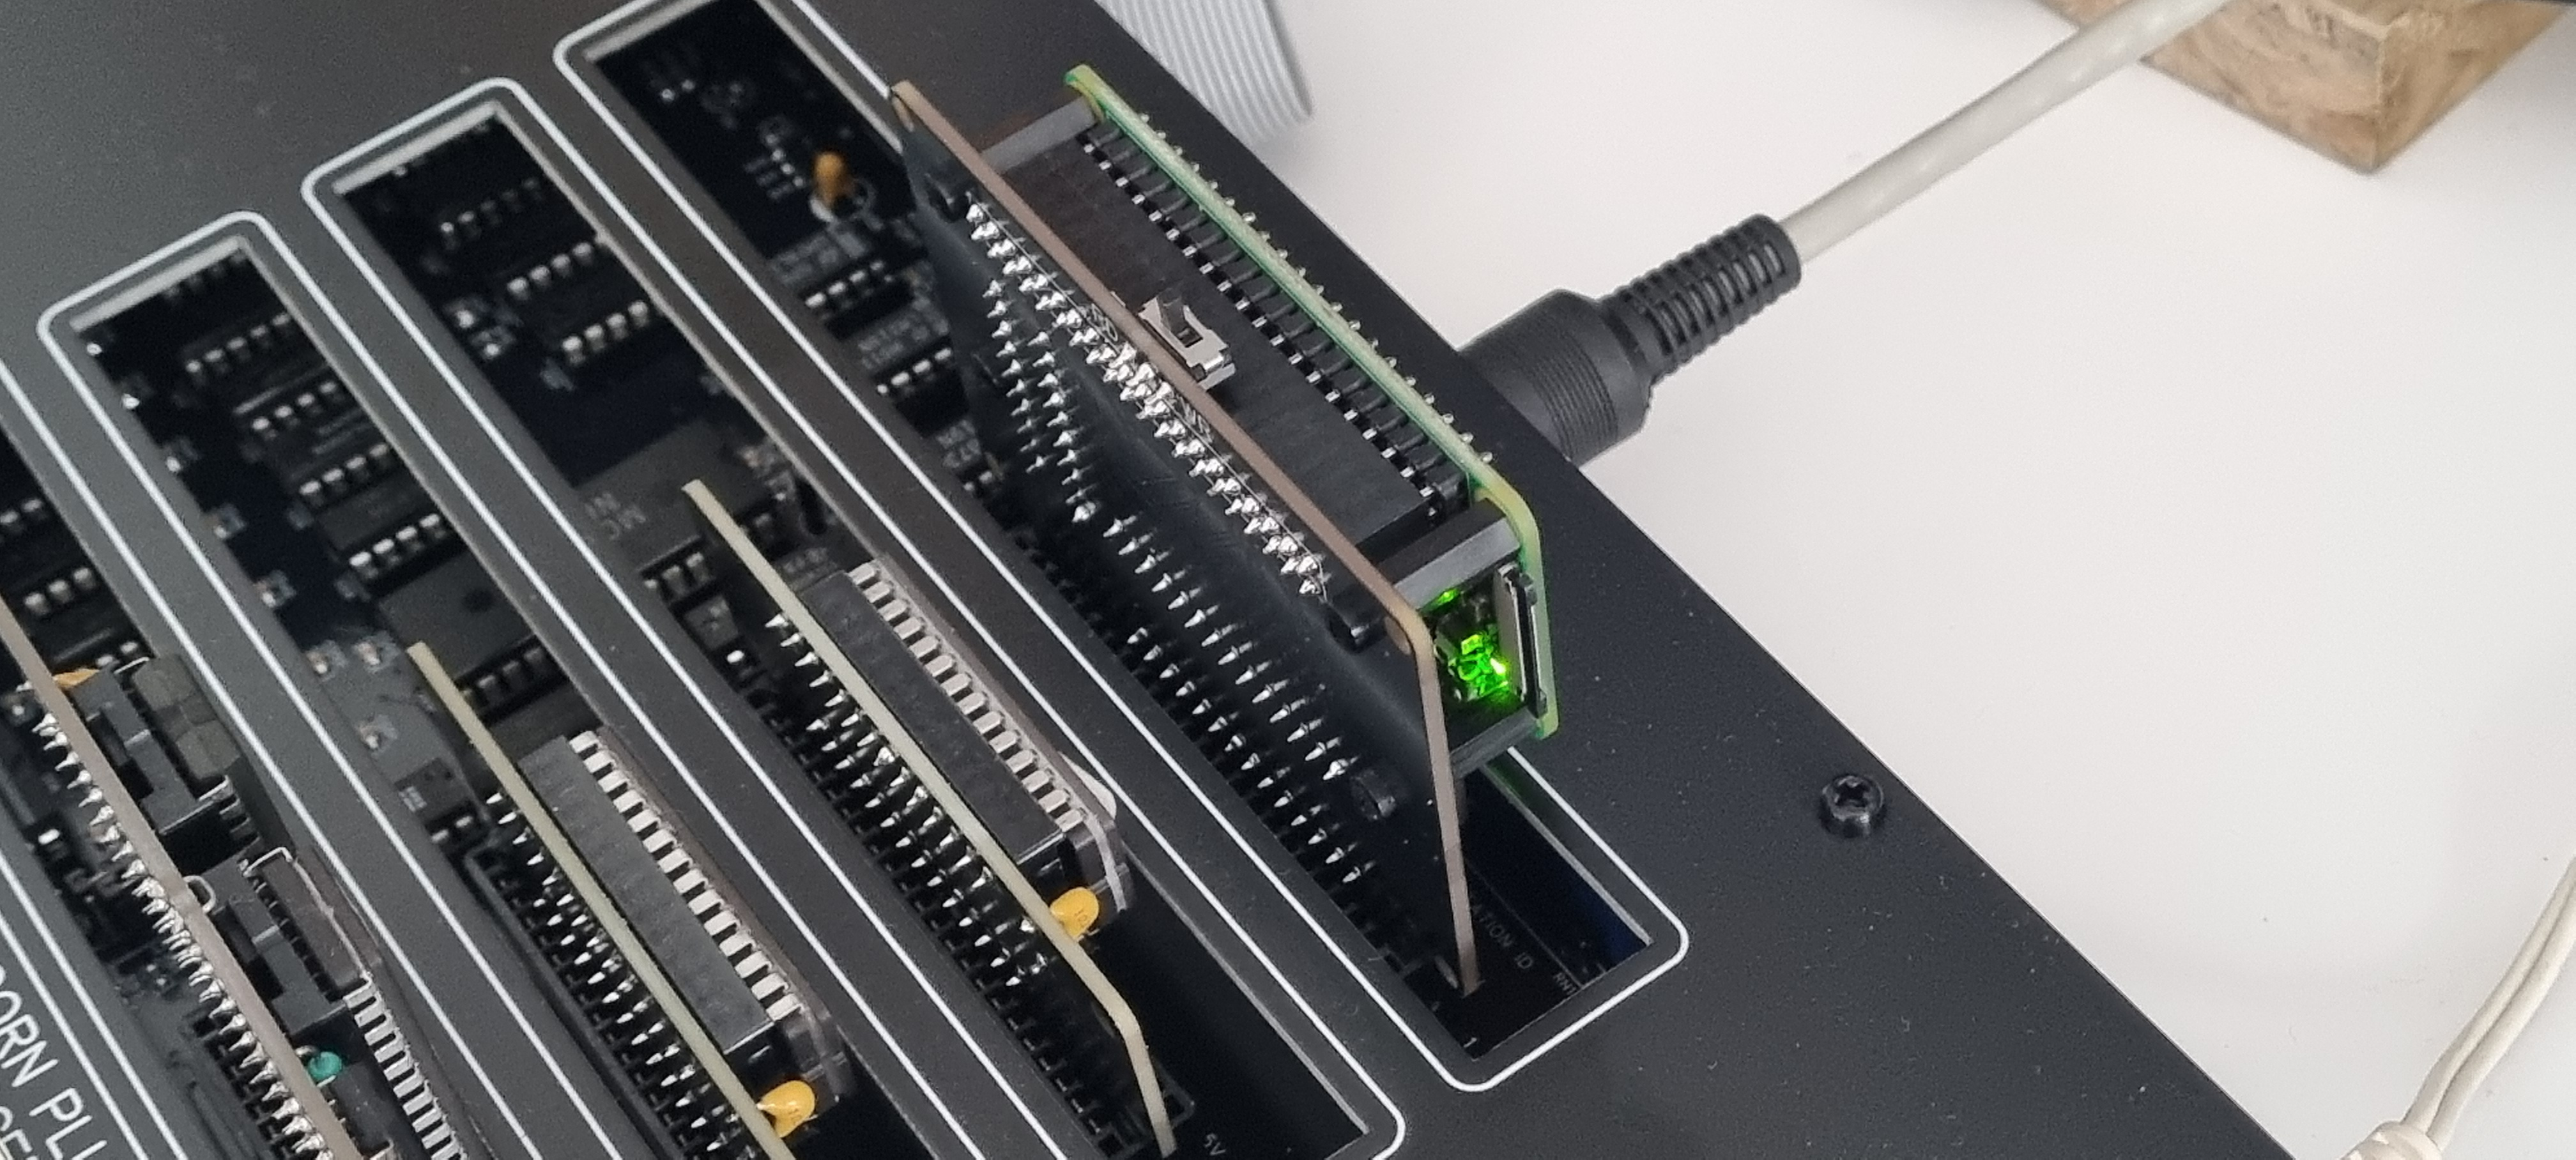
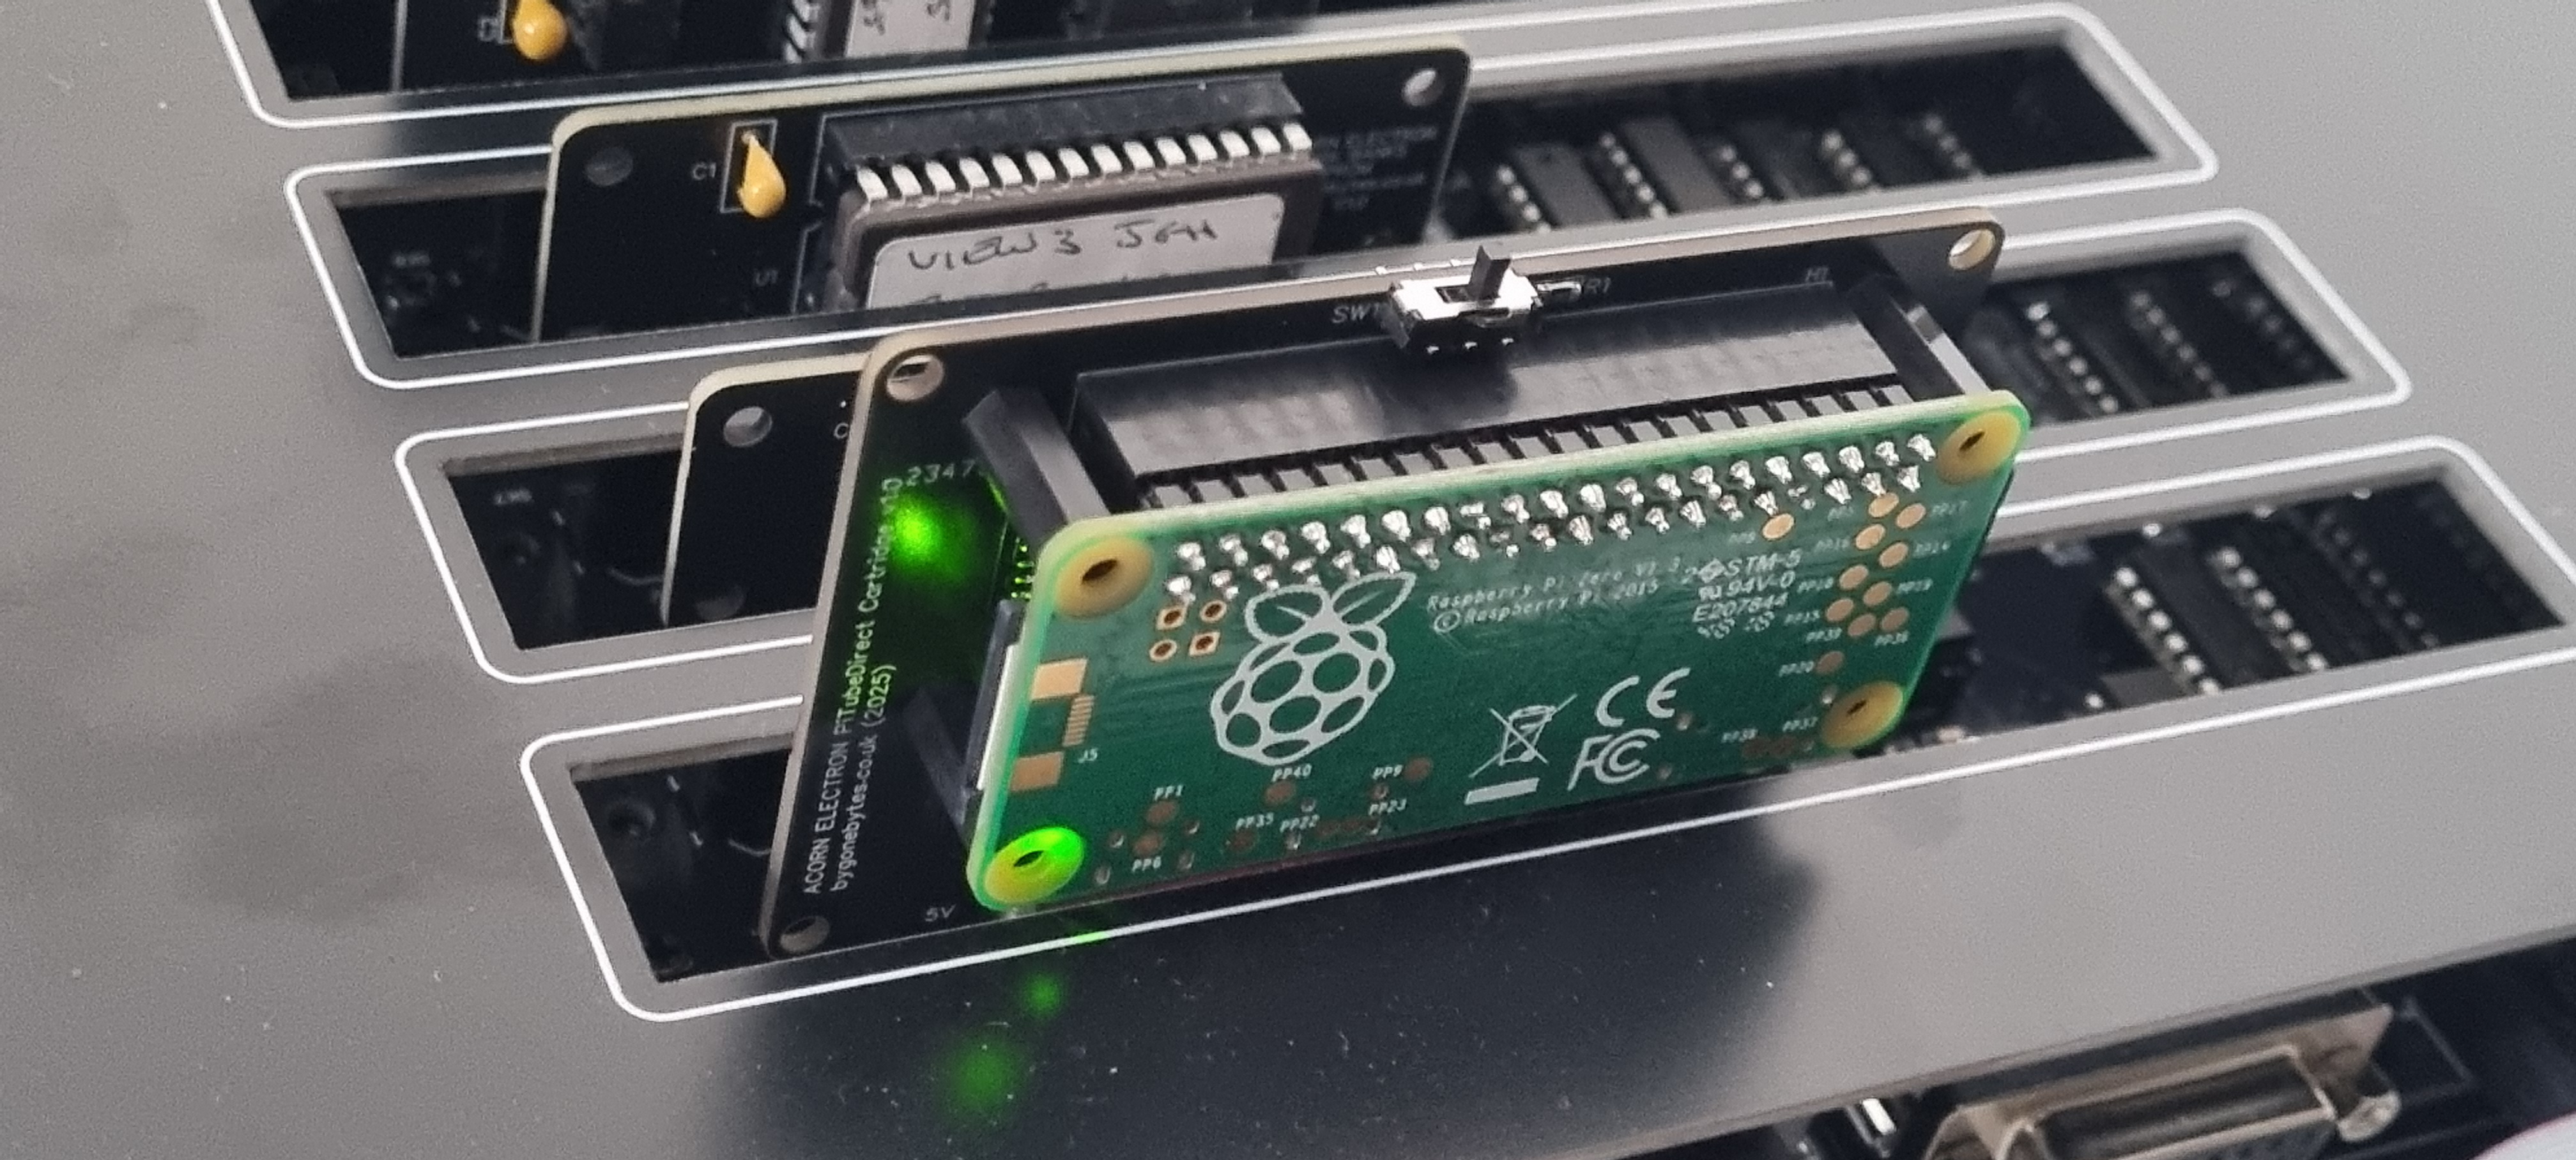
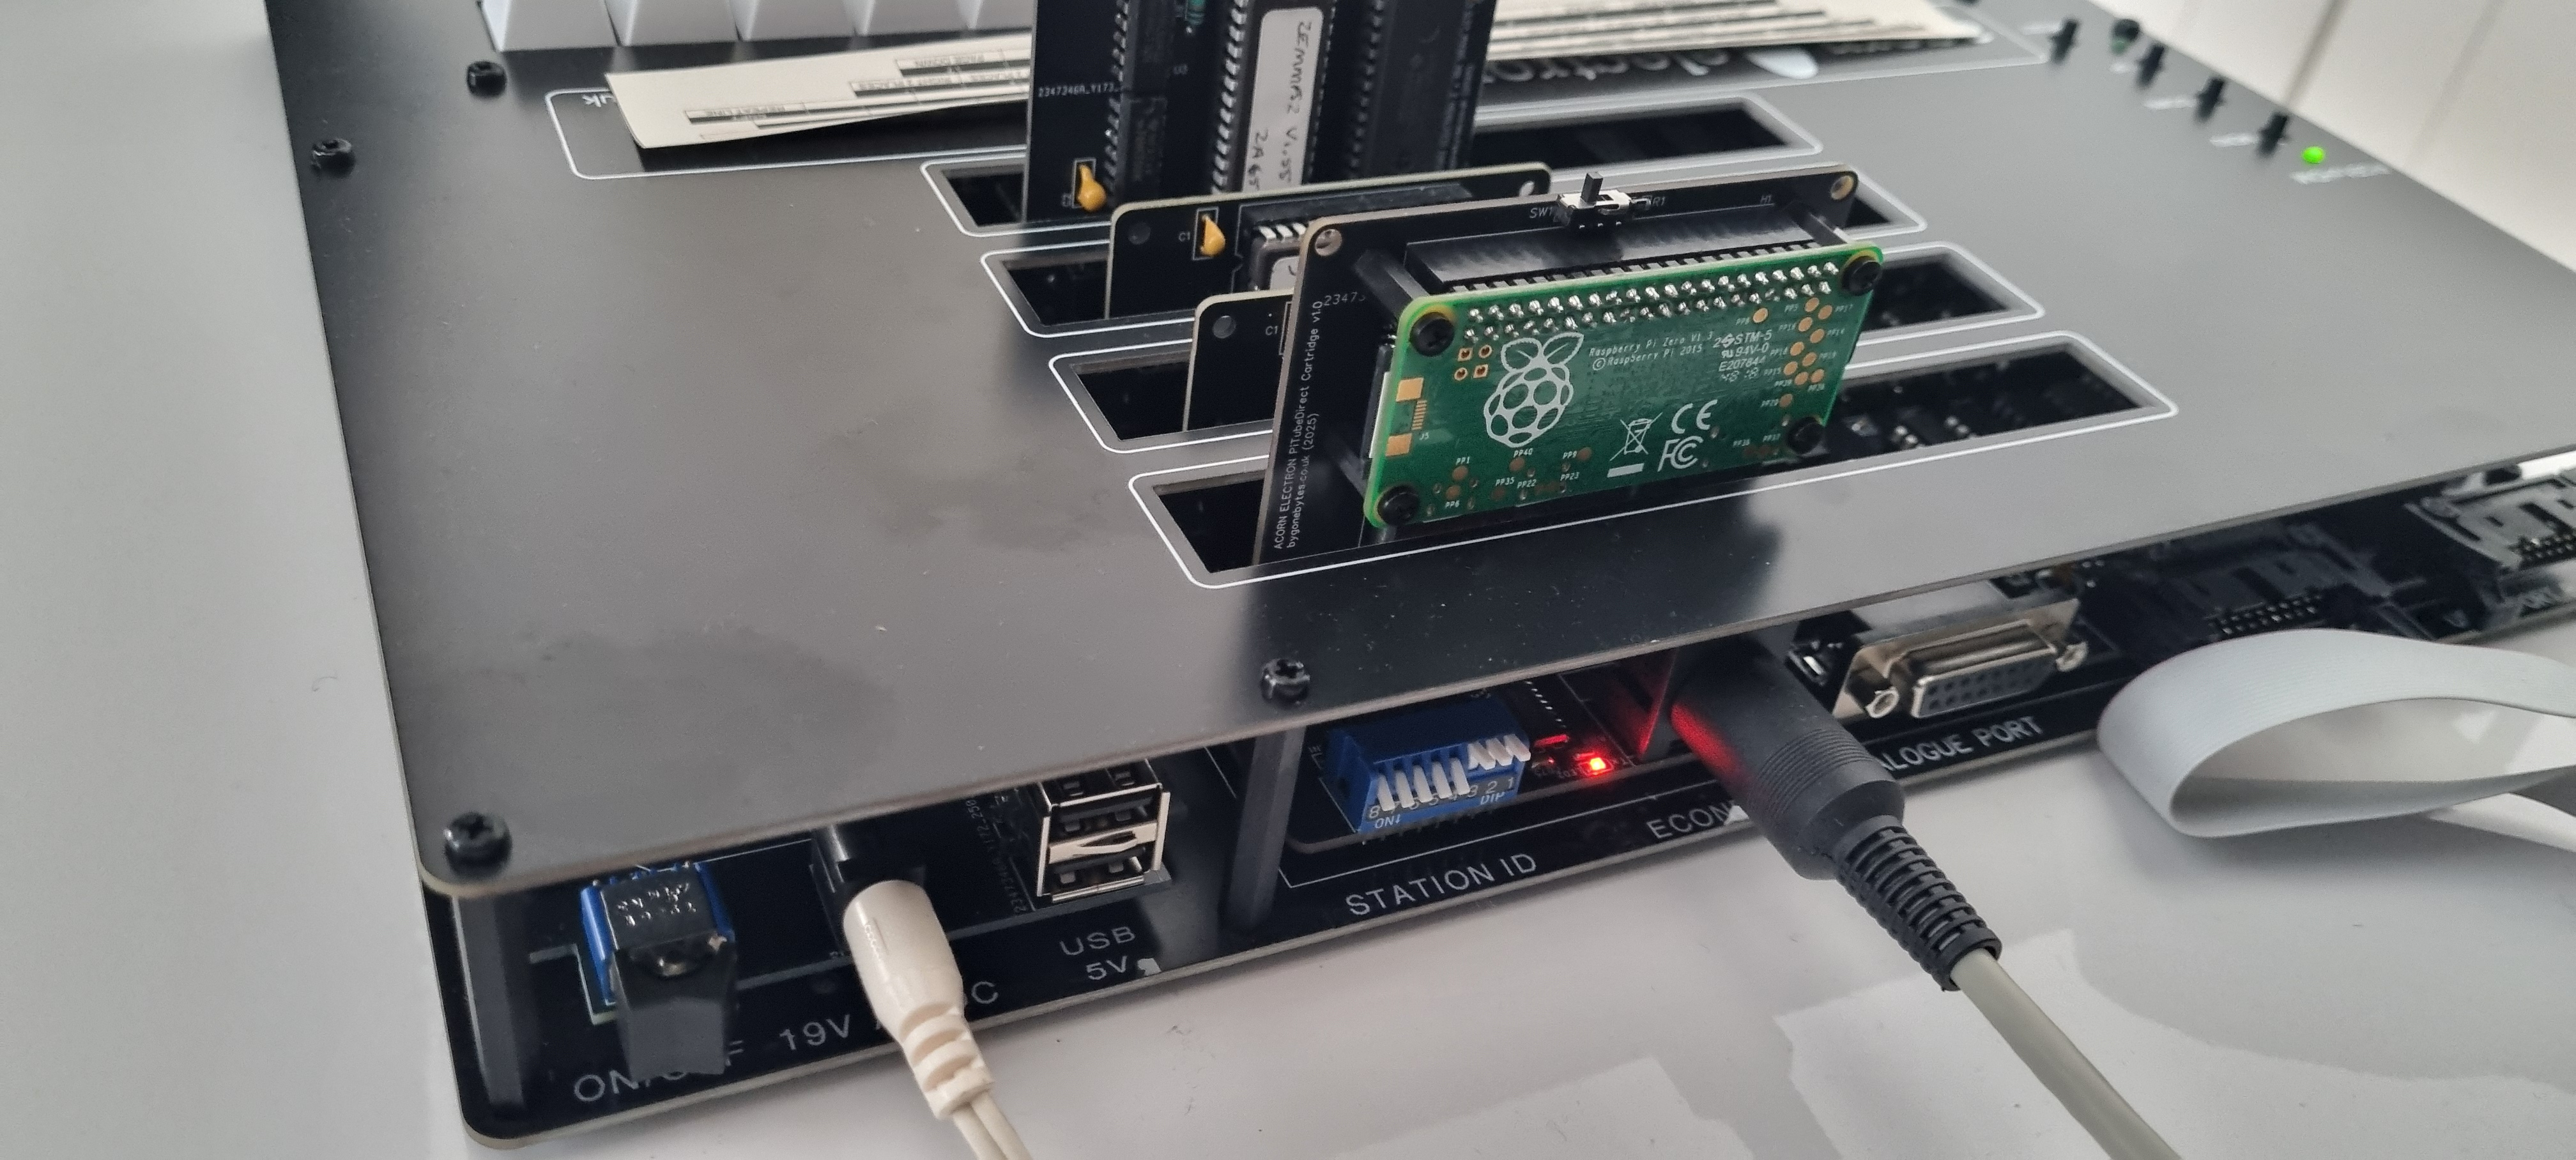
With the board partly assembled I temporarily fitted the Header and Pi Zero and tried it out in the Electron Clone cartridge slot to check it fits.
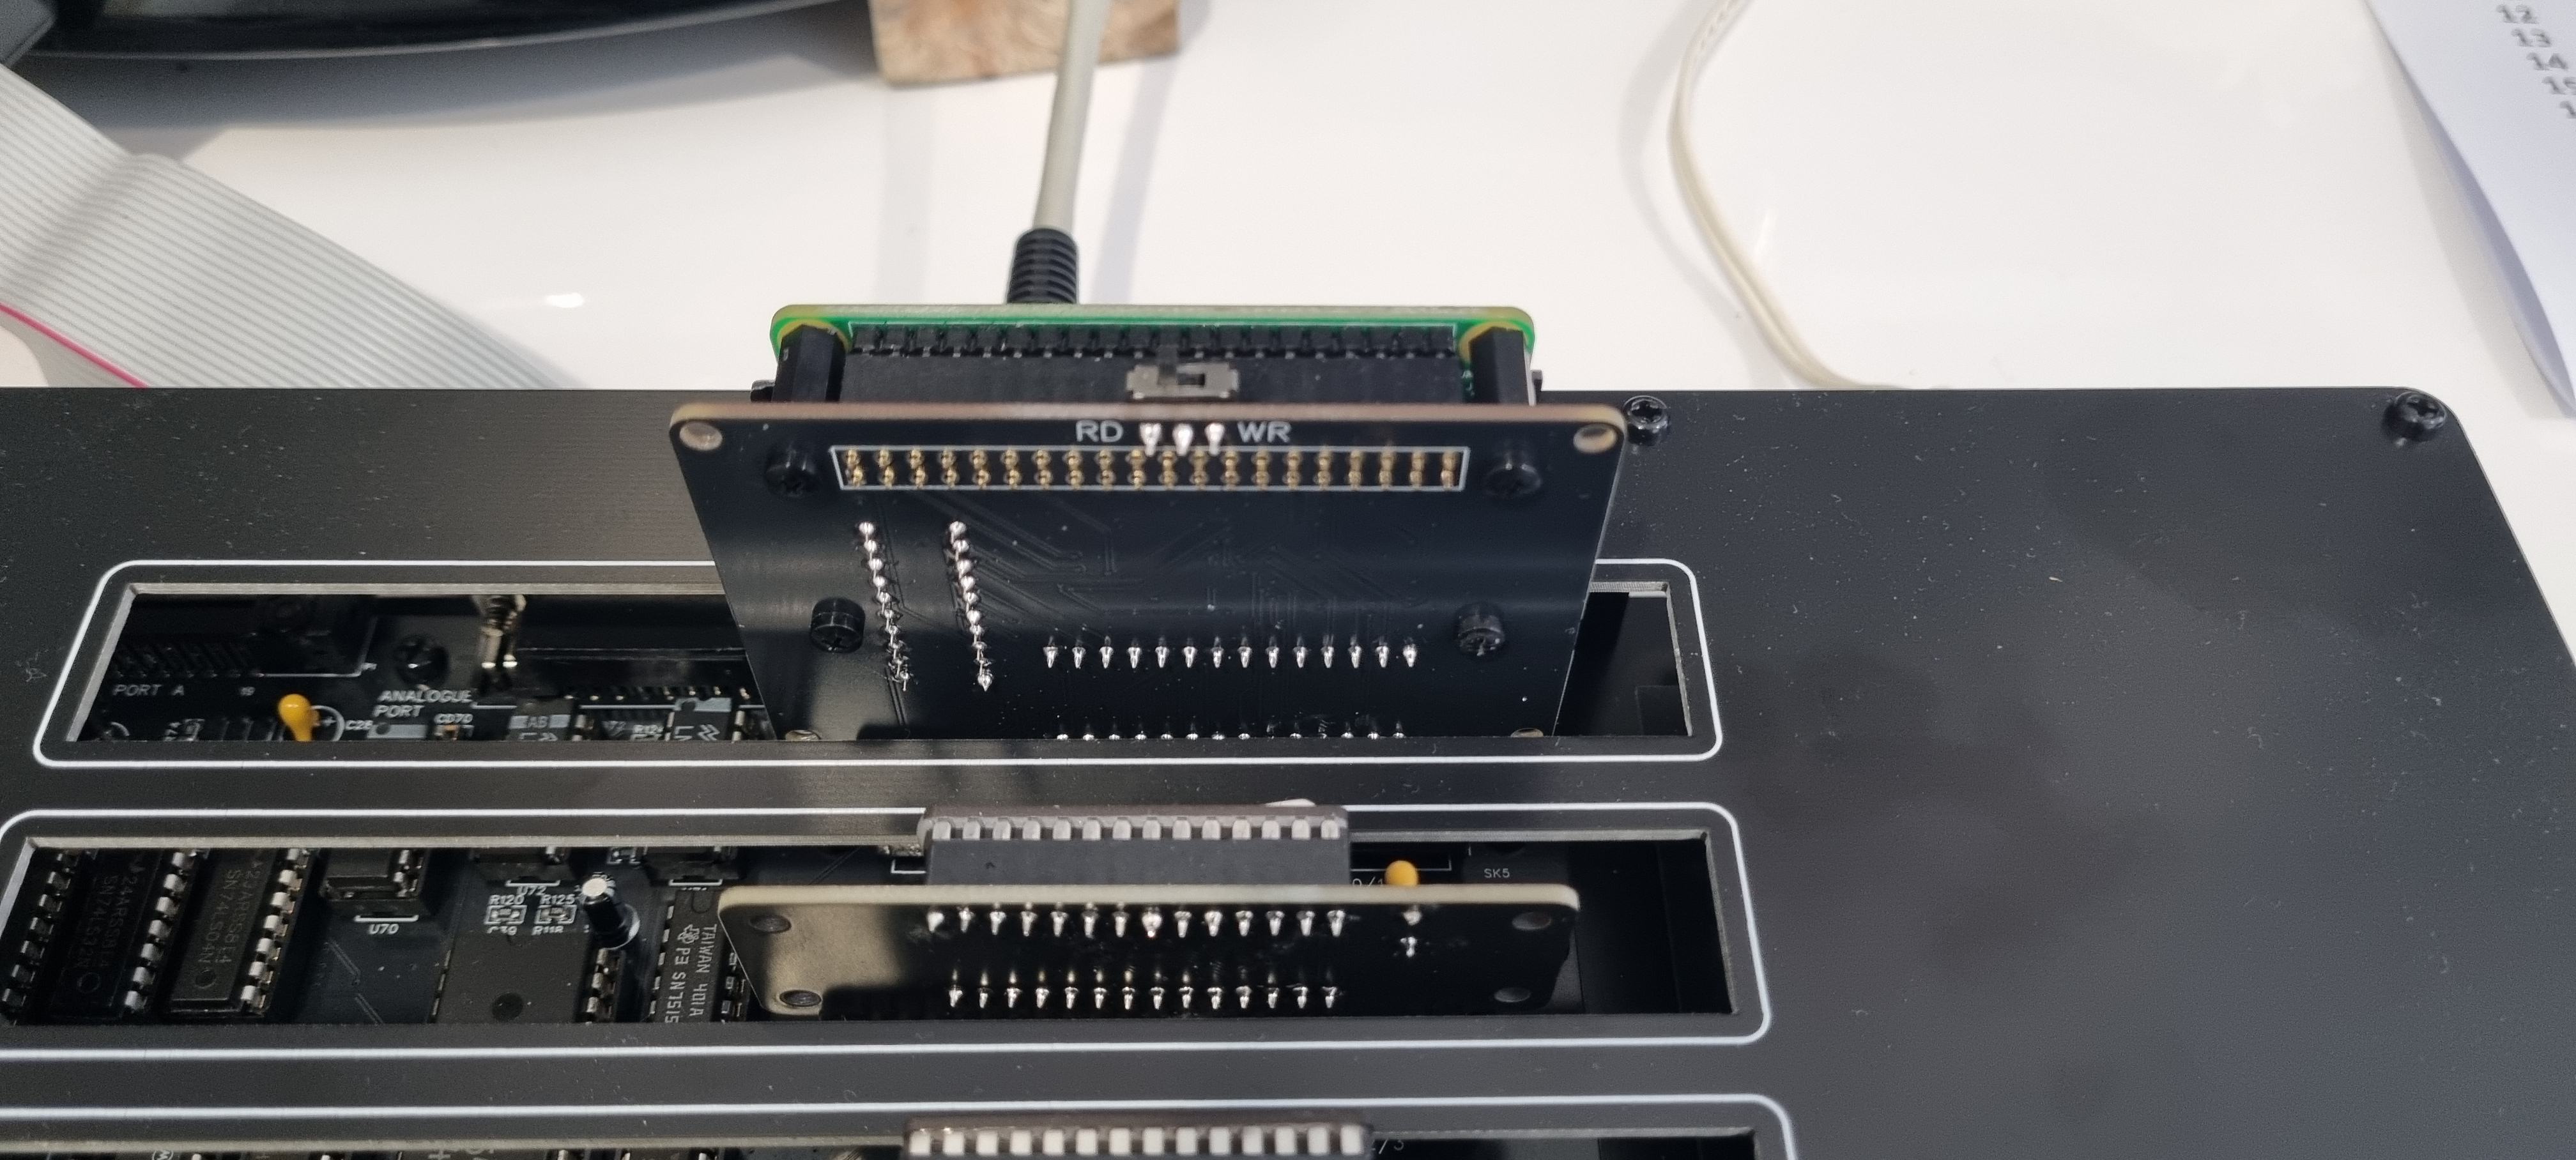
On to the proper testing.. as I ordered a wrong part..a bit too small :) I couldn't test the PiTubeDirect..
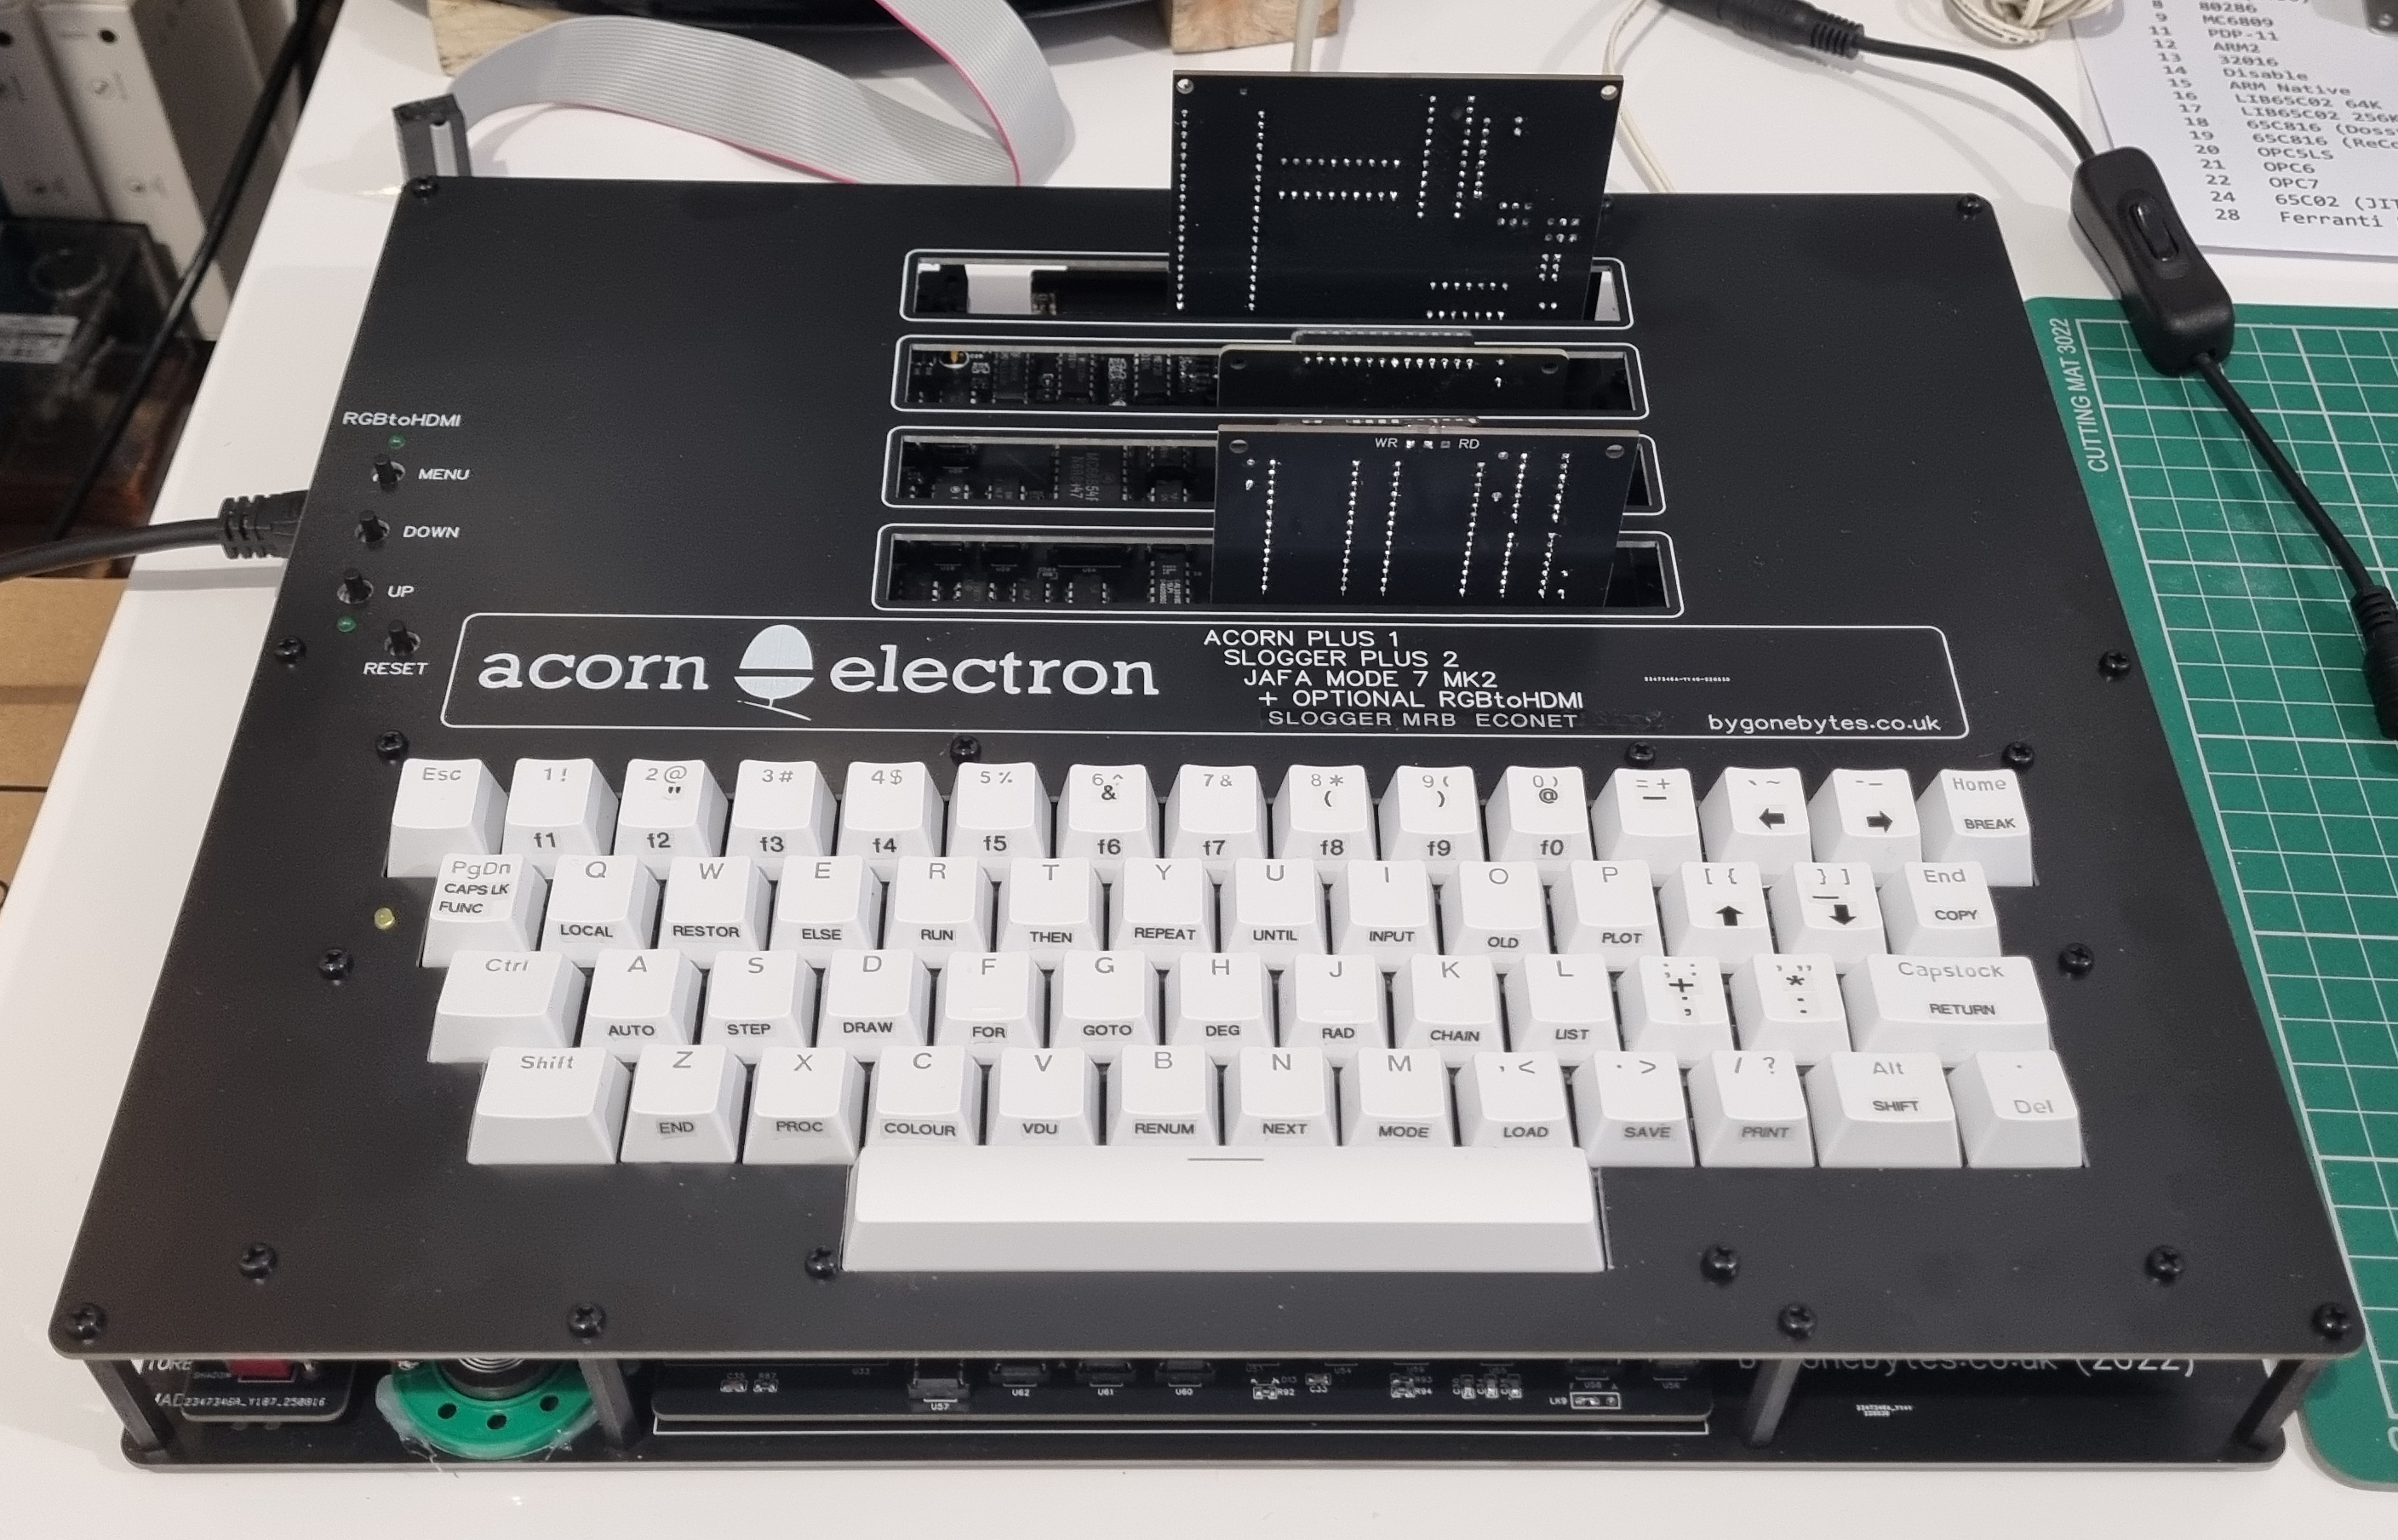
but I could test the SRAM read/writing.
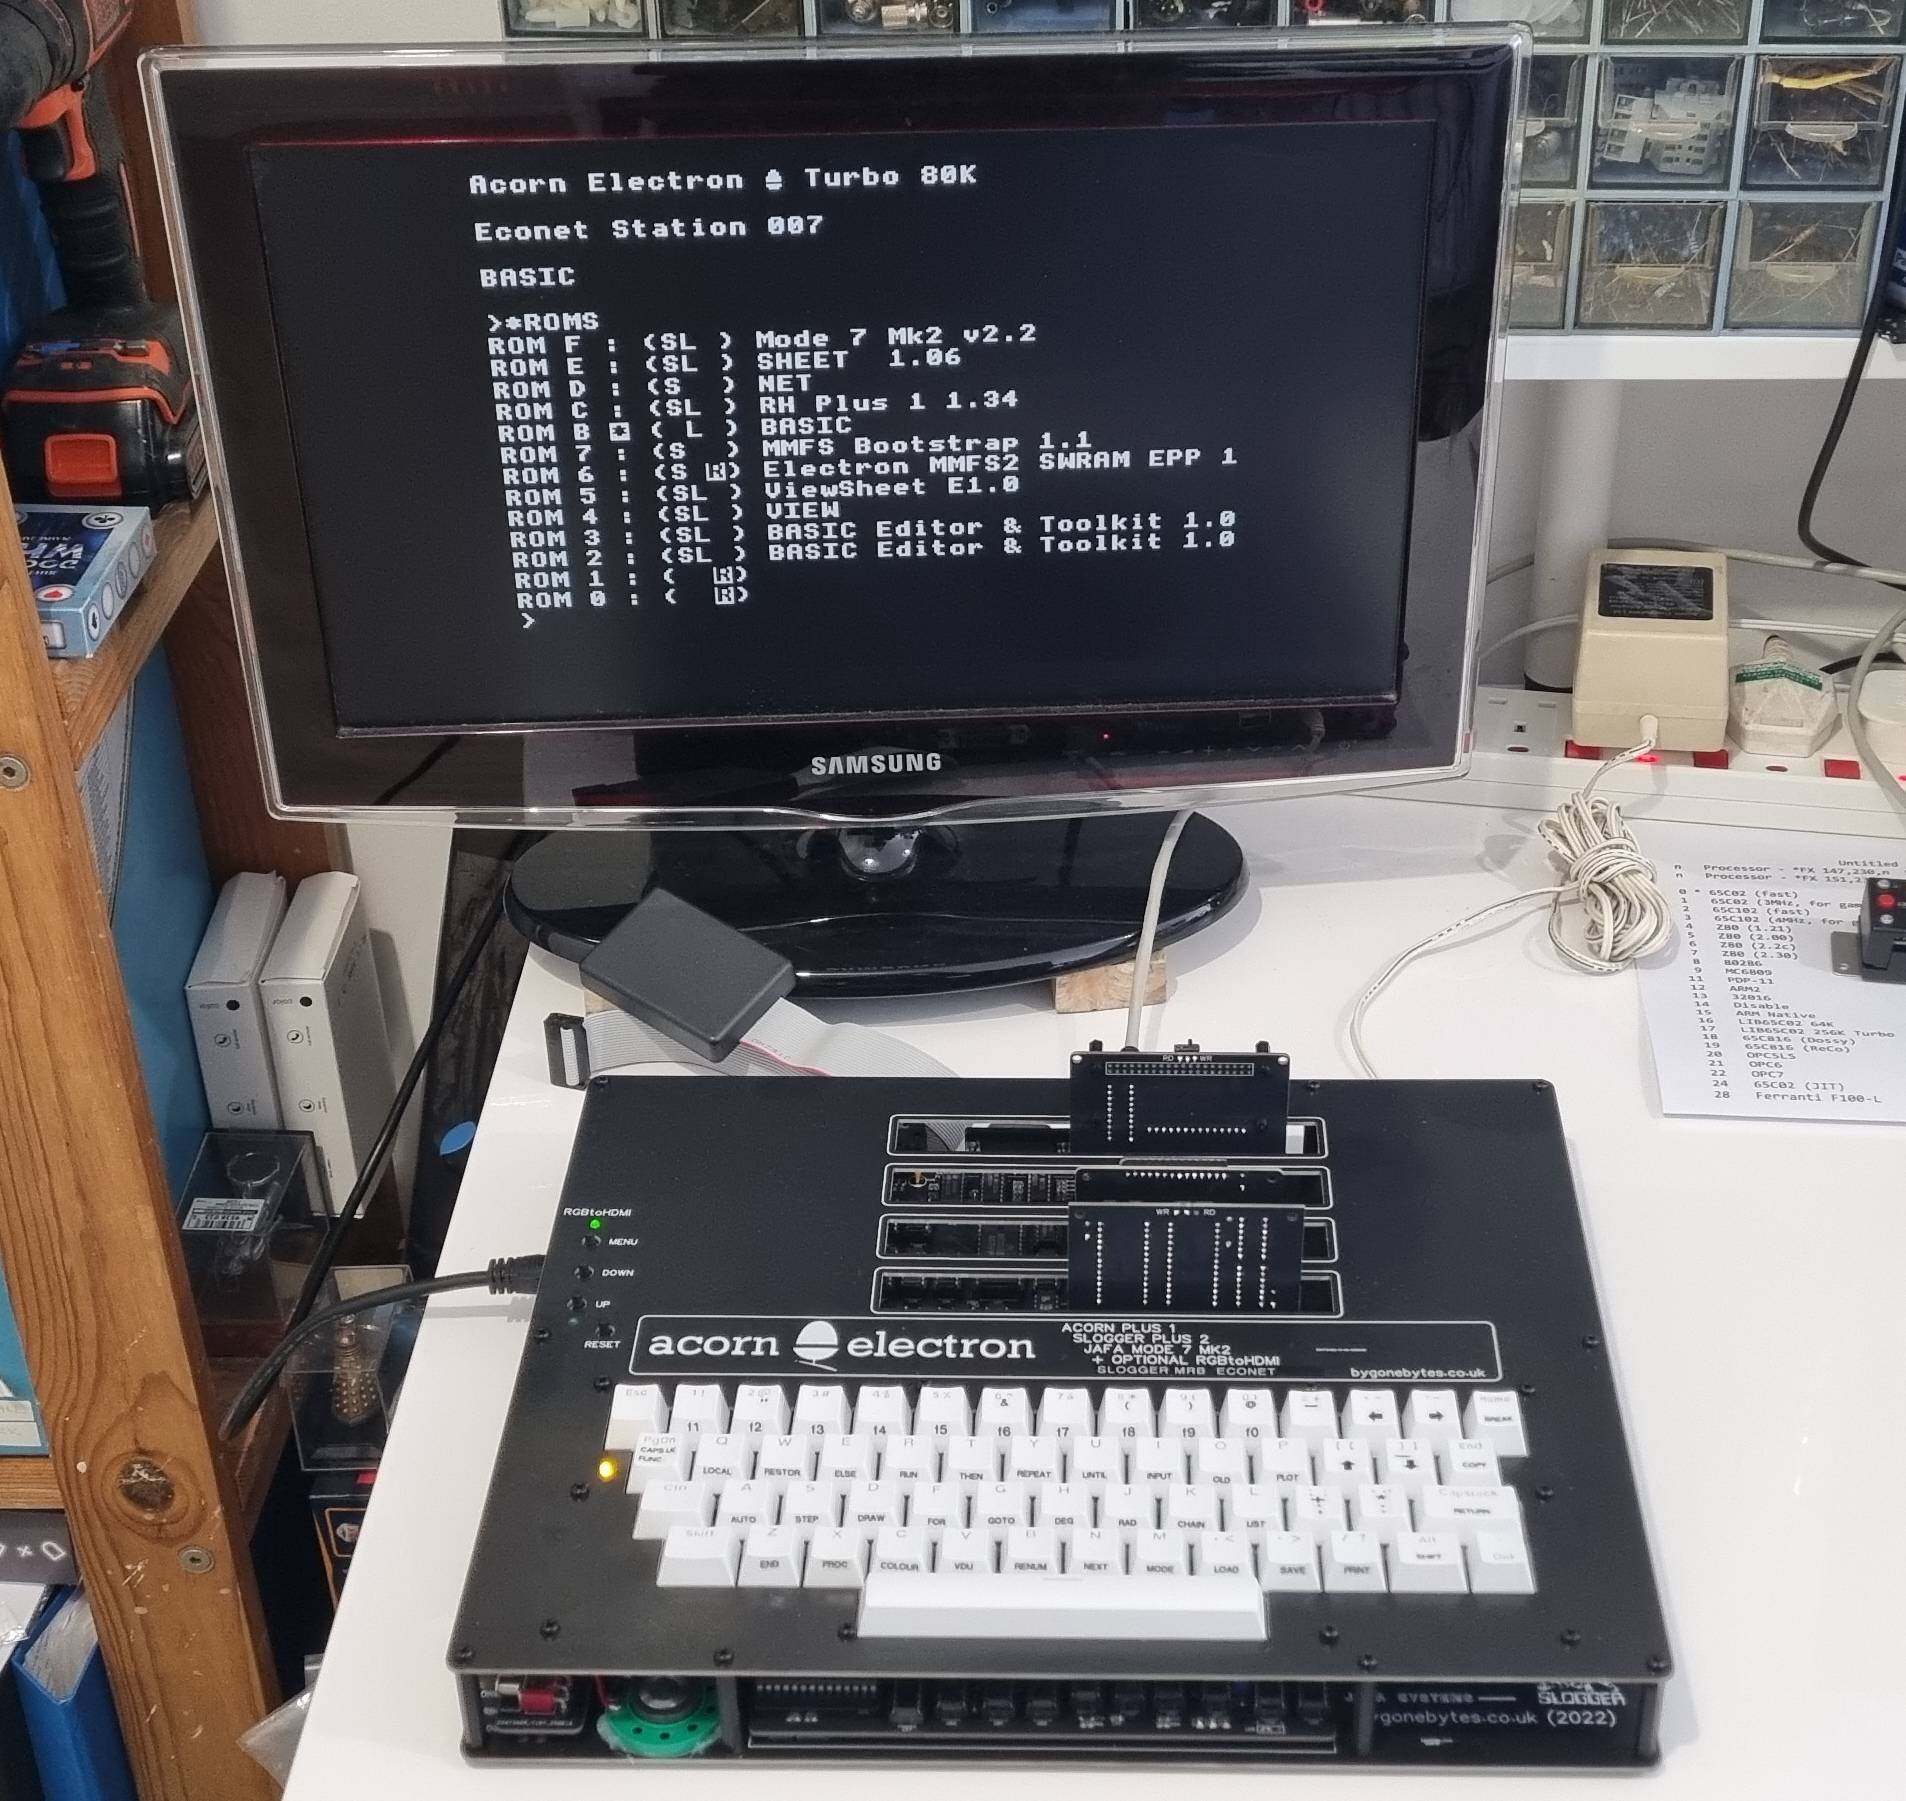
That's OK, I plugged the cartridge into slot 0/1 and the SRAM shows up using the *ROMS command. I also loaded a few ROM images from the Econet file server..that is quick!!
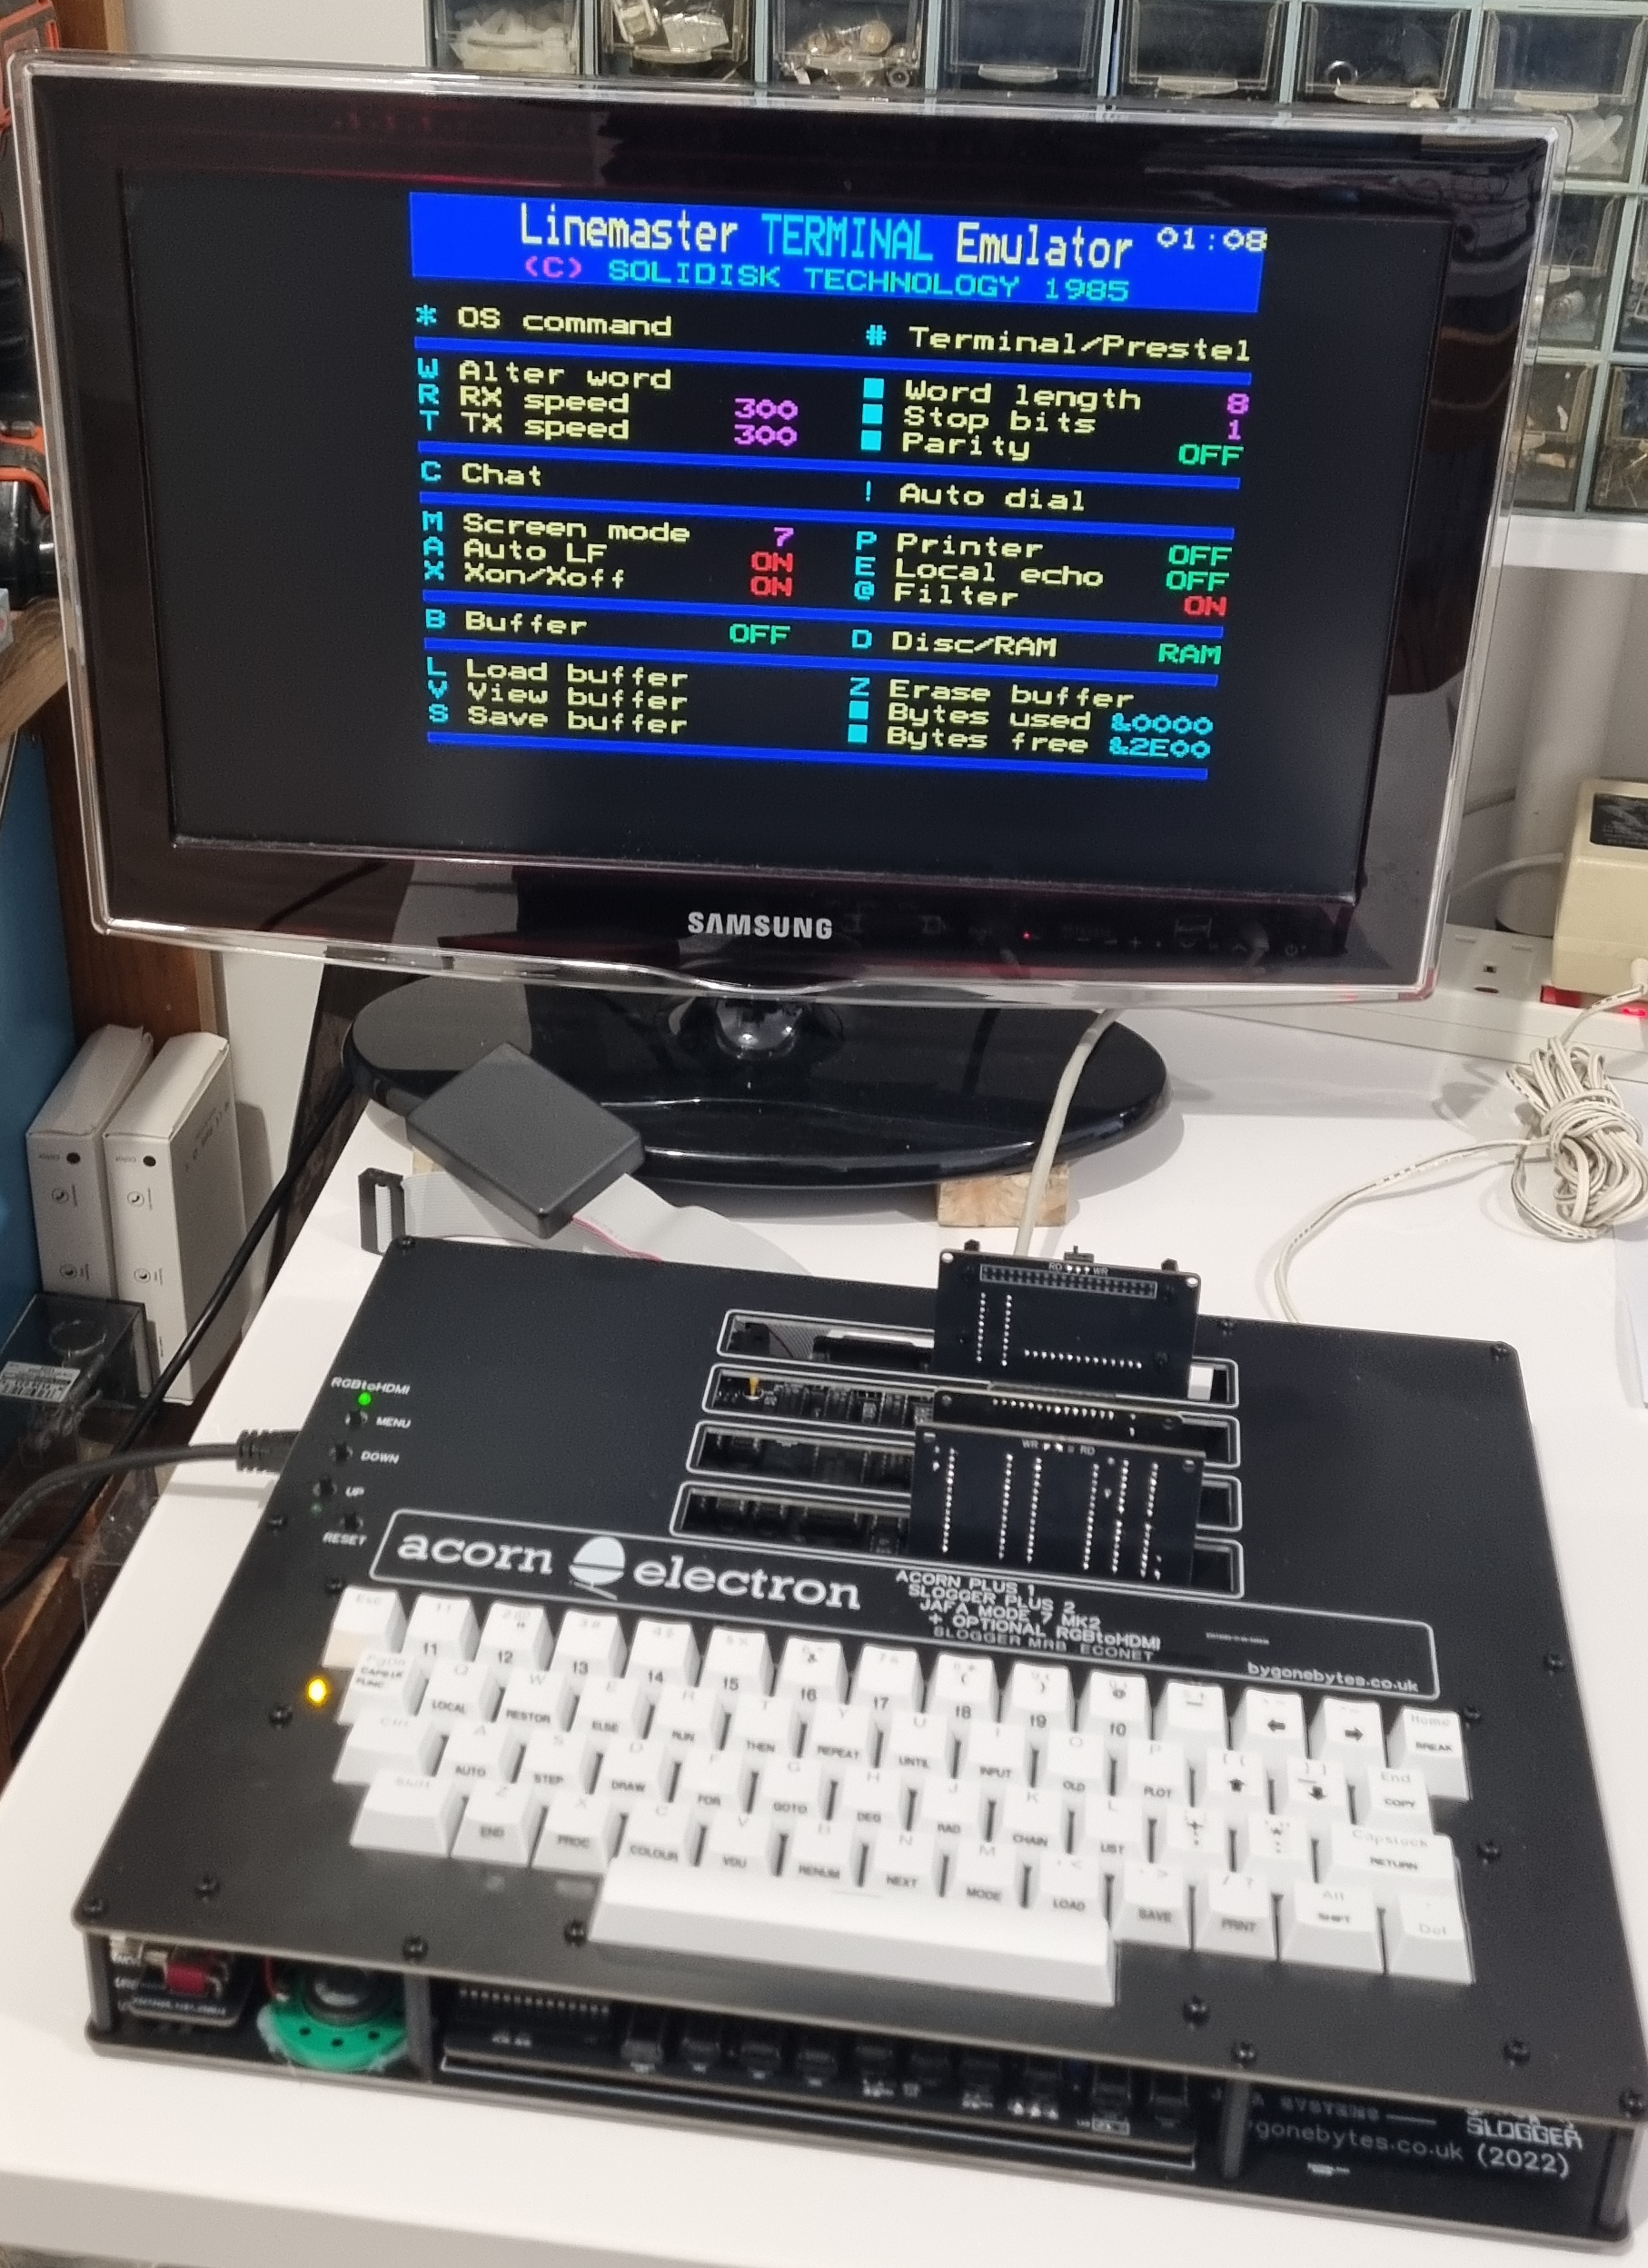
One ROM I tried was Linemaster for the BBC, I remembered it was a Mode 7 program so I started up the Mode 7 adapter and it appears to run ok. The clone doesn't have a serial port so I couldn't do much with it other than change a few settings.
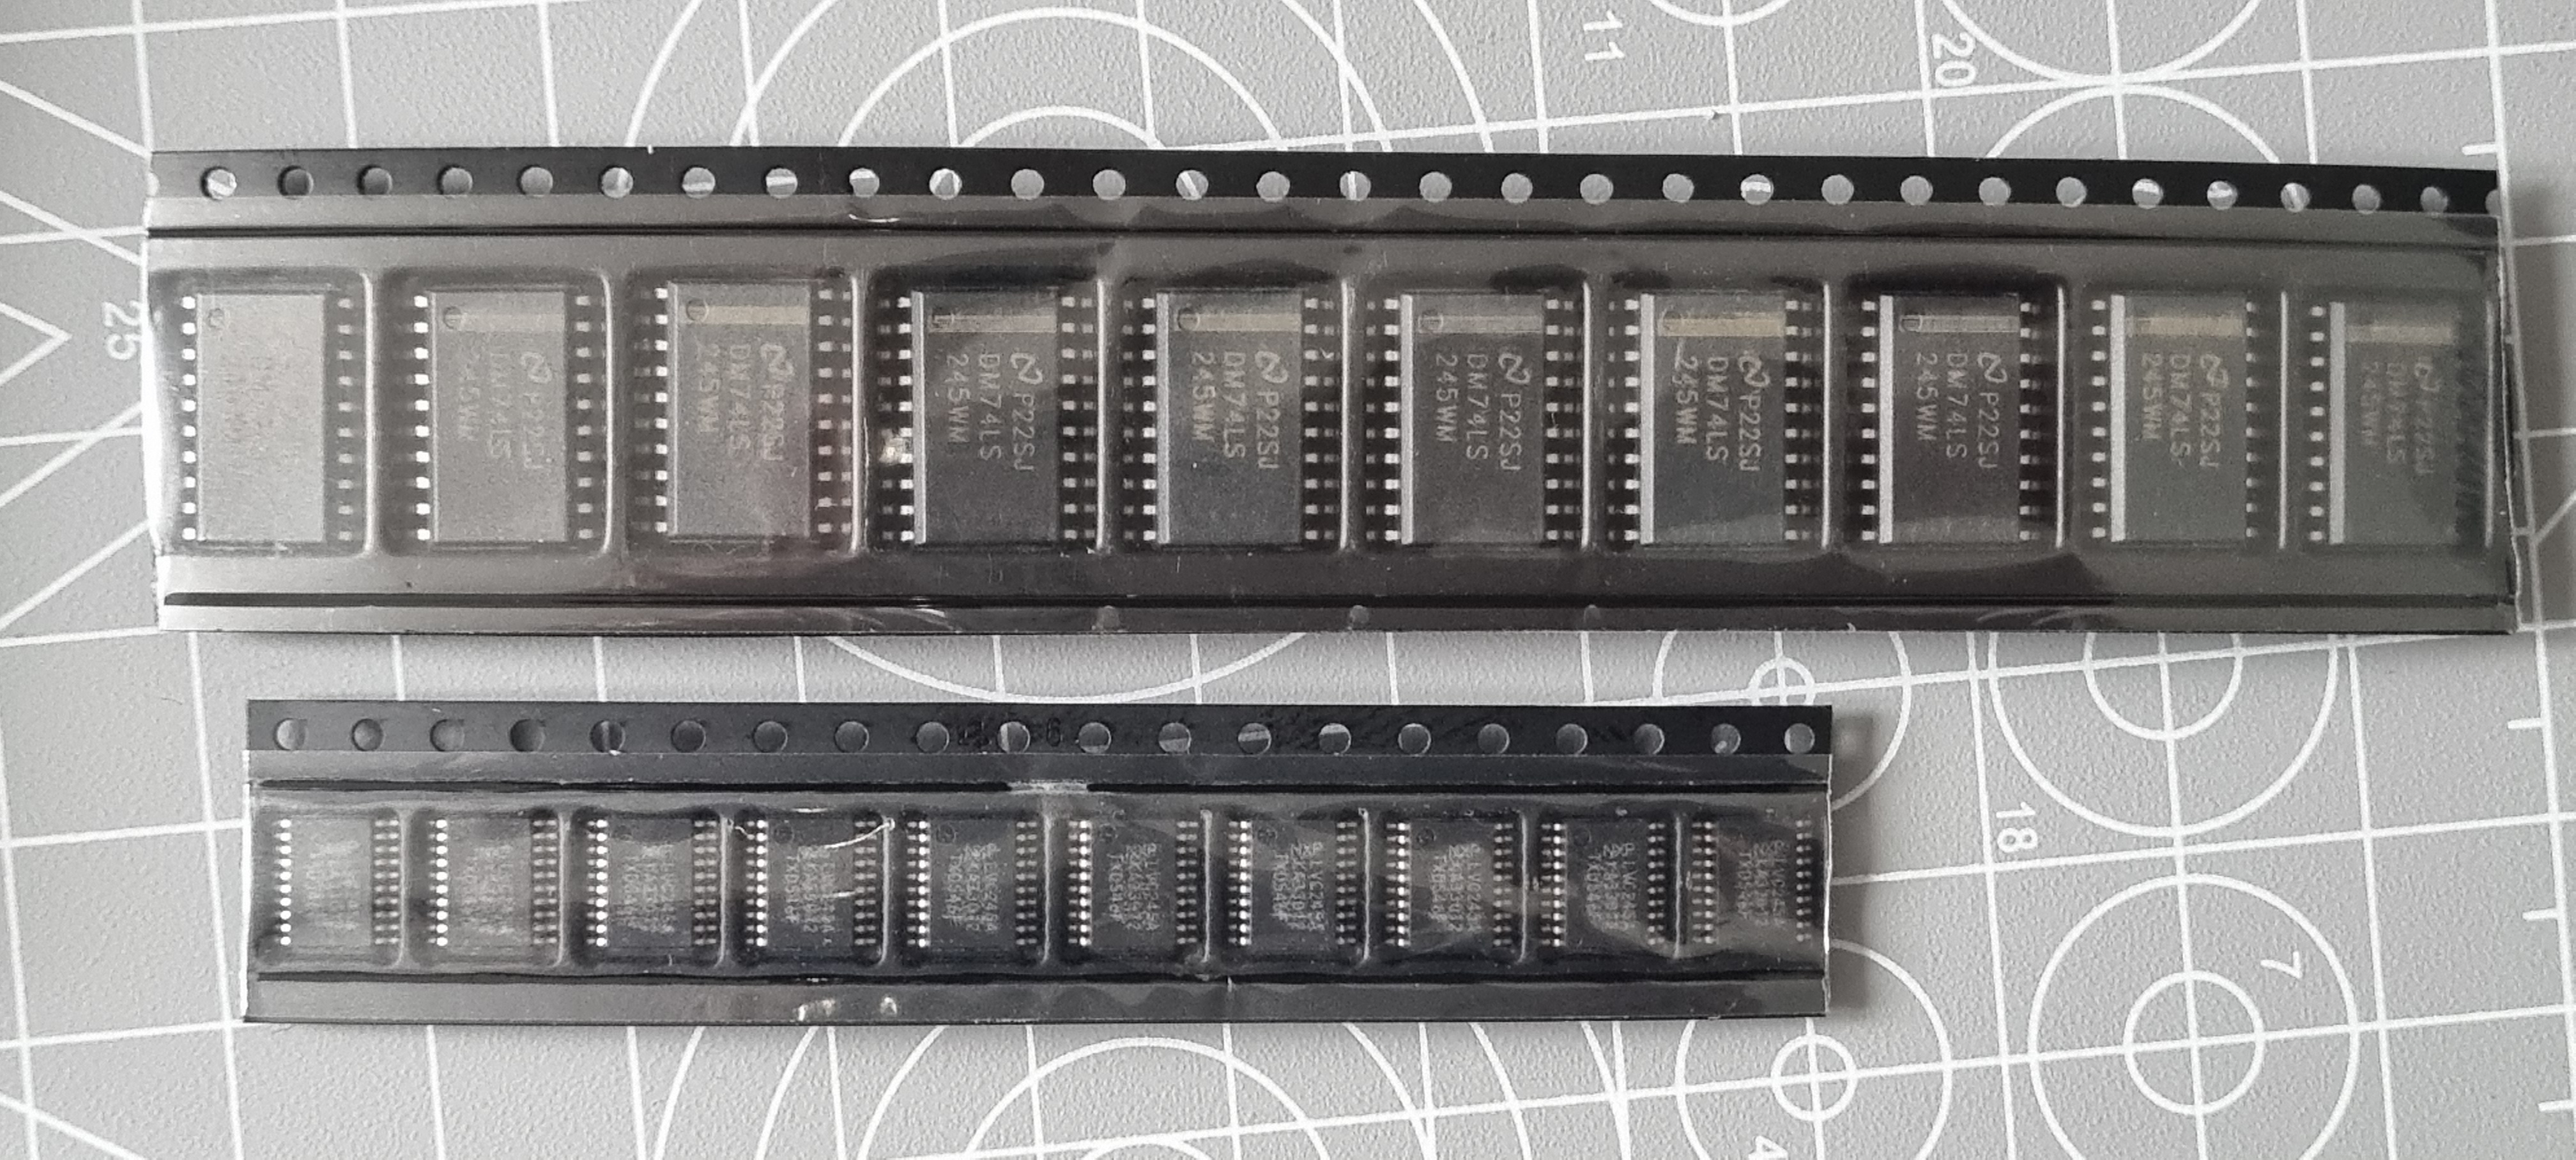
Just a day later and the IC's arrived so I could complete the board.
Back to the testing..
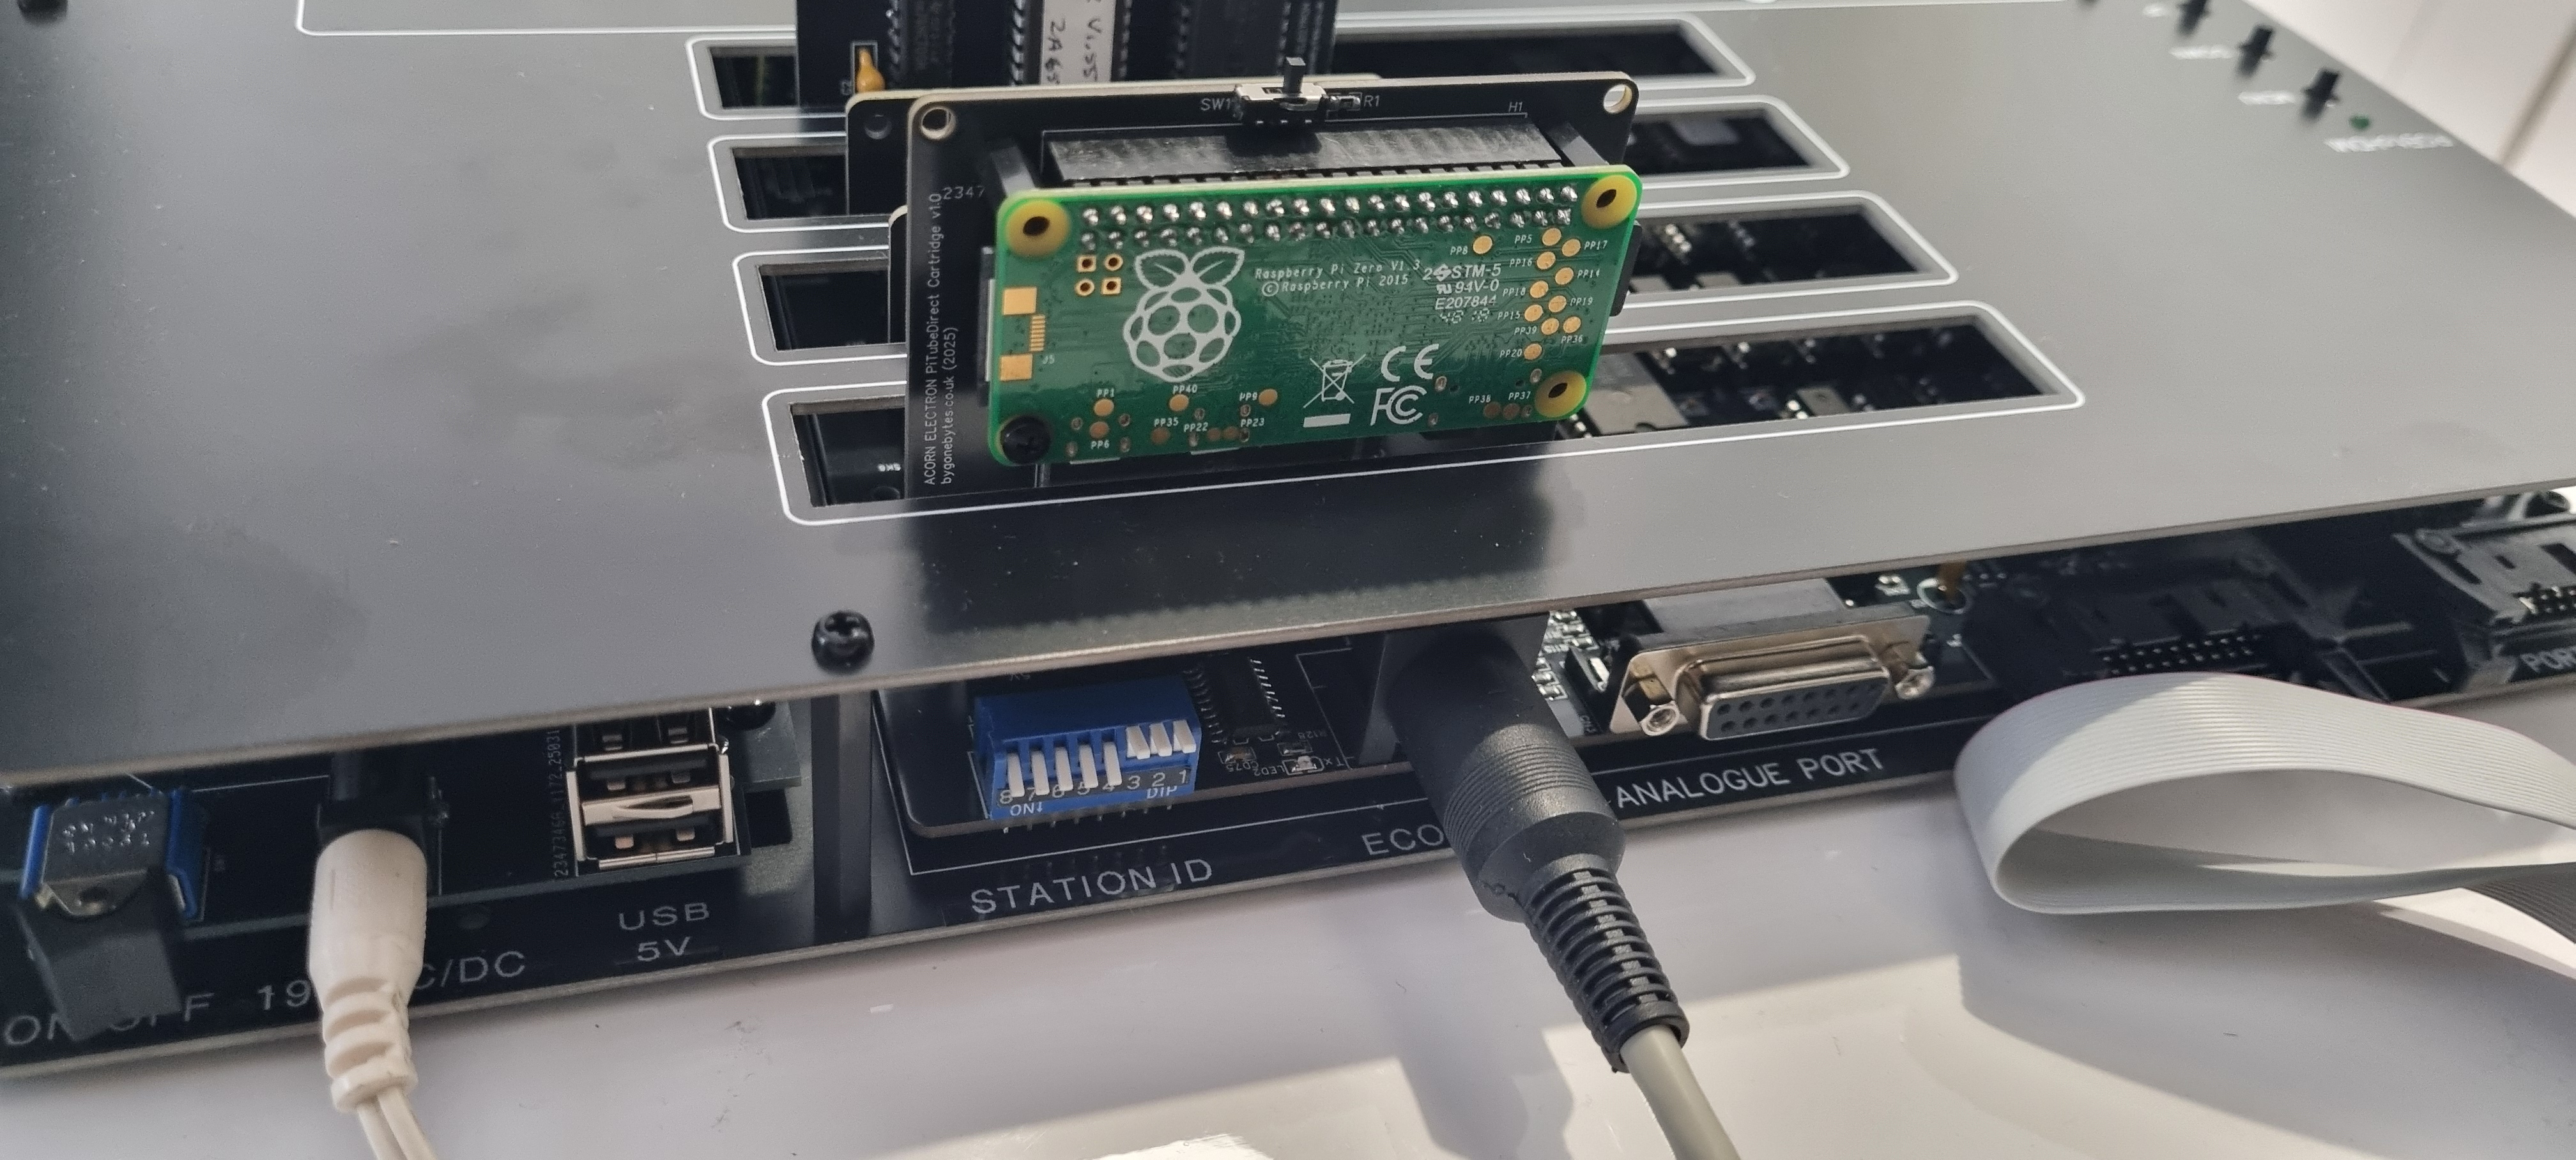
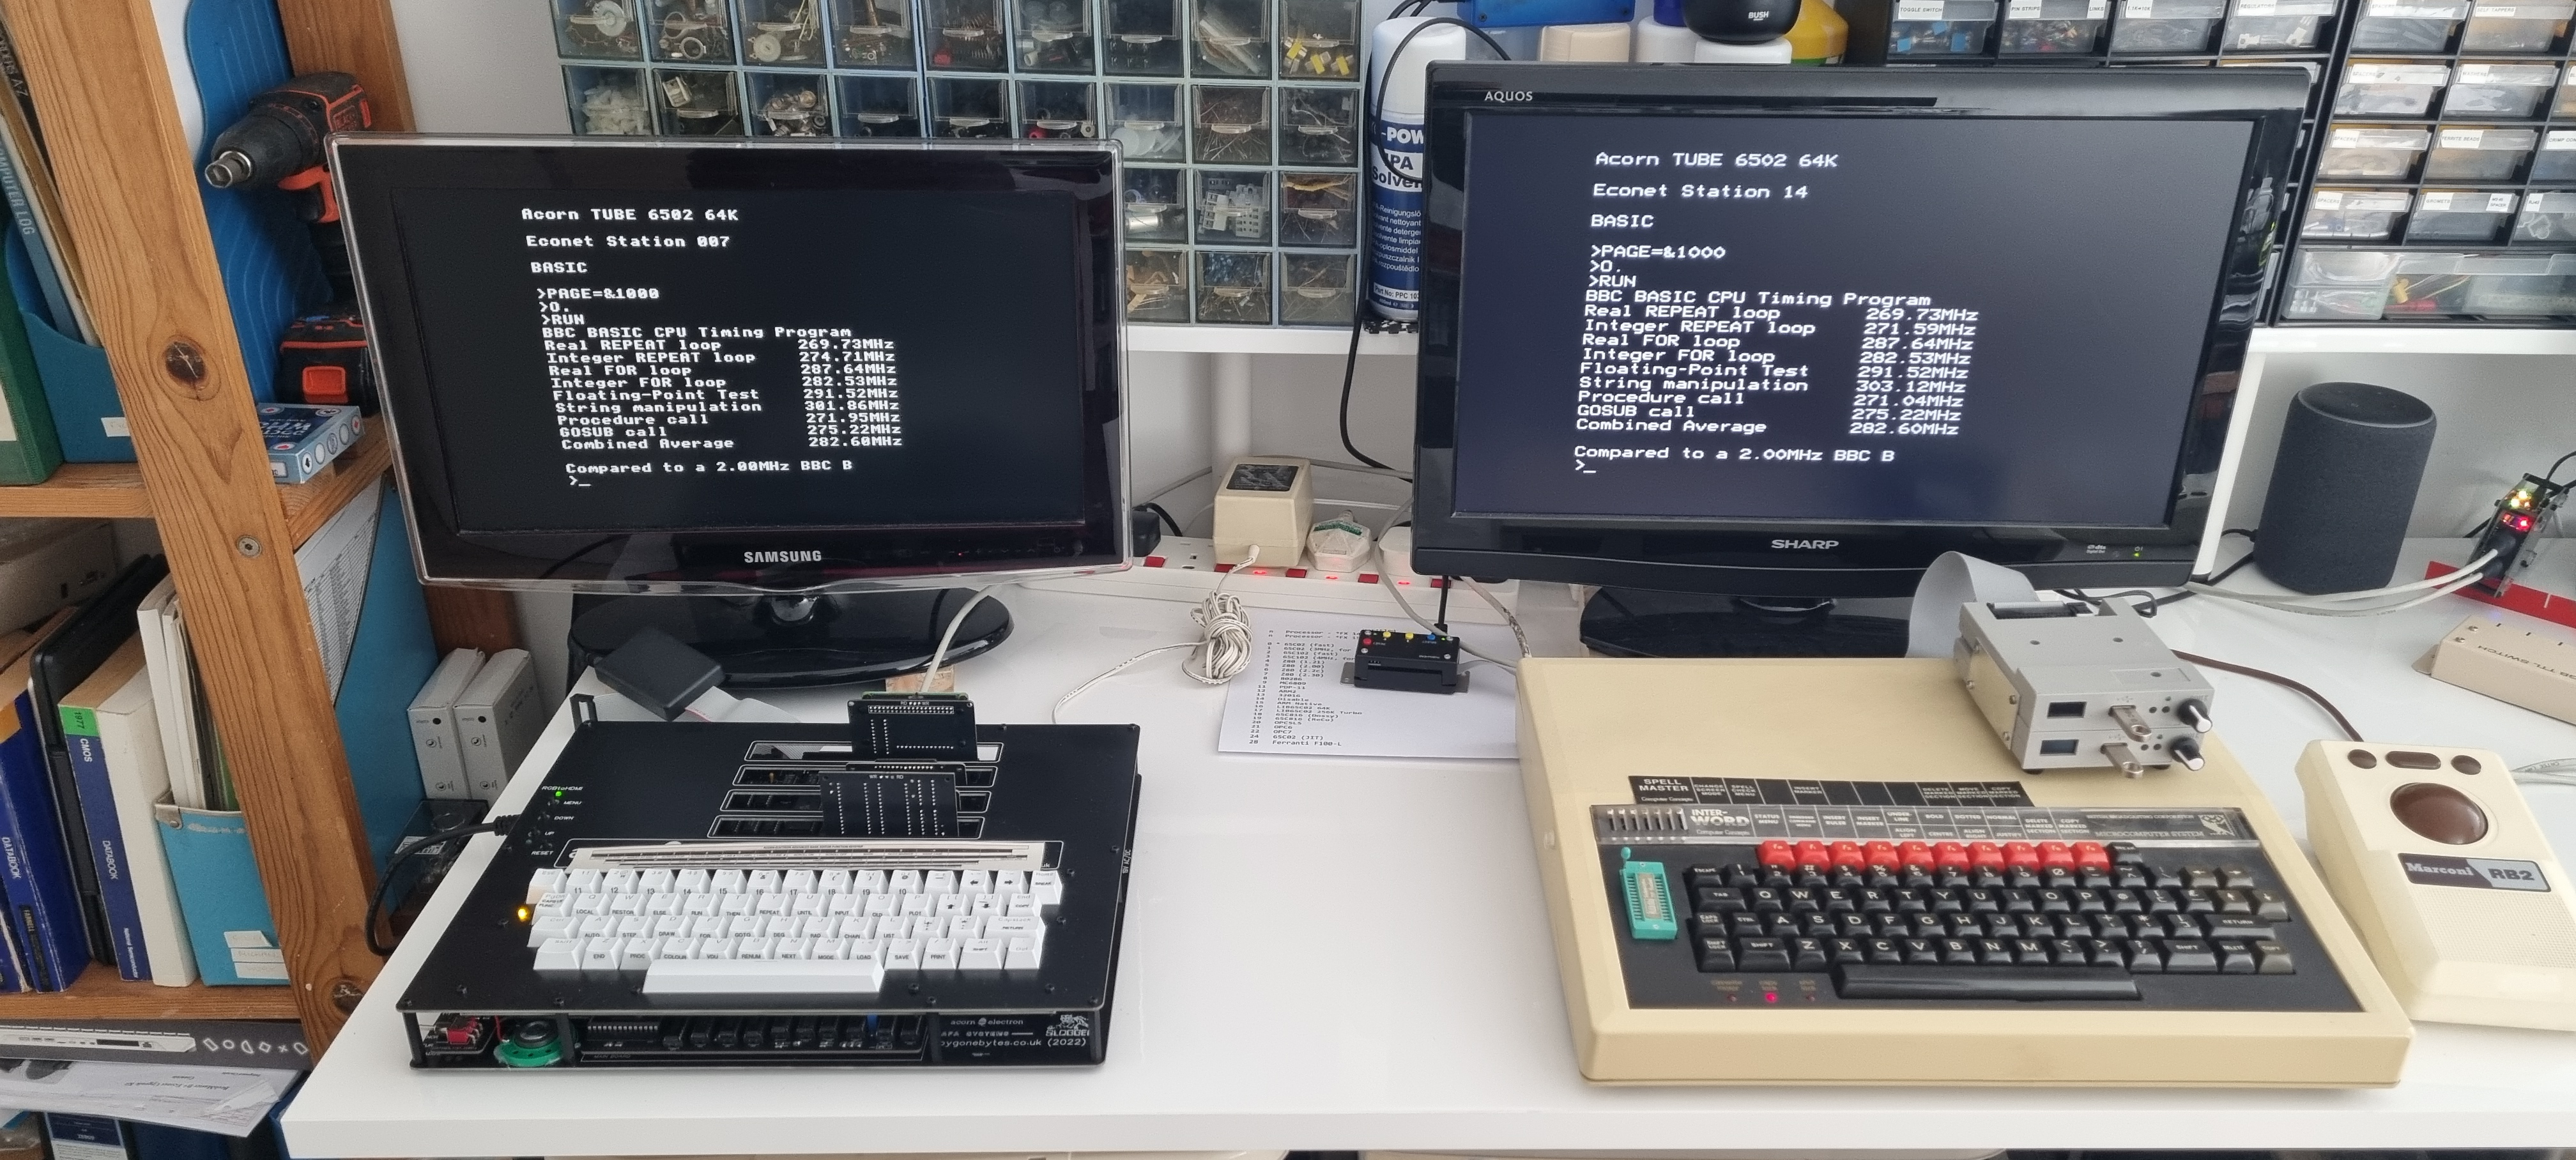
Plugged in and switched on and the PI LED lite up. I enabled the 6502 2nd processor using the *FX147,230,0 command and run the CPU timing program..
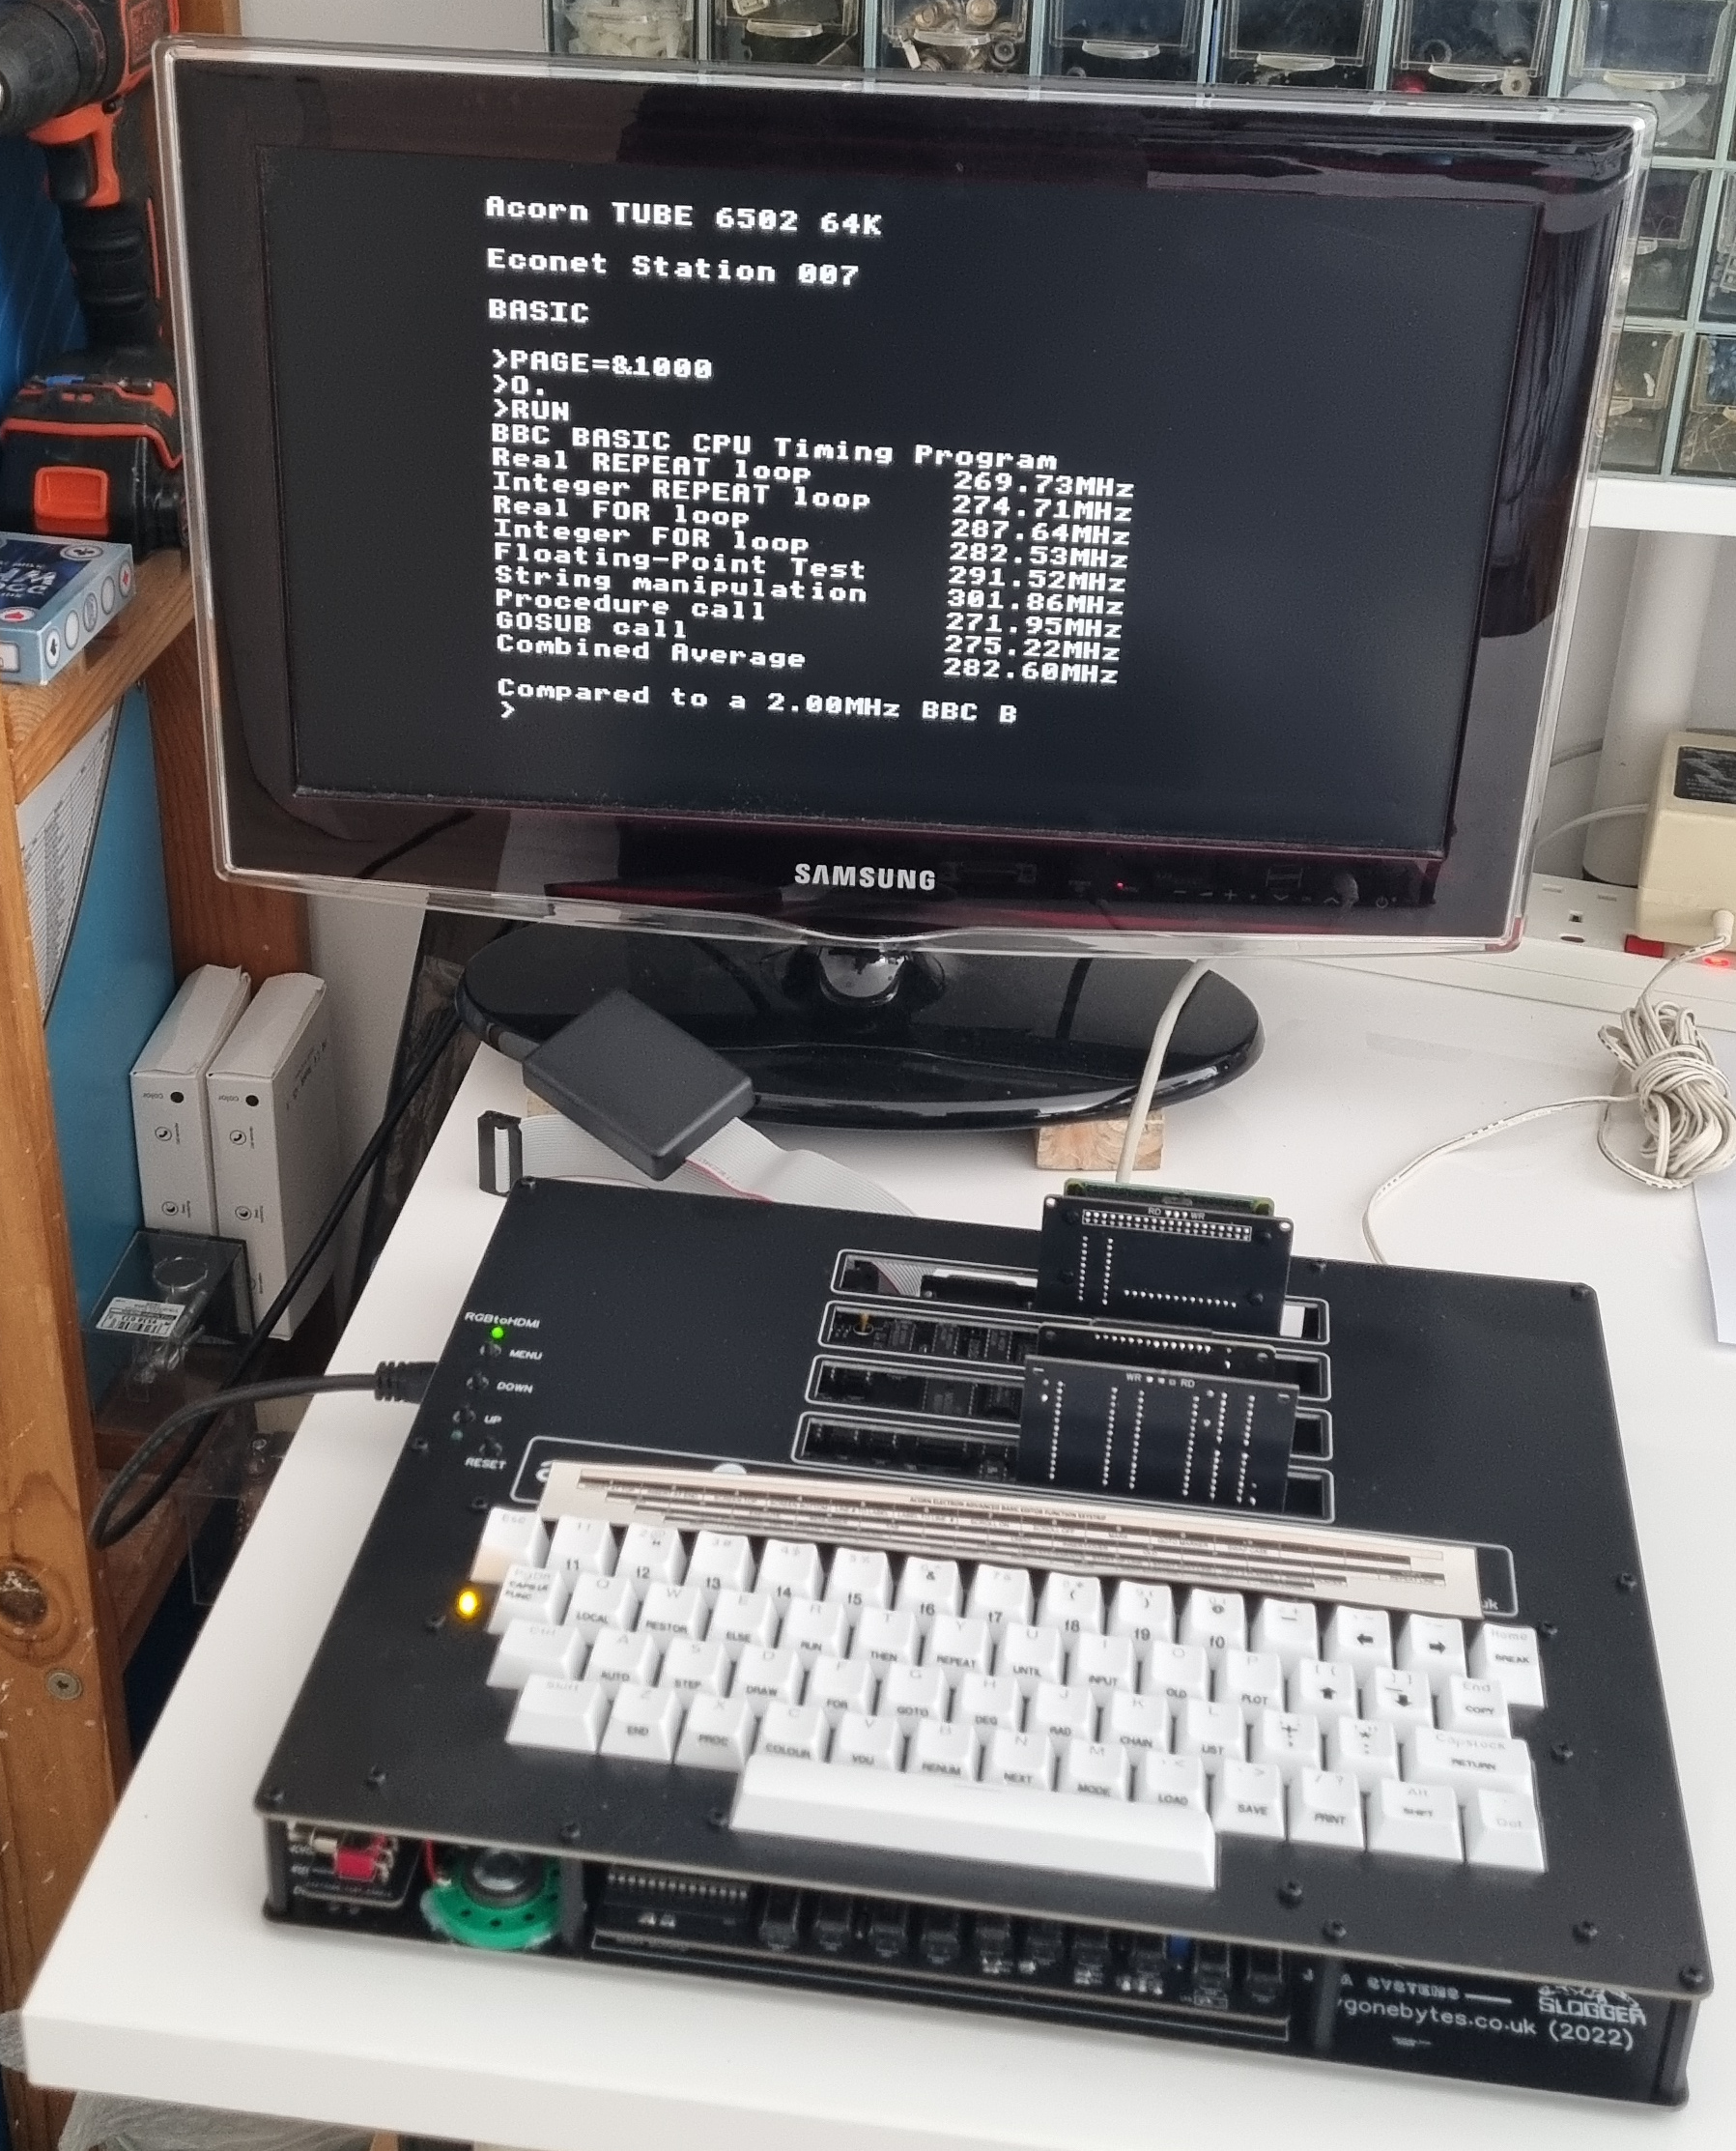
Then compared it to the BBC B+.
All is working well so I fitted the last screws to hold the Pi Zero in place and it's ready to use.
As a last test I looked out an original Electron with a Plus 1/6 to see it it fitted. My Clone is a bit slimmer than the original so I thought it might be a tight fit and it was..the board needs to be just a couple of mm taller to give a good strong fit. I'll probably buy a few stretched boards just for the original Electron.
-END-