Electron (Clone) Power Supply Replacement
I don't think anyone back in the early 1980's would have believed how many add-on there would be for the Electron and especially now (2025) when there are so many new additions appearing every few weeks.
My Clone Electron has many of the old and some new additions already built in and still has the cappacity of adding four cartridges. The original power supply unit has done well coping with all these extras but I think it's time to replace it with something with a bit more oomph and with a lower profile. I'm looking for a lower profile PSU so I can make the Clone a but thinner.
This new PSU is built around an adjustable DC to DC Buck Boost regulator Module capable of supplying 5V at 5A. It has a DC input up to 36V which is ideal for using the original 19V AC power block or an old laptop DC supply.
Basically the input power comes in via the power socket, then switched and onto an 8A Bridge Rectifier. The voltage is smoothed with a couple of capacitors then applied to the input of the DC to DC convertor. The output of the convertor then goes to the output terminals. There is also a small 5V to 5V DC to DC isolating convertor to provide the -5V. I added a USB socket (footprint for a dual socket) to power peripherals such as Gotek drives - I didn't have enough room on the main board.
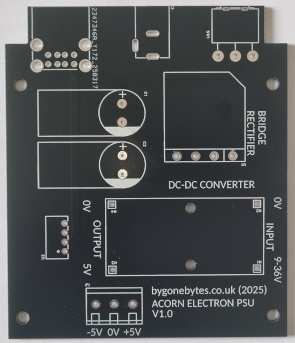
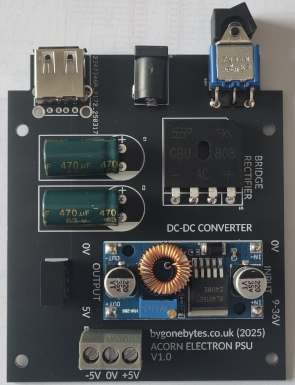
The PCB was designed to fit the Clone Electron case with all the connections and ON/Off switch at the rear.

I assembled the board, tested and set the voltage before plugging it in to the Electron.

Starting to remove the old PSU.
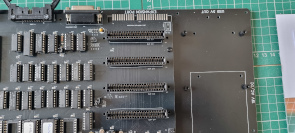

Drilling and mounting the small pillars. I'll update the base plate design so in future the base will come pre-drilled.

The PSU mounted and with no cables coming in the right hand side I can sit a Gotek drive on that side.

Re-labelling the rear of the case to take into account the new connectors etc.

Trying to show the difference in height between the new and old PSU's. This is going to make a big difference to the overall height of the clone.

In this picture I am trying to show the gap between the main board and the keyboard. The pillars between the top and base are 45mm high, with the new PSU no higher than the main board and no MRB daughter board I will be able to reduce the overall height of the clone by 10mm!
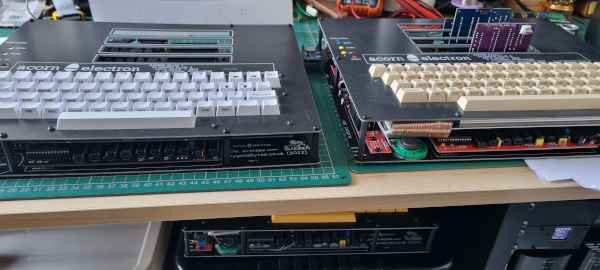

These photos make it look quite slim.

The only thing is I now have to fit the RGBtoHDMI adaptor in this space..but that can wait until I receive v2.1 of the main board.
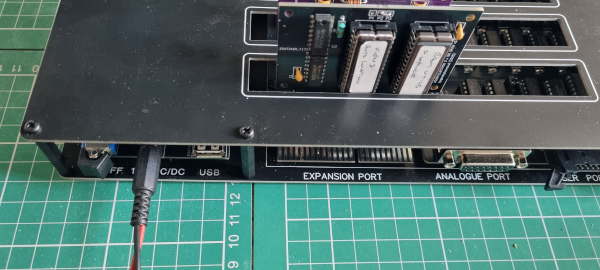
And finally the back of the Clone showing its ON/OFF switch etc.
oh.. and the PSU is about 20% more efficient than the original.
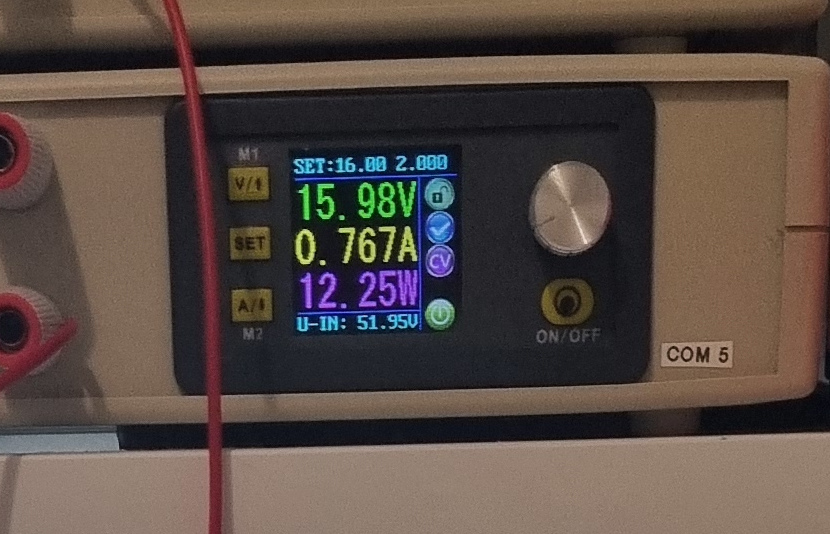
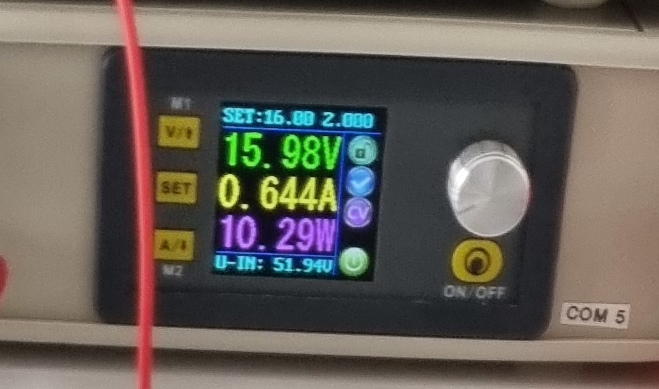
The original power supply power draw with four cartridges plugged in and then the new PSU under the same conditions.