Introduction
When building the Maplin 5600 synthesiser I realised that the Keyboard Controller design worked in such a way that a standard MIDI to CV converter of 1V/octave could be used to add a keyboard. I thought I'd see what MIDI converters were available and selected a couple to try, the Midimuso CV-12 and a design from the June 2019 edition of Practial Electronics available as a kit of parts (without a circuit board) through Soundtronics.co.uk. That idea led on to thinking I could also control my Modular Synth with a Raspberry Pi via a MIDI port?Again I searched the internet, this time for a Raspberry Pi MIDI interface but I couldn't find exactly what I was looking for so I took the standard design and added the little extras I wanted. I added Tx and Rx LED's and used a octal buffer IC instead of the hex inverter thus reducing propogation delay by one gate for both Tx and Thru ports.
This is what I came up with:
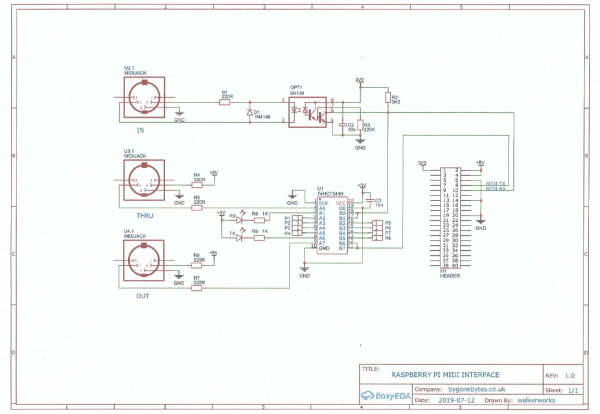
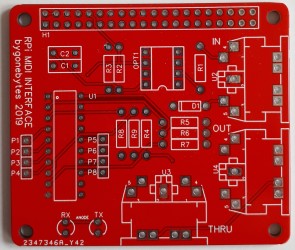
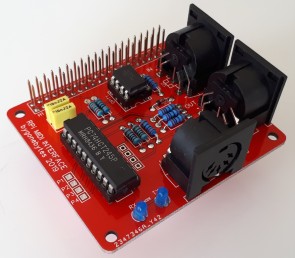
The MIDI HAT Gerber files for manufacturing the board are included in the zip file further down the page.
Configuring the Raspberry Pi:
The Raspberry Pi 3 with Raspbian Buster requires some initial configuration to free up the serial port on pins 14 and 15. Do this by:
Adding a device tree to /boot/config.txt to disable the bluetooth module.
sudo nano /boot/config.txt
Add at the end of the file:
dtoverlay=pi3-miniuart-bt
Save the changes and then:
sudo reboot
Follow this by disabling the serial console, to do this you need to edit the /boot/cmdline.txt file:
sudo nano /boot/cmdline.txt
then find the following text and delete it:
console=serial0,115200
Again save the changes and:
sudo reboot
Finally disable the login shell over serial by using the raspi-config utility options 5 then P6.
Programming with Python v2.7 is fairly straight forward. As an aid to testing the MIDI to CV interfaces I wrote a simple program to send Note on and off codes to output Control Voltages from 0V to 10V in 1V increments, I also included a middle C button. This program could be the basis for programming a virtual keyboard with a touch screen, sequencers for both Synth and Drum and triggering sounds with external inputs.

MIDI Controller software for Raspberry Pi
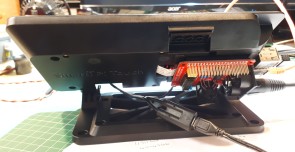
Before I move on to the Raspberry Pi software I should mention what hardware I'm using. I looked out an old Pi 3 and fitted an official 7" touch screen then mounted both in a Smarti Pi case. This case gives a good solid base for the Controller and allows for the MIDI HAT to be added. There is also room to fit an ADC HAT if required.
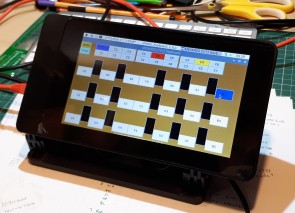
The Software is built around three separate screens. The front one is a simple monophonic three octave keyboard with each octave selectable. Due to the limitiations of the the screen resolution and the necessary size of each key the layout is a bit unusual with each octave above one another! - still playable though.. Although not coded yet the next screen will be a sequencer of some sort - I'm not sure what this will look like but I have 5 MIDI Channels/CV/Gates to play with. The third and last screen is the Utility area where the different modes of the Midimuso CV-12 can be selected. If I come accross other functions that would be handy I'll add them to this page.
I have previously used Python 2.7 for coding but for this and future projects I'll be using Python 3, I just thought it was time to do so..

